Tableau is a useful data visualization and business intelligence tool that helps us turn raw data into easy-to-understand charts, dashboards and interactive reports. It is widely used for businesses, analysts and researchers to make sense of complex information and support better decision-making.
Installation
Let's install Tableau in our local machines.
Step 1: Tableau Website
Go to the official website of Tableau and find the "Products" menu.
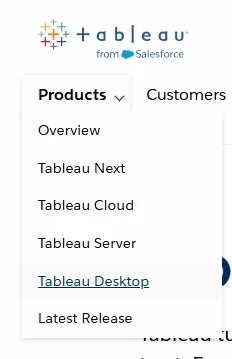
Step 2: Tableau Products
Tableau provides various ways to use its features which includes:
- Tableau Cloud: Cloud-based analytics platform, fully hosted without server management, for data analysis and secure sharing.
- Tableau Server: Self-hosted platform for on-premises or cloud deployment, giving full control over data and analytics environment.
- Tableau Desktop: Authoring tool used to create visualizations and dashboards, supporting offline and deep data exploration.
- Tableau Next: Future-focused AI and modular analytics platform integrating smart workflows and quicker insights.
- Other Products: Tableau Prep (data cleaning), Tableau Public (free public visualizations), Tableau Mobile (mobile access).
We will download the desktop version.
Step 3: Select the Tableau Desktop
We will select the Tableau Desktop option and then there we can have two option:
- Start Free Trial
- Buy Now

Select the one which suits you.
Step 4: Installation
After selecting the option, the setup will get downloaded. After downloading the setup, we need to install it. Open the setup file and proceed with the setup.
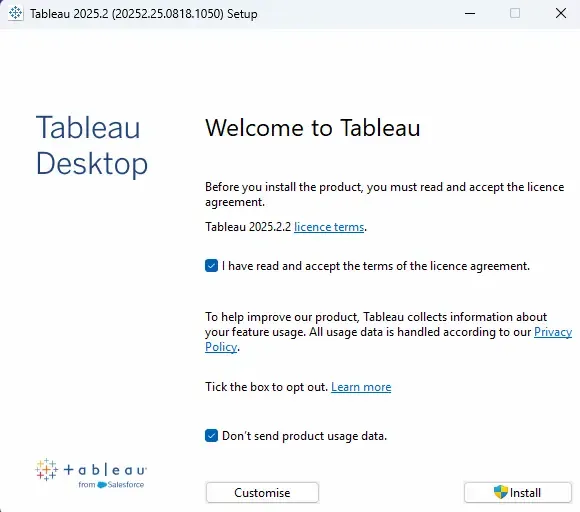
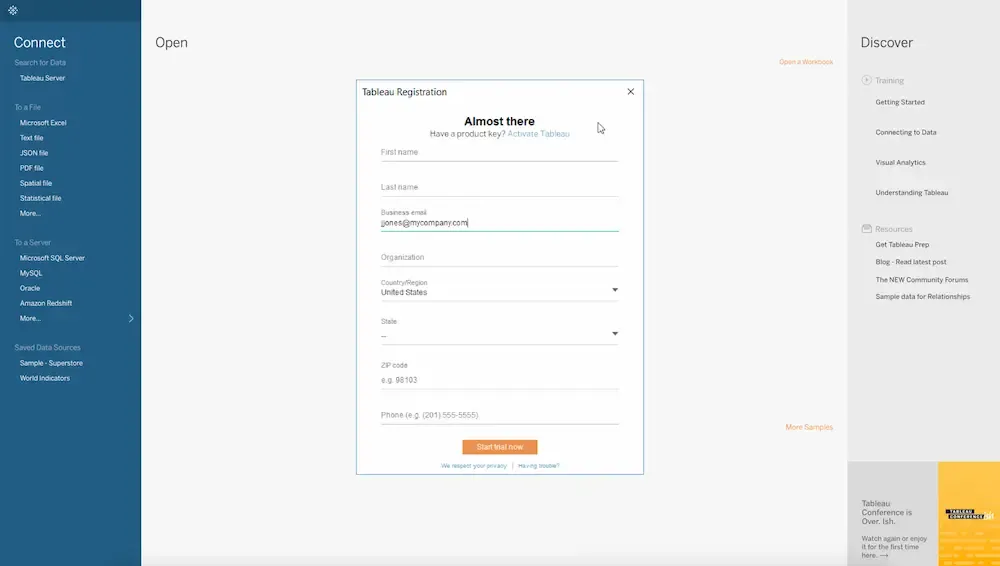
Step 5: Setup
After successful installation, open the Tableau Desktop application and complete the registration.
Step 6: Tableau Desktop
After completing the registration, Tableau is ready to be used.