Before setting up the project, it's essential to ensure the foundational components, like Java & Maven/Gradle installation. Make sure you have installed Java & Maven in your System.
Here are the steps to Set up Cucumber:
Step 1. Set Up Maven Project
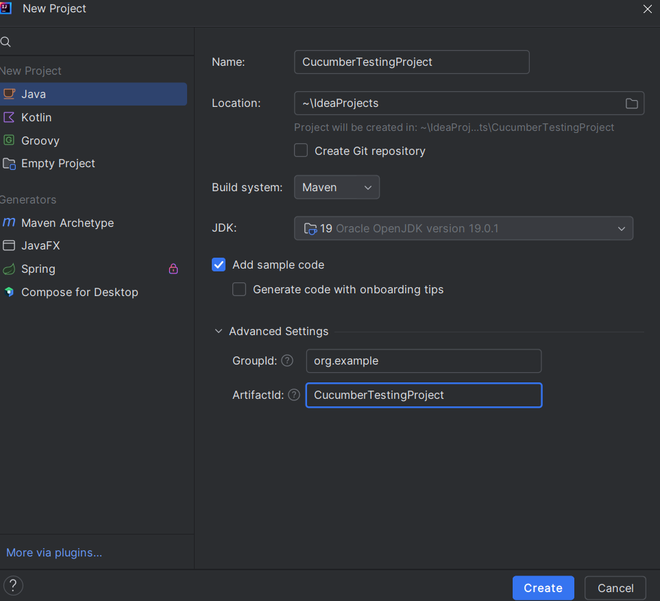
Open your preferred IDE such as IntelliJ IDEA , Eclipse or NetBeans. And create a new Maven Project. Please Specify the " artifactId " and " groupId " for the project. Usually they are like as " com.example.cucumber " and " CucumberTestingProject ".
Now , select the appropriate JDK Version for the project and make sure it must be compatible with latest cucumber version.
If in-case you use Gradle , then Open the IDE and create new Gradle project. Similar to Maven , specify the project group & name fields for your project. Also specify the source compatibility , to match the current version of JDK & project version.
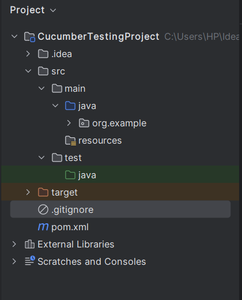
Once the project is created , the project structure looks like :
- src/main/java: Contains Application Code
- src/test/java: Contains test code , here all cucumber tests will present.
- src/test/resources: Contains all the features files
2. Add Dependencies to pom.xml
Cucumber requires some specific dependencies to work with a Java project and depending on whether you're using Maven or Gradle , you need to add these specific dependencies to your project file.
In case user use the Maven, then all these dependencies are need to be added into the " pom.xml " file under the " <dependencies> " section.
Pom.xml
<dependencies>
    <dependency>
        <groupId>io.cucumber</groupId>
        <artifactId>cucumber-java</artifactId>
        <version>7.0.0</version>
        <scope>test</scope>
    </dependency>
    <dependency>
        <groupId>io.cucumber</groupId>
        <artifactId>cucumber-junit</artifactId>
        <version>7.0.0</version>
        <scope>test</scope>
    </dependency>
</dependencies>
If in-case the user uses the Gradle as build tool , then add the following dependencies under the " dependencies " section of " build.gradle " file.
dependencies {
	testImplementation 'io.cucumber:cucumber-java:7.0.0'
	testImplementation 'io.cucumber:cucumber-junit:7.0.0'
}
After adding all these dependencies , please refresh project or to synchronize your project to download all these required library to your local system from the remote server.
By following the above mentioned steps , you will have a Cucumber setup with Java and be able to start writing your own customized BDD Scenarios.