Screenshots are invaluable for various purposes, whether it's capturing an error message for troubleshooting or sharing a visual representation of your desktop with colleagues or friends. Red Hat Linux, a popular distribution of the Linux operating system, offers several methods to capture screenshots efficiently. In this guide, we'll explore different approaches to taking screenshots in Red Hat Linux.
Table of Content
Using GNOME Screenshot to take Screenshot in Red Hat Linux:
GNOME Screenshot is the default screenshot tool in Red Hat Linux, providing a straightforward way to capture your screen. Follow these steps to take a screenshot using GNOME Screenshot:
- Press the "Print Screen" key on your keyboard. This will capture the entire desktop.
- To capture a specific area, press "Shift + Print Screen" and then click and drag to select the desired area.
- Once captured, GNOME Screenshot will prompt you to choose where to save the screenshot and in which format (PNG, JPG, etc.).
Command Line with gnome-screenshot :
For users who prefer the command line interface, GNOME Screenshot can also be accessed through the terminal. Here's how to do it:
Step 1 : Open a terminal `alt + t` in your redhat linux.
Step 2 : Use the following command to capture the entire screen:
gnome-screenshot
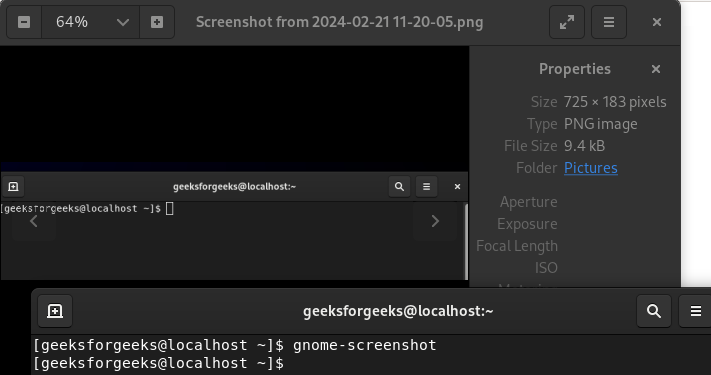
You can verify your sceenshot in the picture directory of redhat linux.
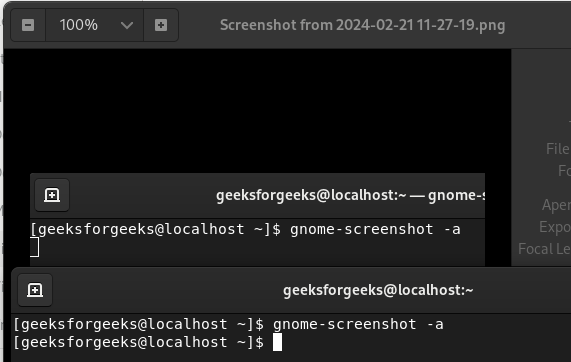
Step 3 : To capture a specific area, use:
gnome-screenshot -a
The captured screenshot will be saved in your home directory by default.
Using Shutter to take Screenshot in Red Hat Linux:
Shutter is a feature-rich screenshot tool available for Red Hat Linux. It offers advanced options for annotation and editing. Follow these steps to install and use Shutter:
Step 1: Install Shutter using the package manager. In Red Hat Linux, you can use the following command:
sudo yum install shutter
or
sudo yum install shutter
Step 2: Once installed, launch Shutter from the applications menu.
Step 3: Use the interface to capture the desired area of the screen.
Step 4: After capturing, Shutter provides options for annotation, editing, and saving the screenshot
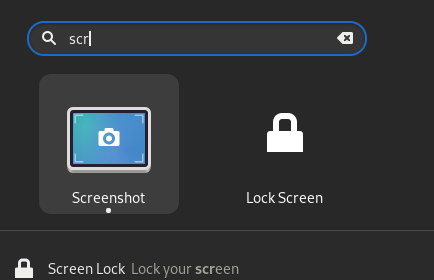
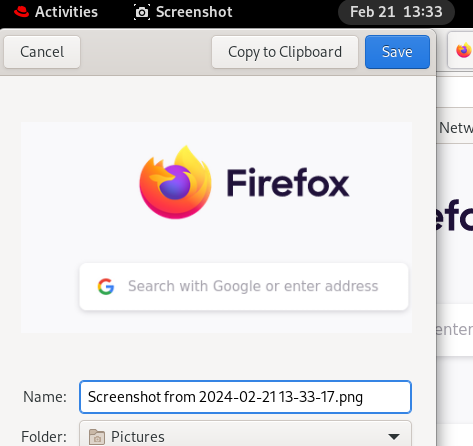
Using Screenshot Application to take Screenshot in Red Hat Linux:
We can also use screenshot application to take screenshot in redhat linux.
Step 1: Launch screenshot from the applications menu.
Step 2: Choose the desired capture mode: Full Screen, Active Window, or Rectangular Region.
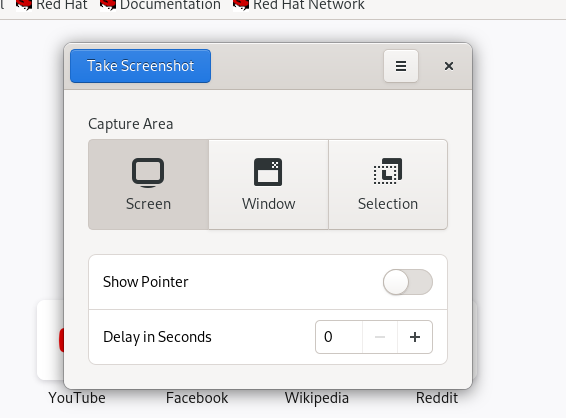
Step 3: After capturing, Spectacle provides options to save the screenshot or copy it to the clipboard.
Conclusion
Taking screenshots in Red Hat Linux is a simple task with multiple options available to suit different preferences and workflows. Whether you prefer using the default GNOME Screenshot tool, the command line interface, or third-party applications like Shutter or Spectacle, capturing and sharing screenshots in Red Hat Linux is efficient and convenient. Experiment with these methods to find the one that best fits your needs.