In the version control system, Git becomes a powerful and flexible tool for managing project history. Among its list of features, Git interactive rebasing stands as a powerful tool. In this article, we will learn more about Git Interactive Rebasing.
Interactive rebasing in Git refers to a technique used to make compact the commit history through activities like reordering, editing, or combining commits with an interactive approach. It enables you to rearrange commit history systematically in a bid to create a more organized and cleaner project history.
Primary Terminologies
Rebasing: When a series of commits are to be moved or combined on a new base commit, the process that must be followed is referred to as rebasing.
Interactive Rebasing: Pull off a rebase using a choice of individual commits and interactively changing them.
Commit: A photo of changes made to a given repository at some point during the day.
Branch: A repository's parallel version which guarantees that changes to it won't interfere with the main codebase directly.
HEAD: Reference is made to the most recent commit in the ongoing branch.
Squash: Merging a number of amendments to form one.
Edit: Editing a committed content.
Step-by-Step Process
Start Interactive Rebasing: In the terminal, run the command: git rebase -i <base>, where <base> is the commit to rebase on.
Choose Commits: By clicking on the Git, it leads you to an interactive editor where all the commits of the current branch are listed. Here, you can choose which commit you wish to change its position for example by moving it up or down within the list.
Specify Actions: State the things you must do after selecting a commit; for example, select or abort.
Save and Close: To enforce the stipulated actions, keep and exit from the editor.
Resolve Conflicts (if any): When Git encounters a conflict, it can stop a rebase operation. According to the instruction from Git, you should correct these problems.
Complete Rebasing: Proceed with the rebase process using ‘git rebase –continue‘ after fixing any existing conflicts.
Push Changes: After you have finished rebasing, use git push –force to transfer changes made to the remote repository.
Example
These are the commands for git Interactive rebasing:
Step 1: Checkout to the master branch
git checkout master
Step 2: Fetch the latest change
git pull origin master
Pull origin master
Step 3: Switch to the desired branch
git checkout code
Checkout code
Step 4: Integrate changes from master branch to current branch.
git rebase master
Rebase master
Step 5: Stage changes for the next commit
git add
add
Step 6: Continue the rebase process after resolving conflicts.
git rebase --continue
Step 7: Push the changes from the local "code" branch to the remote repository.
git push origin code
git push origin code
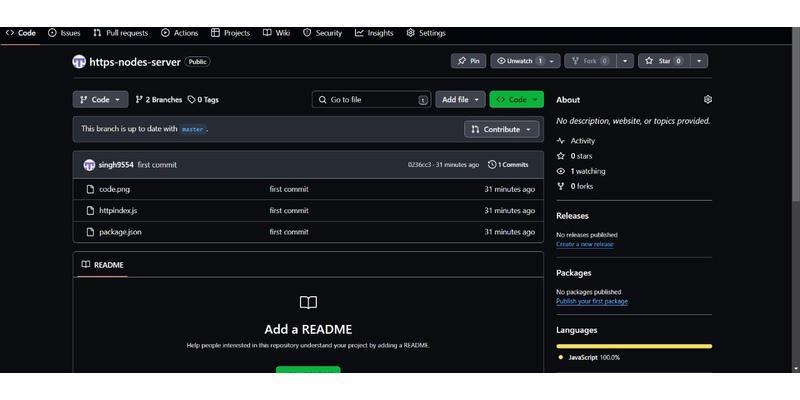
Feature Branch Repository
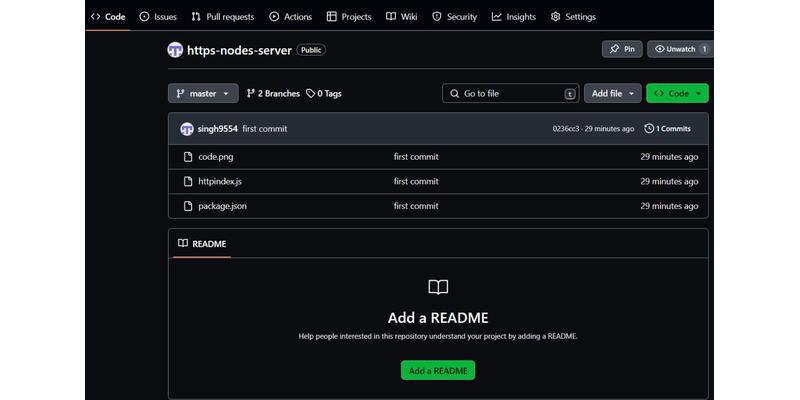
Feature Branch RepositoryMaster branch repository
Master branch repository
Use Cases for Interactive Rebasing
Squashing Commits: Combine multiple small, related commits into cohesive units to maintain a clean and concise history.
Editing Commit Messages: Modify commit messages for clarity, correctness to project conventions.
Reordering Commits: Organize commits logically by rearranging their order to reflect the development process more accurately.
Removing Commits: Eliminate unnecessary or erroneous commits to streamline the commit history.
Splitting Commits: Divide commits containing unrelated changes into smaller, focused commits for better clarity.
Benefits of Interactive Rebasing
Cleaner Commit History: Interactive rebasing provides the creation of a cleaner, more organized commit history, enhancing readability and maintainability.
Granular Control: Developers gets control over the commit history, enabling a personalized method for creating commits.
Encourages Best Practices: Interactive rebasing encourages sticking to best practices such as writing descriptive commit messages and keeping commits focused and concise.