git checkout is a versatile Git command used for branch management, navigating commits, and managing changes in the working directory.
- Switches between existing branches.
- Creates and switches to new branches.
- Navigates to specific commits.
- Restores or reverts changes in the working directory and files.
1. Switching to an Existing Branch
Switching to an existing branch is one of the most common tasks in Git, it will let you work in different areas of your project without creating a mess for other branches.
Before switching, make sure you know what your current branch is by using the following command.
git status- By using this you will see if there are uncommitted changes or if your working directory is clean.

2. Creating and Checking Out a New Branch
Use the git checkout command followed by the branch name to switch to the desired branch.
git checkout -b branch-name
Verify Switch: Confirm you have switched to the correct branch by using following command
git branch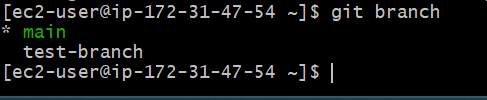
3. Switching Between Local Branches
This method combines the creation of a branch with switching to it in a single operation, it is useful in order to begin work on a new feature or bug fix right away without first needing to stop the world.
- Create and Switch: Use the -b option with git checkout to create and switch to a new branch in one command.
git checkout -b < new-branch-name >
- Confirm Creation: Verify that the branch has been created and you have switched to it using:
git branch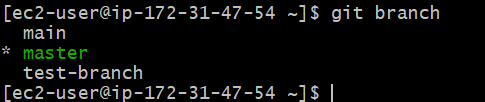
Here we see * indication. That indicates present we are in that branch
4. Checking Out to Remote Branch
When a branch exists only on the remote repository and not locally, you can use git checkout to create a local branch that tracks the remote branch.
- Fetch Remote Changes: Ensure your local repository is up-to-date with the remote repository.
git fetch origin
- Check Remote Branches: List all remote branches to verify the branch you want to check out by using following command.
git branch -r
- Checkout Remote Branch: Use git checkout to create and switch to a local branch that tracks the remote branch use below command to track remote branch.
git checkout branch-name
- Verify Tracking: Ensure the local branch is tracking the remote branch by using:
git branch -vv
5. Navigating to a Specific Commit
Using git checkout to Explore a Specific Commit
Find the Commit Hash
git log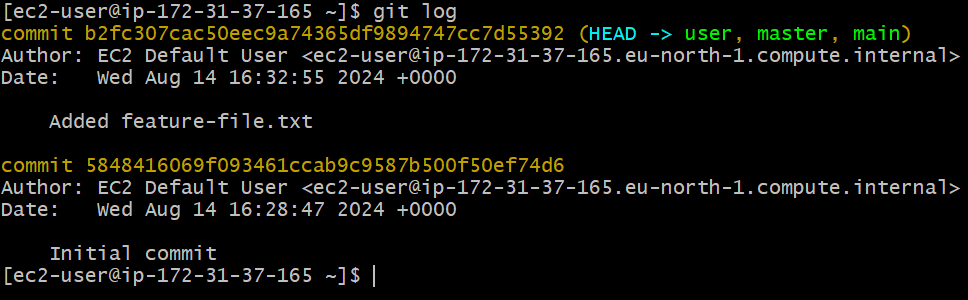
Understanding Detached HEAD State and How to Return to a Branch
- In this state, you can view and make changes, but those changes are not associated with any branch.
Returning to a Branch
git checkout <branch-name>
Advanced Uses of Git Checkout Branch
Advanced uses of git checkout enable switching branches, creating branches, navigating commits, and restoring files for precise workflow control.
Checking Out Files from a Different Branch
Checkout a File from Another Branch:
git checkout <branch-name> -- <file-path>Staging the Change
git add <file-path>Committing the Change
git commit -m "Replaced <file-path> with version from <branch-name>"Integrating git stash with git checkout for Safer Branch Switching
Stash Uncommitted Changes
git stash
Switch Branches with git checkout
git checkout <branch-name>
Dropping the Stash
- Once you’re sure the changes are no longer needed, drop the stash:
git stash drop