Node.js can be installed on Linux using package managers or official repositories. It enables server-side JavaScript execution along with npm for package management.
- Install via APT, NodeSource, or NVM.
- Includes npm(Node Package Manager) for managing dependencies.
- Used for building backend and real-time applications.
Prerequisites
Ensure your system is ready before installing Node.js on Linux.
- Linux System: Ubuntu, Debian, CentOS, Fedora, or any major distribution.
- Command Line Access: Terminal with root or sudo privileges.
- Updated System: Package lists should be up-to-date.
- Internet Connection: Required to download Node.js and npm packages.
1. Use Package Manager
The easiest way to install Node.js on Linux is through the default package manager.
Steps to Install Node.js on Ubuntu/Debian
Follow these steps to install Node.js and npm using the apt package manager.
Step 1: Update your system
sudo apt update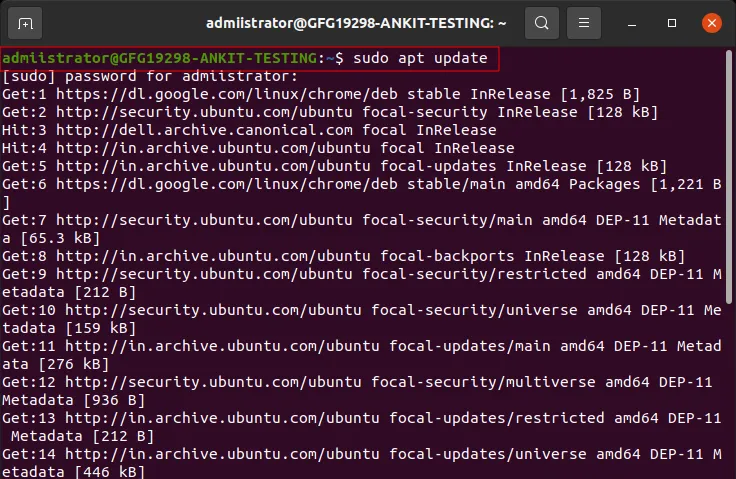
Step 2: Upgrade the system
sudo apt upgrade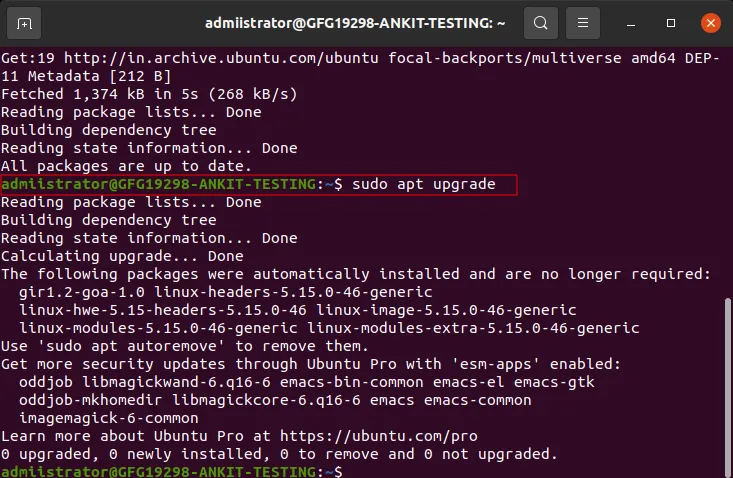
Step 3: Install Node.js
sudo apt install nodejs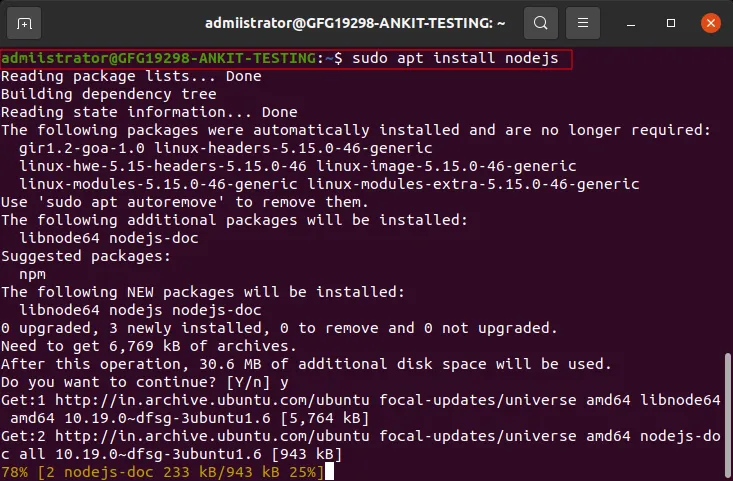
Step 4: Install npm
sudo apt install npm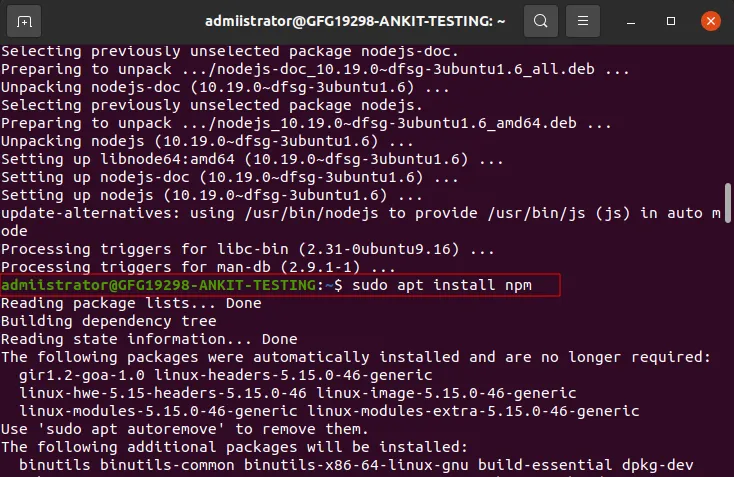
Step 5: Verify the Installation
To confirm that Node.js and npm are installed correctly, you can check their versions using:
node -v
npm -v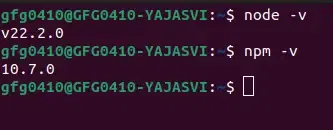
Steps to Install Node.js on CentOS/RHEL
Follow these steps to install Node.js on CentOS/RHEL.
Step 1: Update system
sudo yum updateStep 2: Install Node.js
You can install Node.js by adding the NodeSource repository:
curl -sL https://rpm.nodesource.com/setup_16.x | sudo -E bash -
sudo yum install -y nodejs
Step 3: Verify the Installation
Open Terminal to check the installed versions by running these commands:
node -v
npm -v2. Using Node Version Manager
NVM allows installation and management of multiple Node.js versions.
Step 1: Install and Activate NVM
First, download and install NVM using the following script:
curl -o- https://raw.githubusercontent.com/nvm-sh/nvm/v0.40.1/install.sh | bash
Once installed, you need to add NVM to your shell configuration. You can do this by running the following command:
source ~/.bashrc
Step 2: Install Node.js (LTS Version)
To install the latest LTS (Long Term Support) version of Node.js, run:
nvm install --ltsSwitch Versions:
nvm ls
nvm use <version>
Step 3: Verify the Installation
node -v
npm -v3. Install using NodeSource Repository
Provides the latest Node.js versions.
Step 1: Add NodeSource Repository
sudo su
curl -sL https://deb.nodesource.com/setup_16.x | sudo -E bash -
Step 2: Install Node.js
sudo apt install -y nodejsStep 3: Verify Installation
node -v
npm -v
4. Install using Snap
Useful for containerized installations.
Step 1: Install Node.js
sudo snap install node --classicStep 2: Verify Installation
After installation, check the Node.js version:
node -v