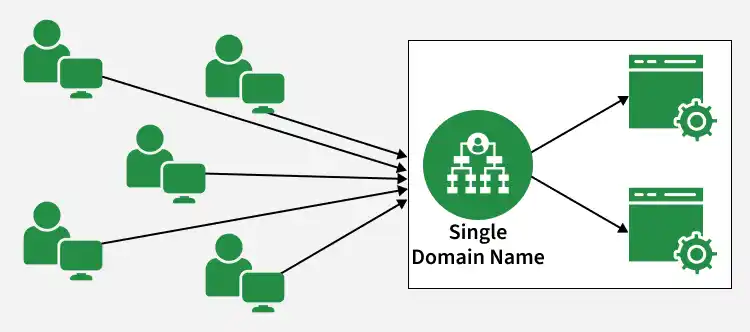
Elastic Load Balancing (ELB) automatically distributes incoming application traffic across multiple targets, such as Amazon EC2 instances, containers, IP addresses, and Lambda functions. It acts as the "front door" for your application, ensuring high availability, fault tolerance, and elasticity.
Core Concepts
- Listeners: A listener checks for incoming connection requests on a specific protocol and port.
- Target Groups: A logical group of backend resources such as EC2 instances, containers, IP addresses, or Lambda functions. The load balancer sends traffic to the target group instead of directly to individual instances.
- Health Checks: ELB regularly checks the health of targets using a path like /health. If a target becomes unhealthy, ELB stops routing traffic to it until it recovers.
- Cross-Zone Load Balancing: Distributes traffic evenly across healthy targets in all enabled Availability Zones, helping prevent overload in a single zone.
Steps to configure an Application Load Balancer in AWS
Step 1: Launch the two instances on the AWS management console named Instance A and Instance B. Go to services and select the load balancer. To create AWS free tier account refer to Amazon Web Services (AWS) – Free Tier Account Set up.

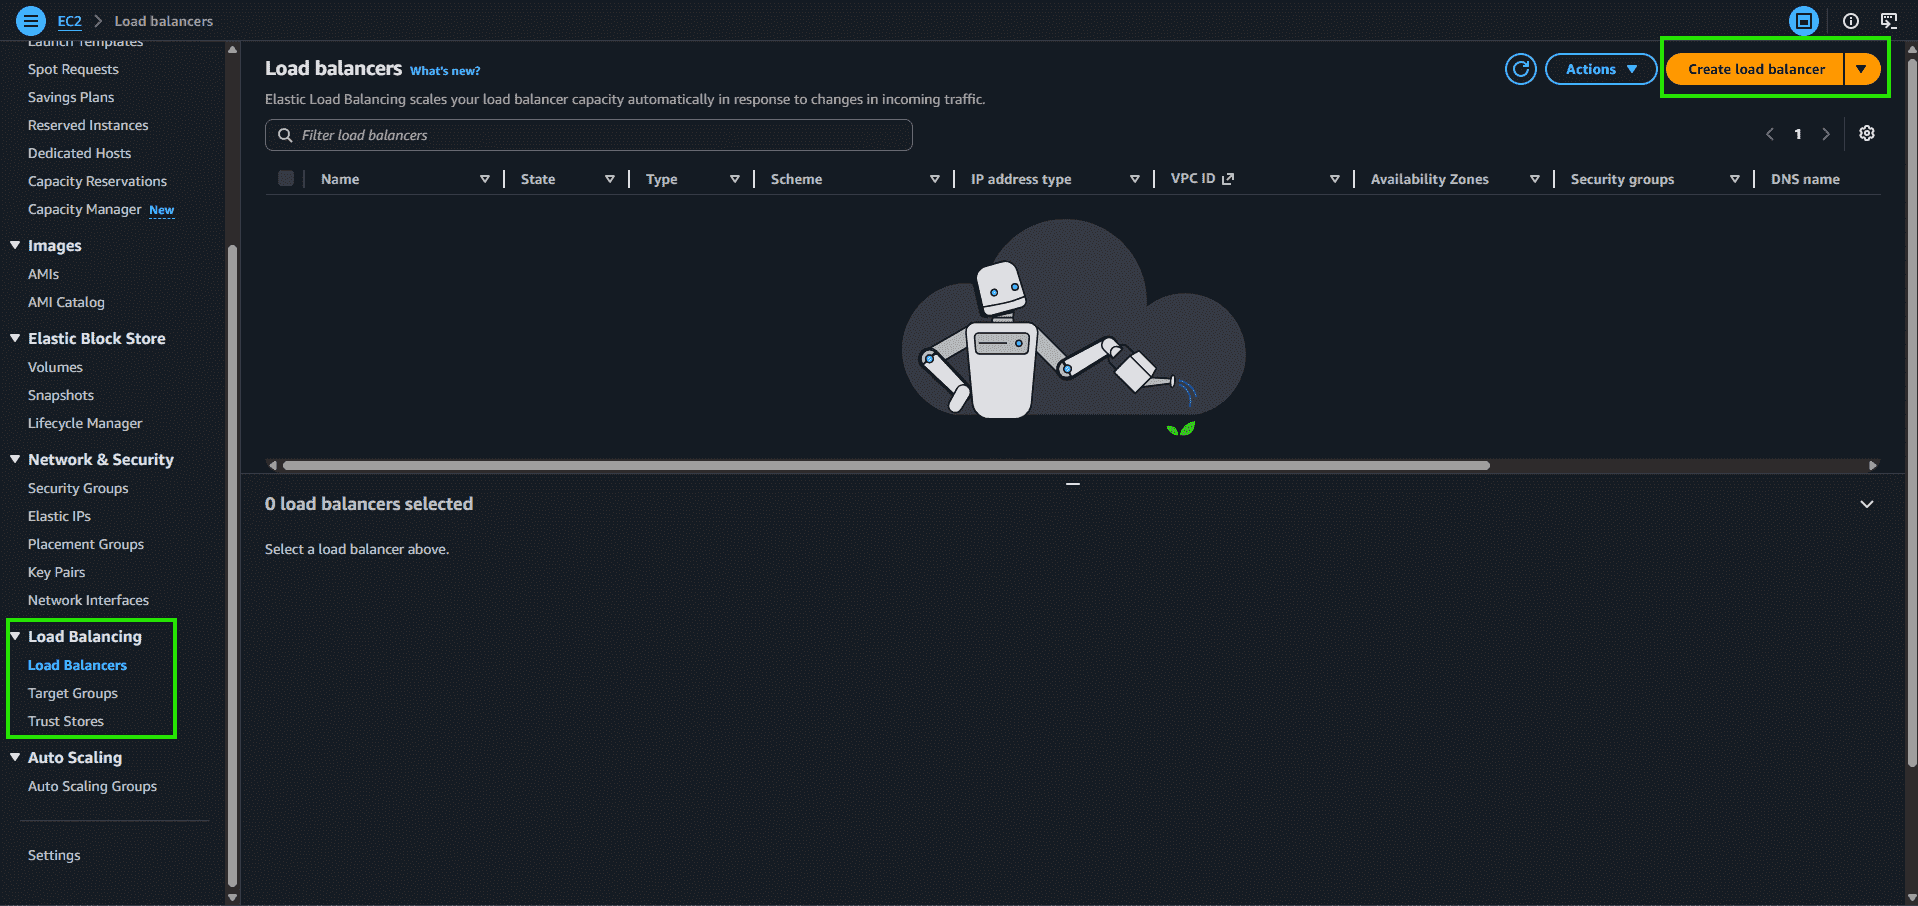
Step 2: Scroll down on the left side panel, go to Load Balancers, and click on Create Load Balancer.
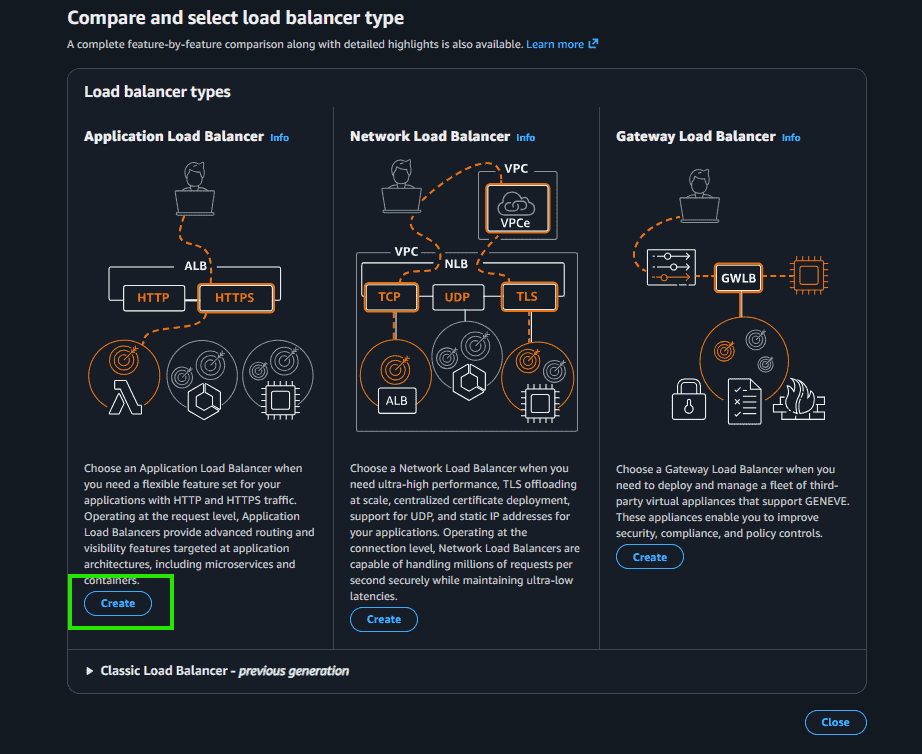
Step 3: Select Application Load Balancer and click on Create.
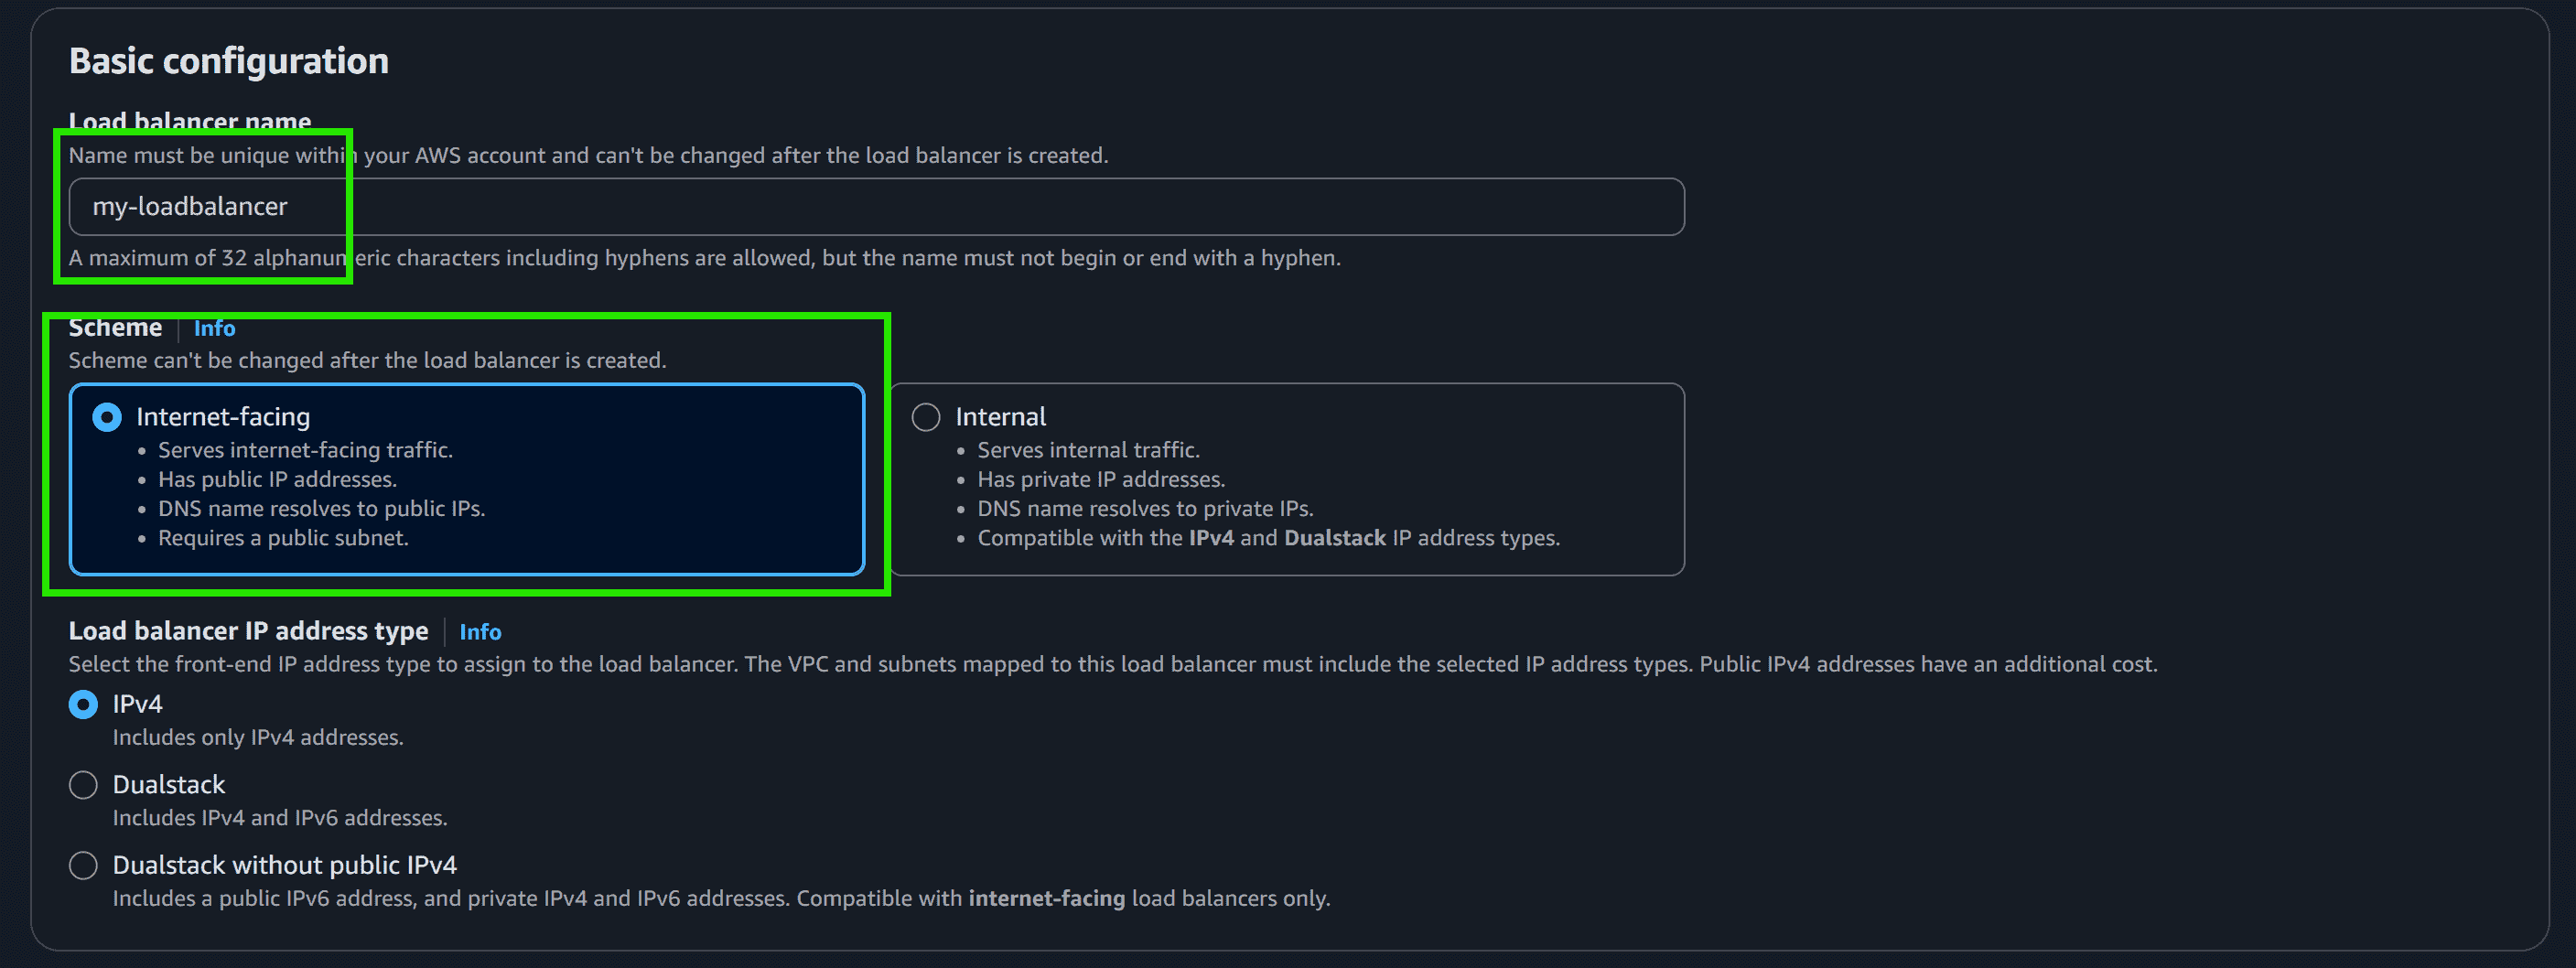
Step 4: Here you are required to configure the load balancer. Write the name of the load balancer. Choose the scheme as internet facing.
Step 5: Add at least 2 availability zones. Select us-east-1a and us-east-1b
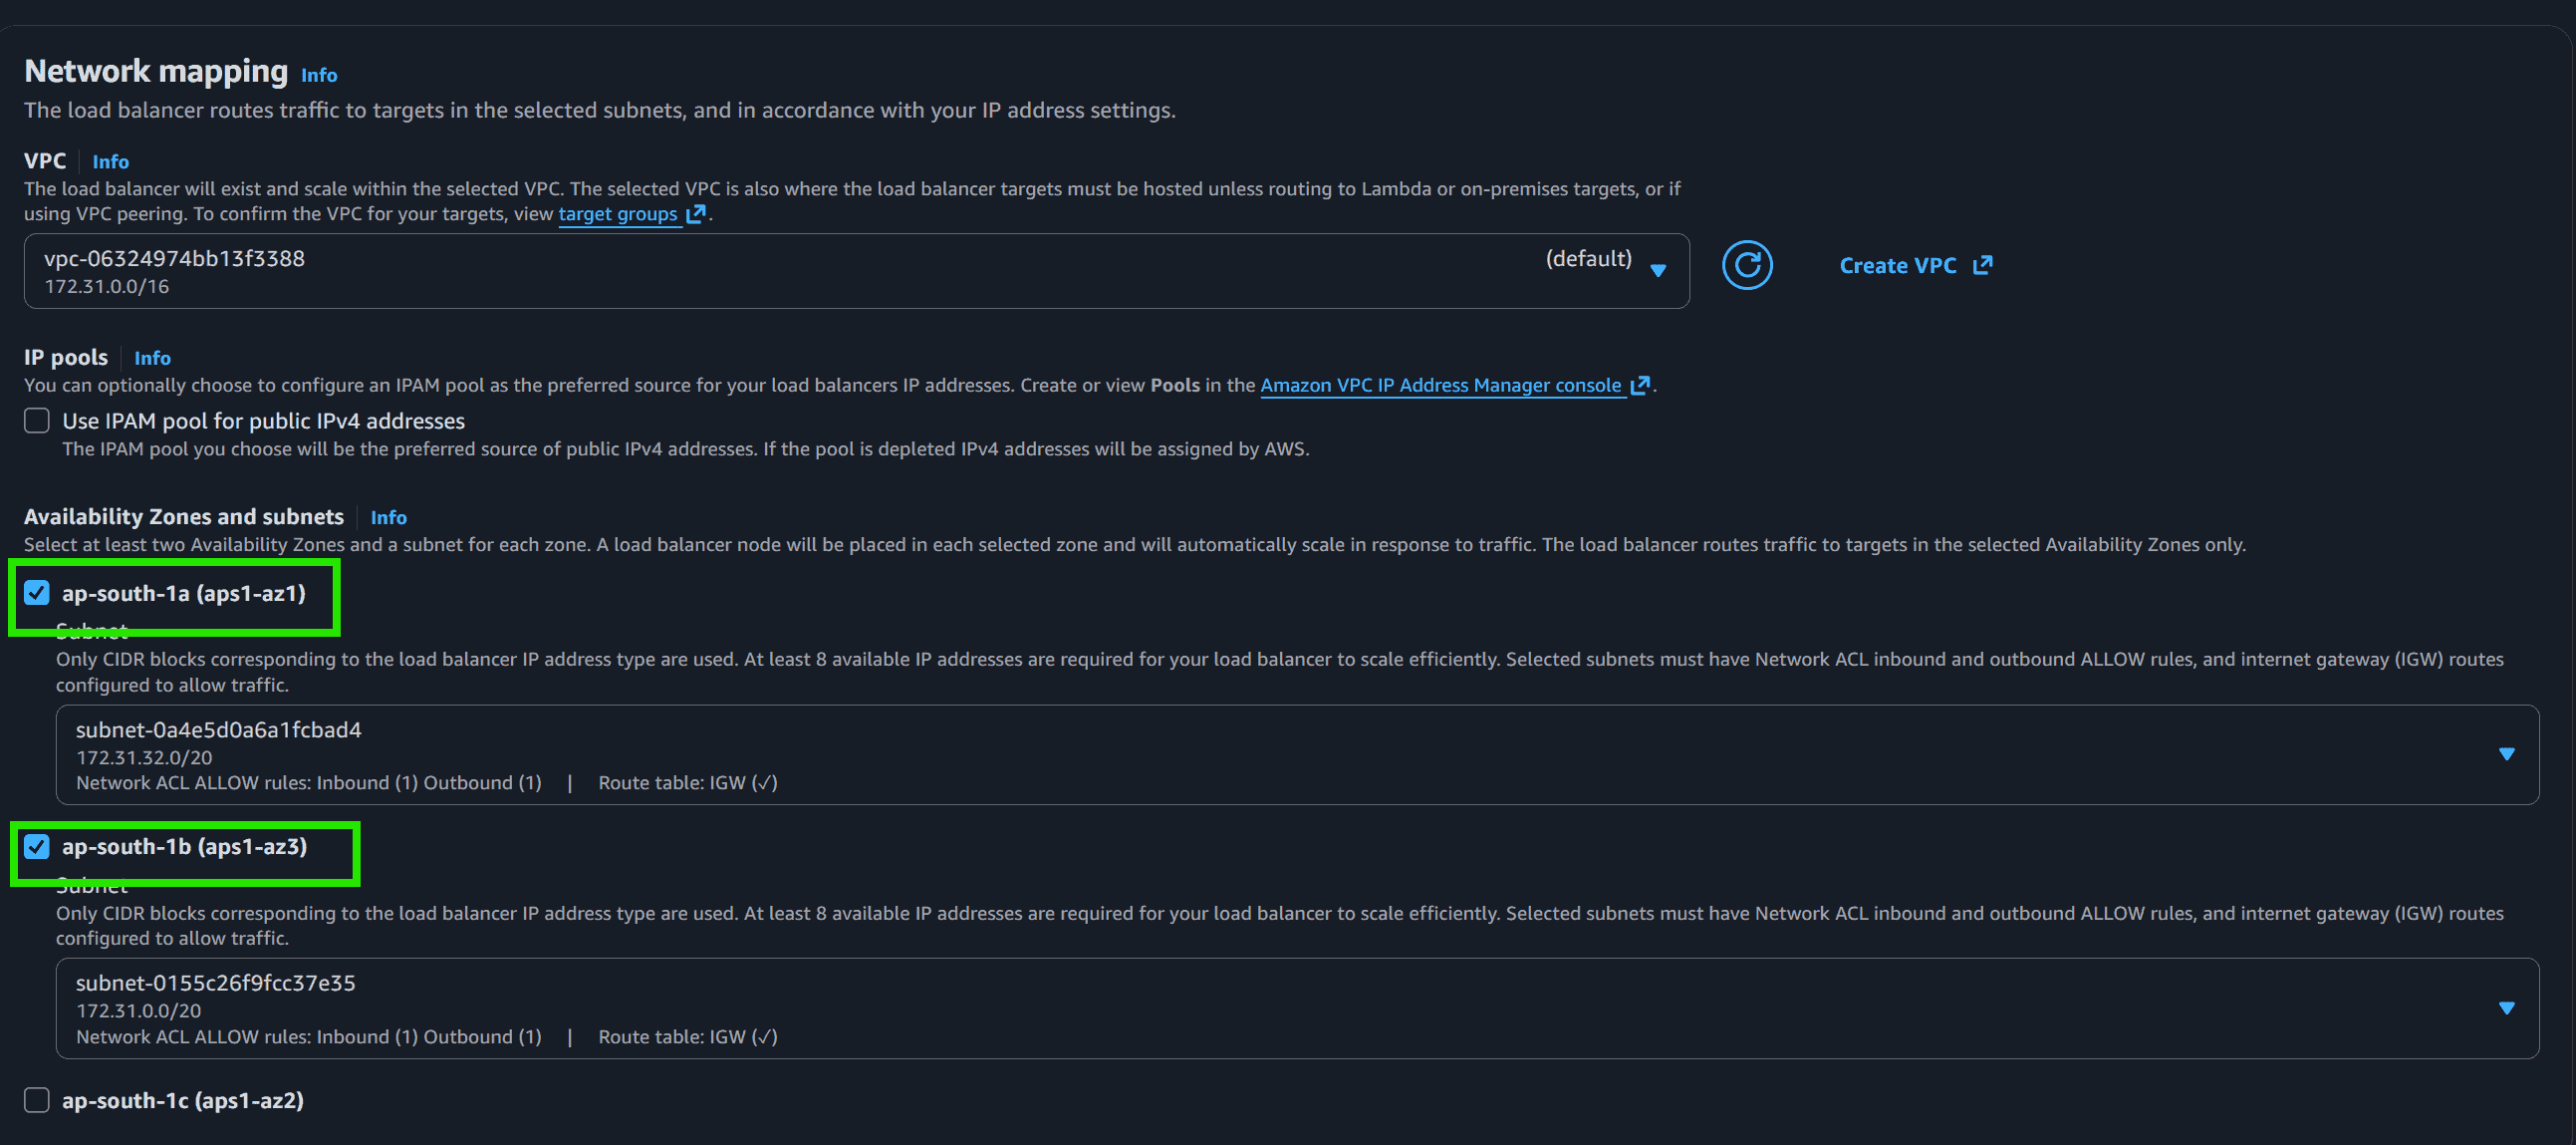
Step 6: Select the default security group.

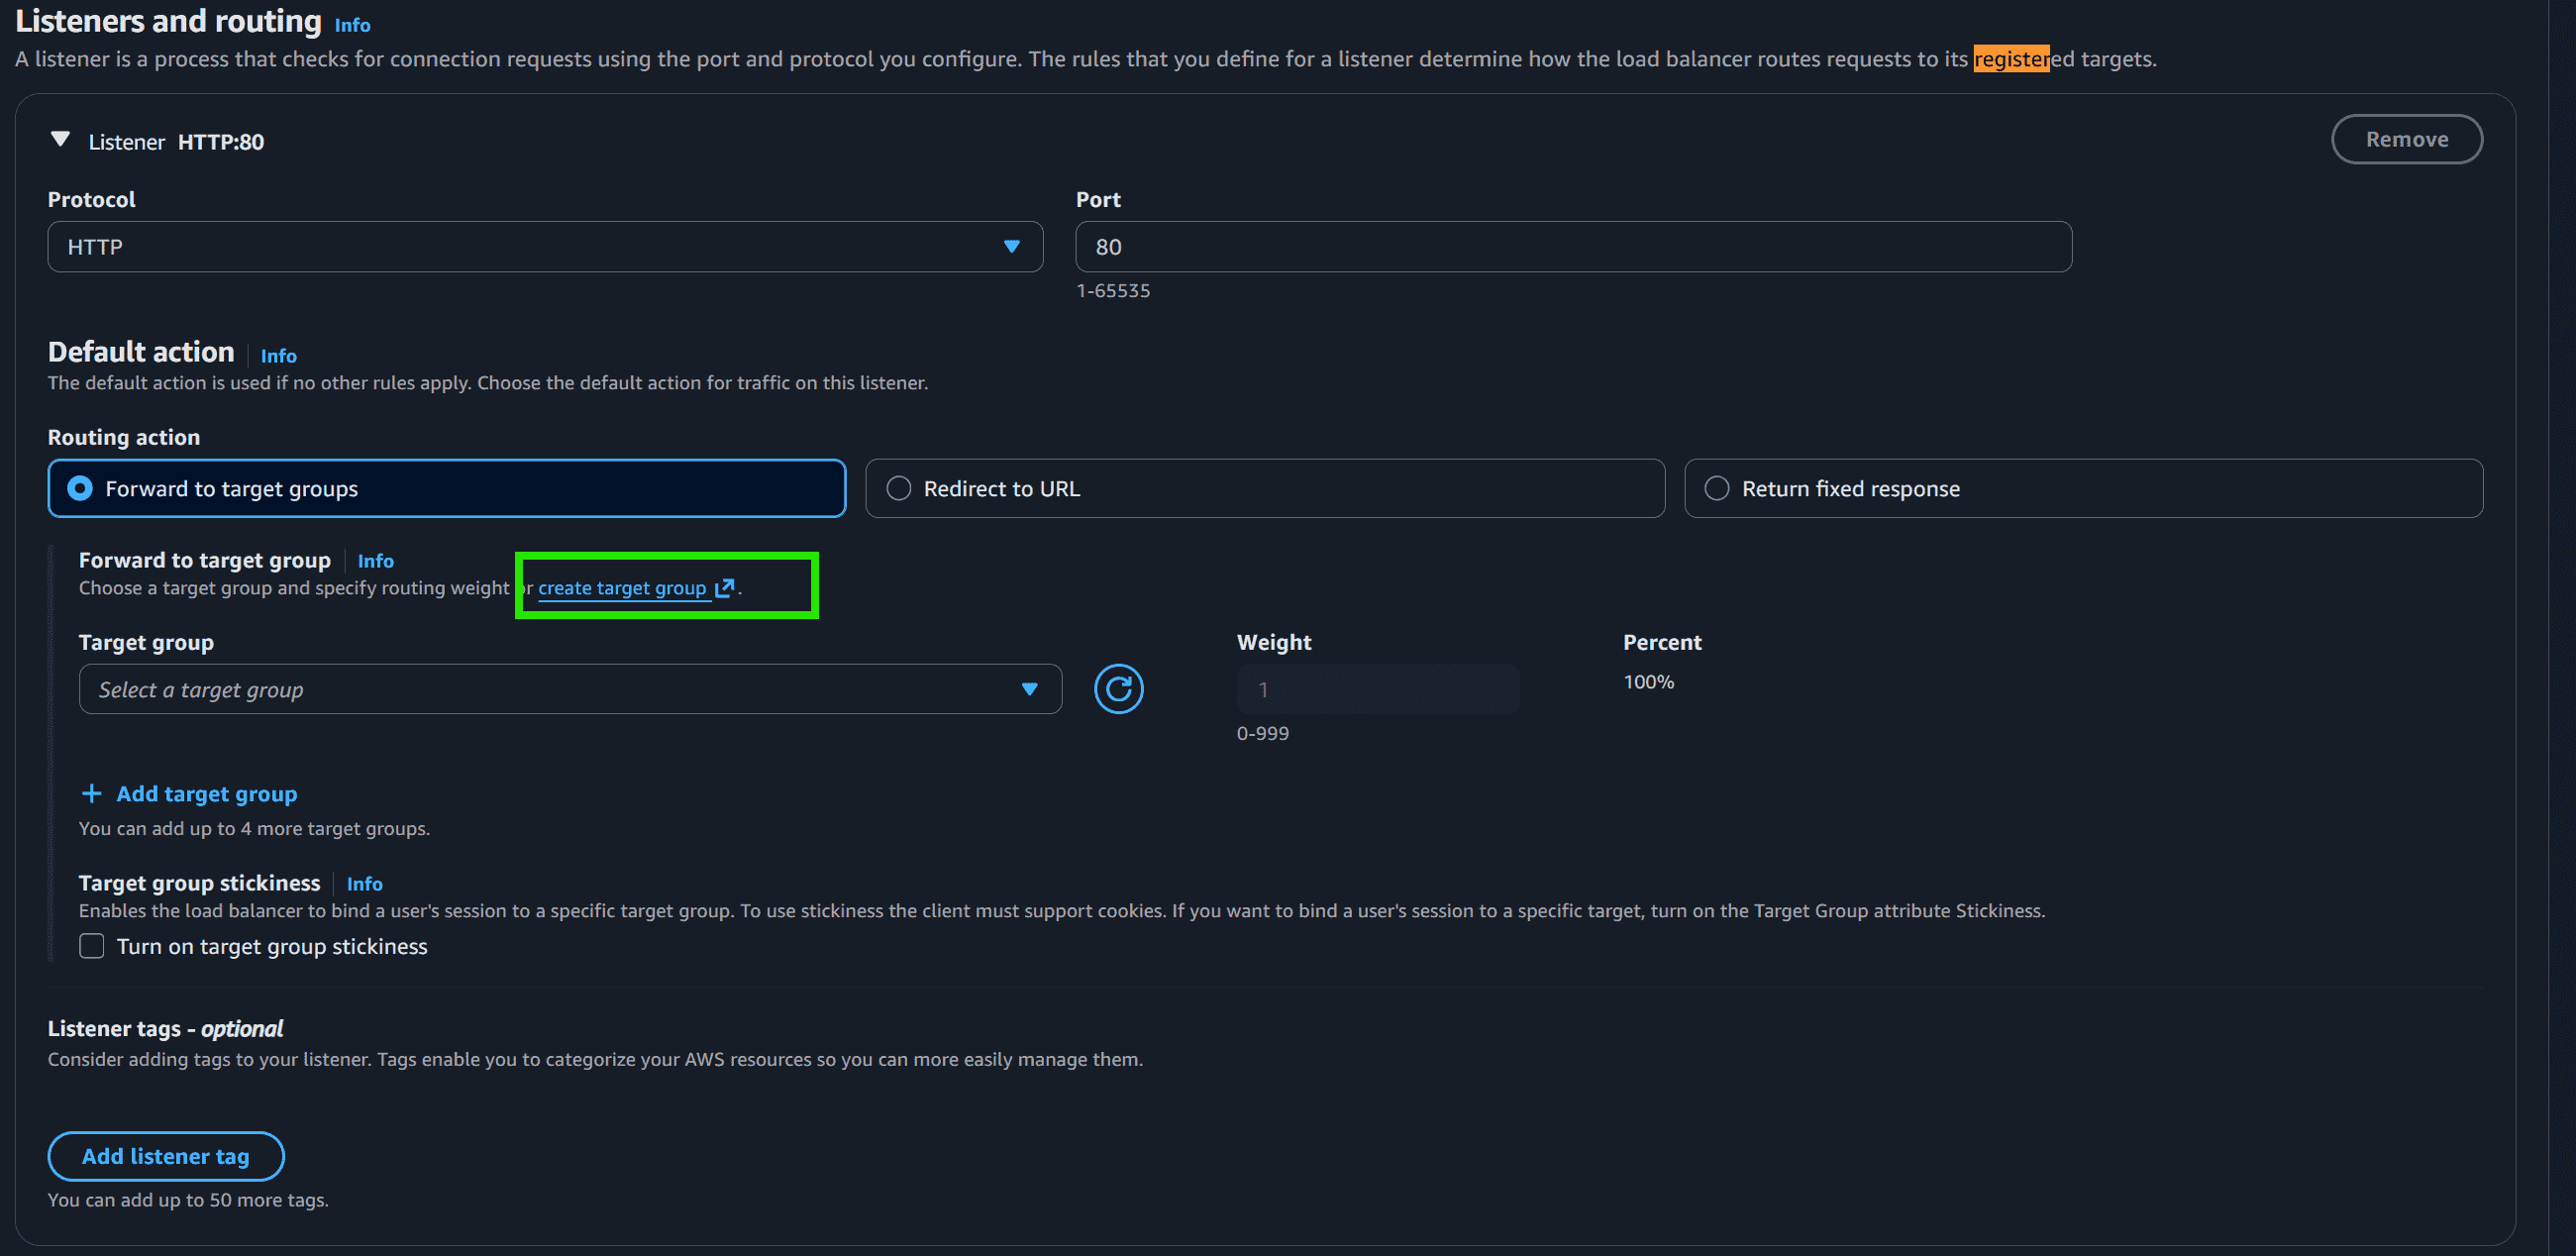
Step 7: In the Listener and Routing section, click on Create New Target Group.
Step 8: Choose the Target Group Name, select the Protocol, and enter the Port Number.

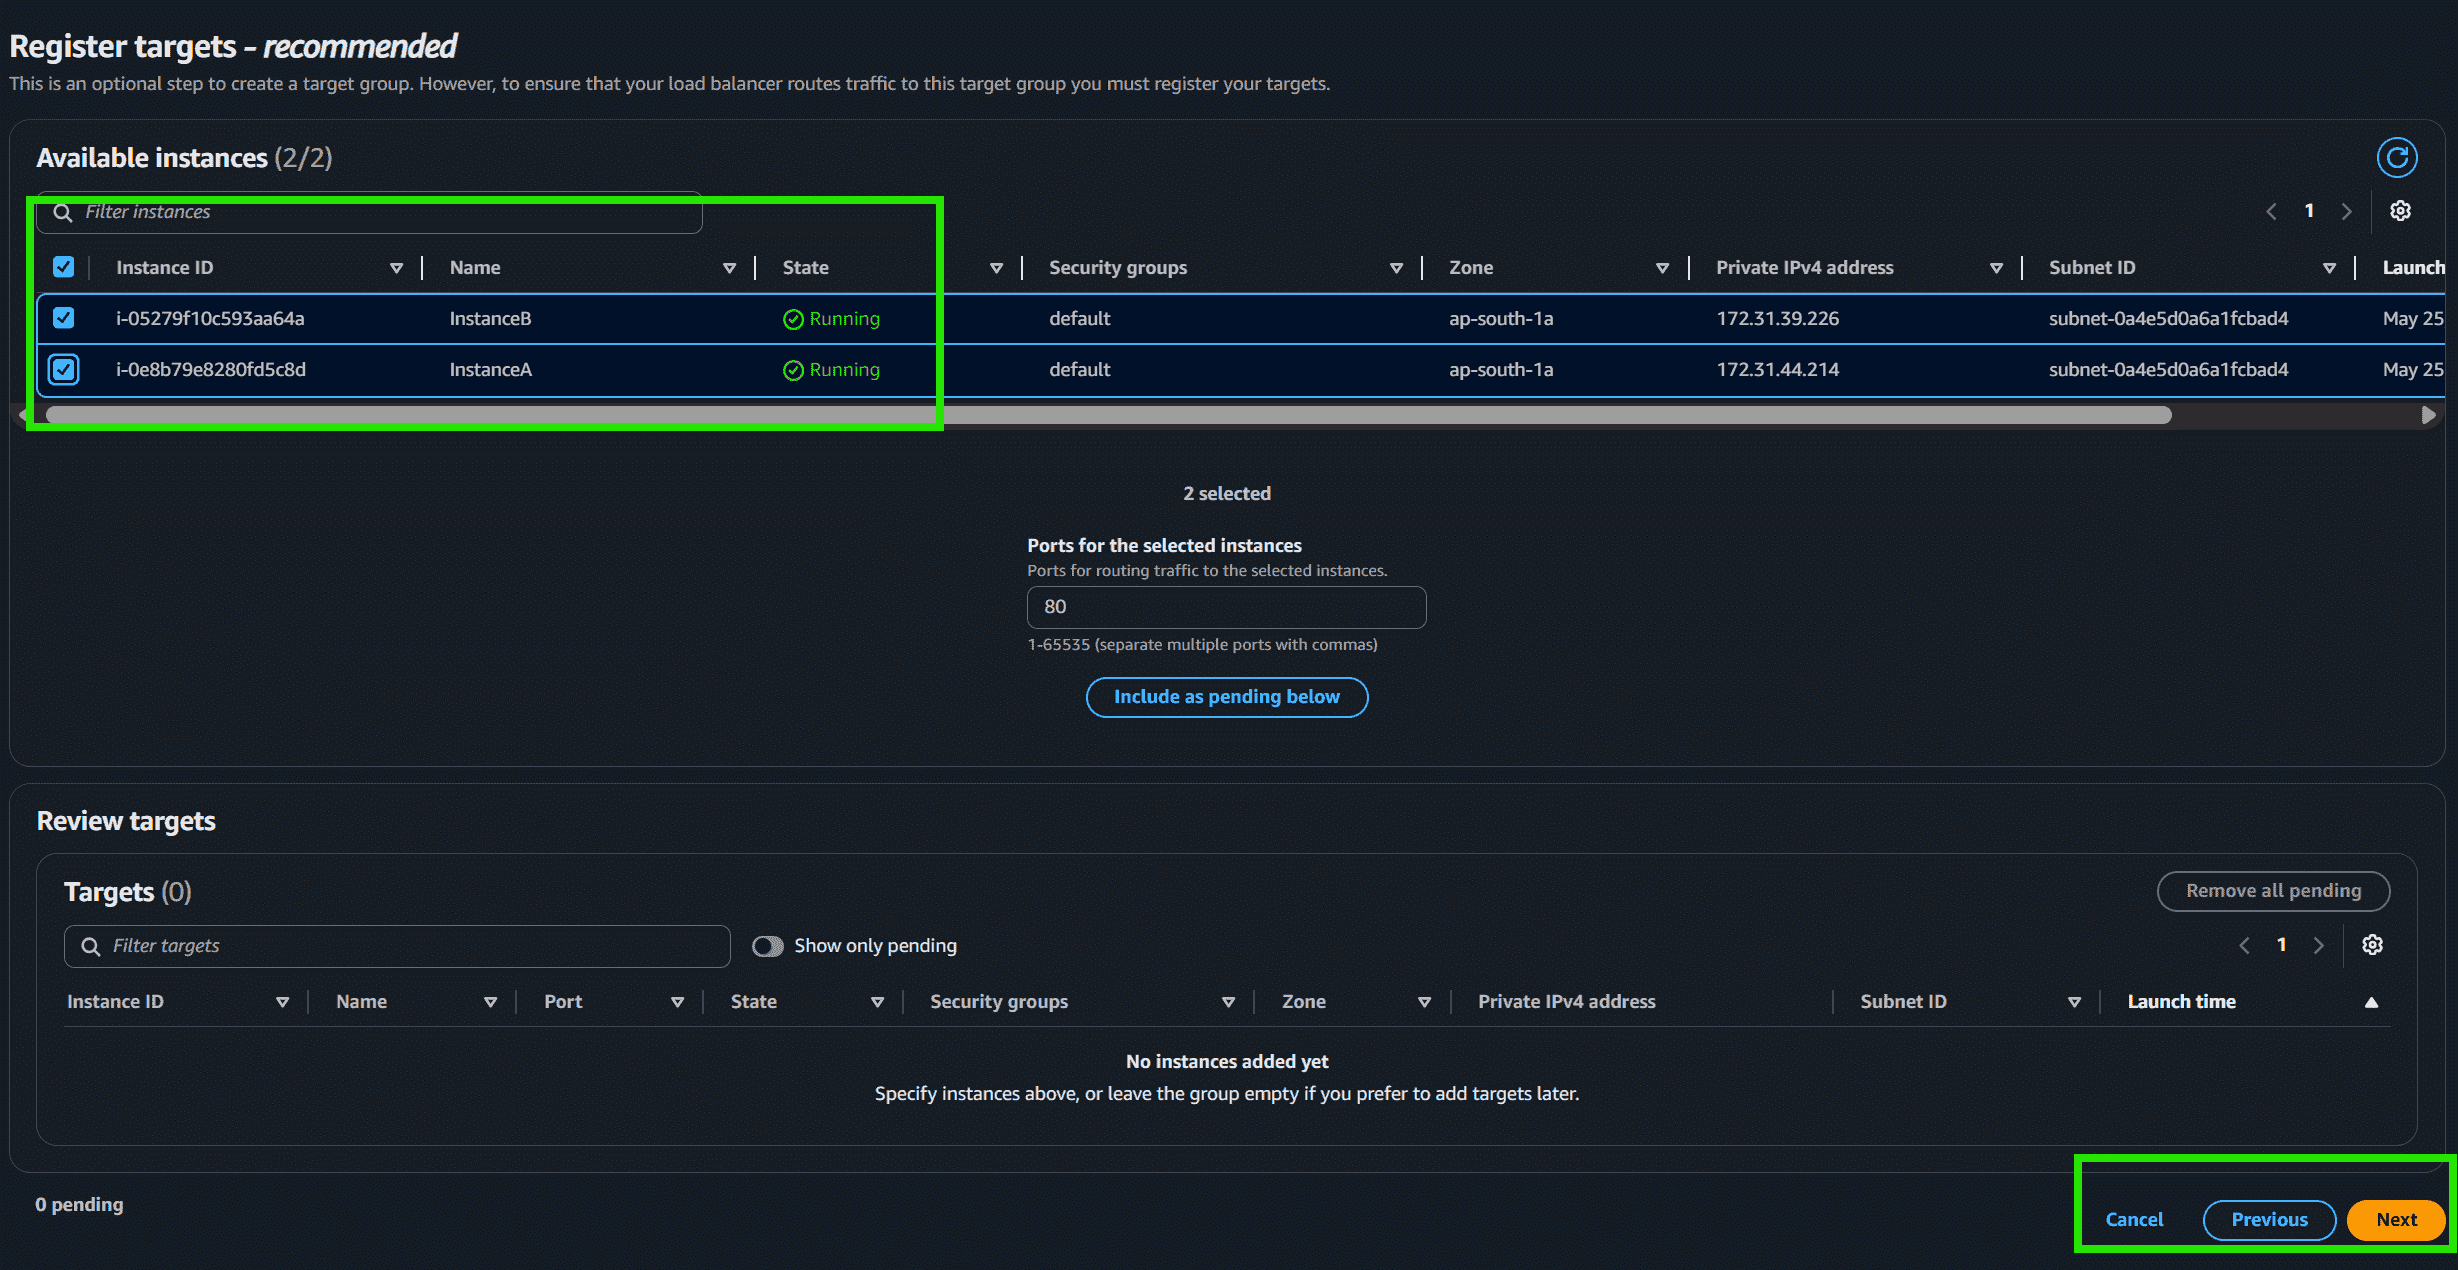
Step 9: Choose instance A and instance B and Click on Next: Review.
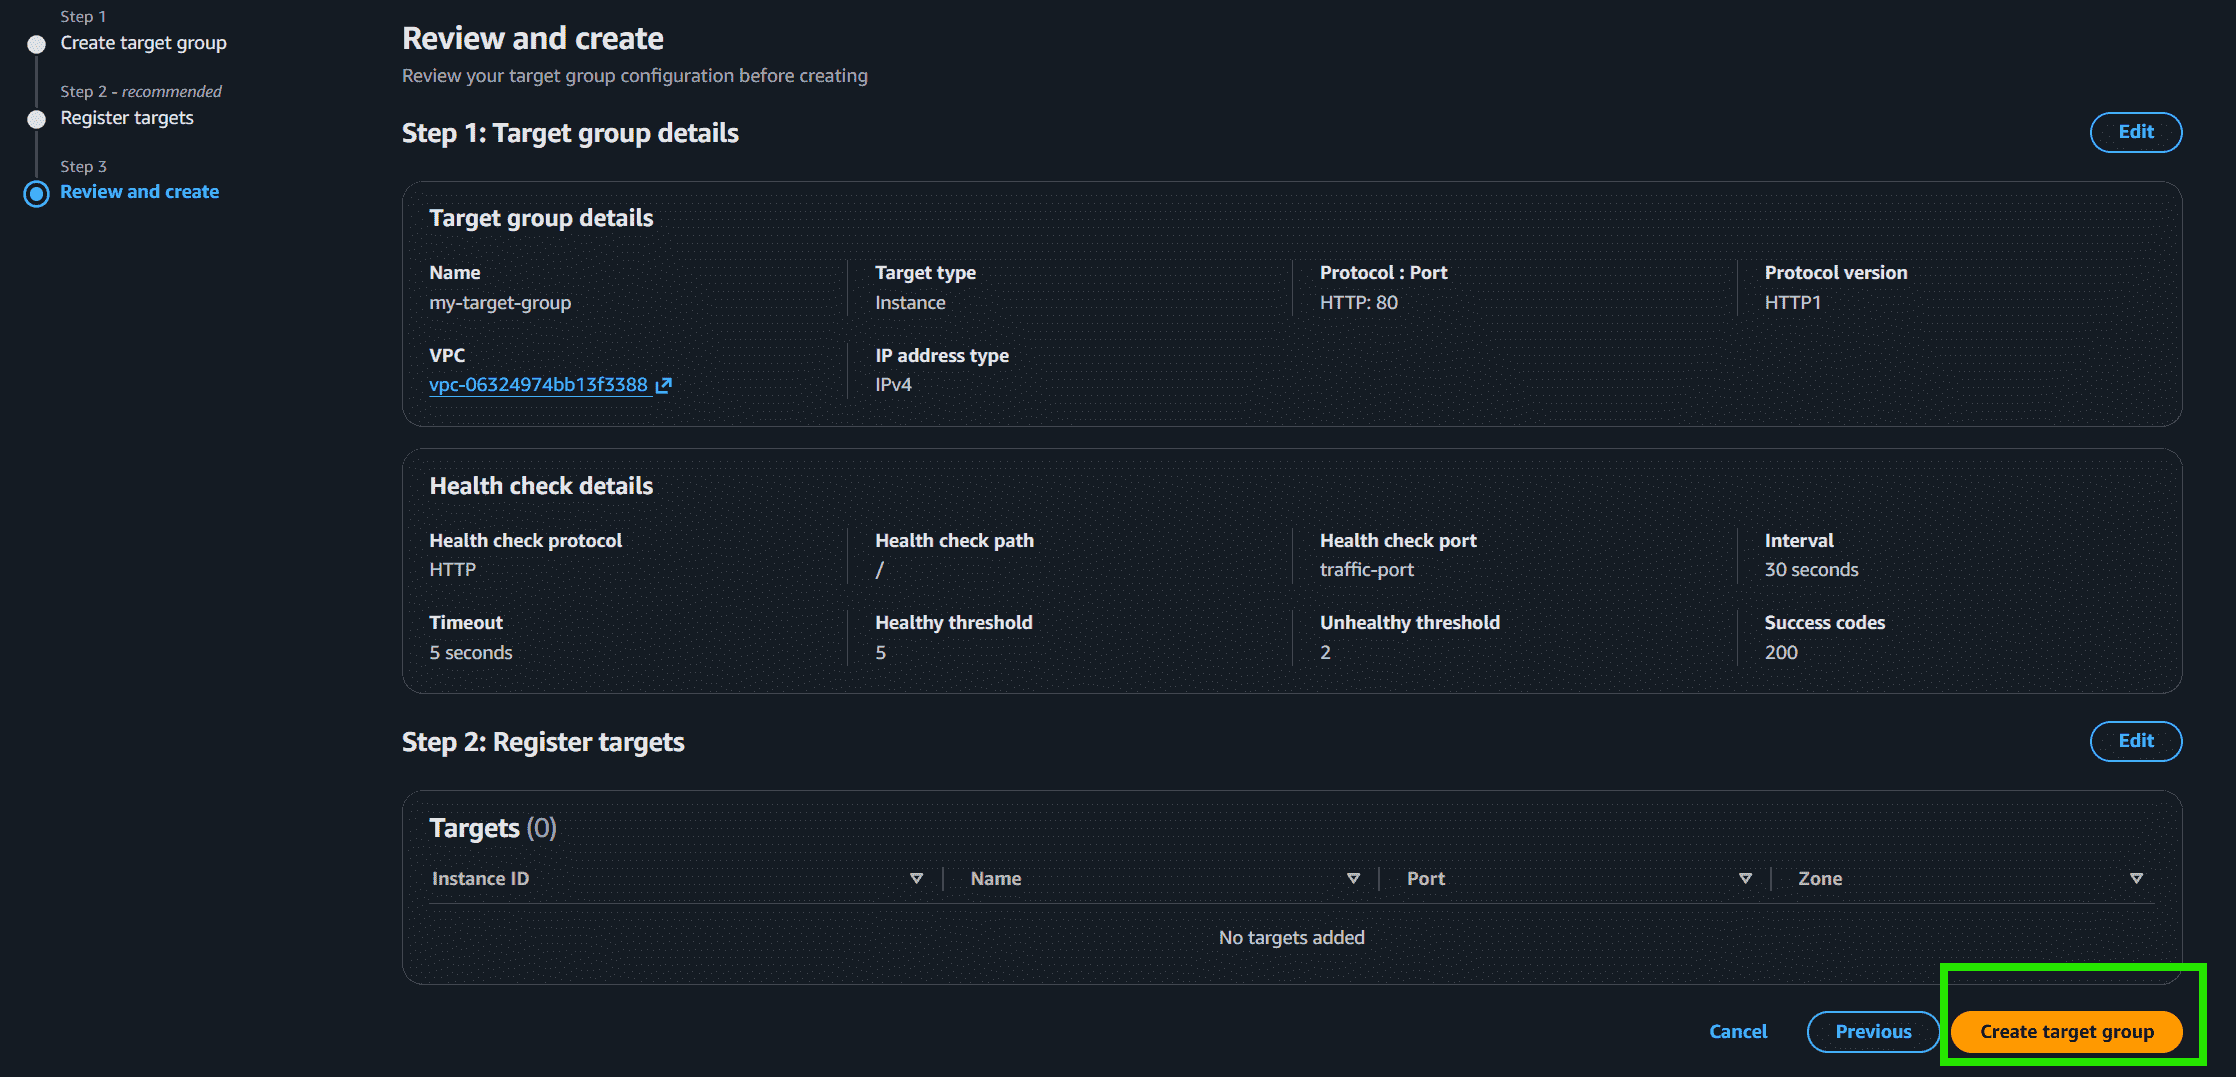
Step 10: Review all the configurations and click on Create Target Group. After that, return to the Load Balancer Creation page and select my-target-group in the routing section.
Step 11: Scroll down and click on Create Load Balancer.
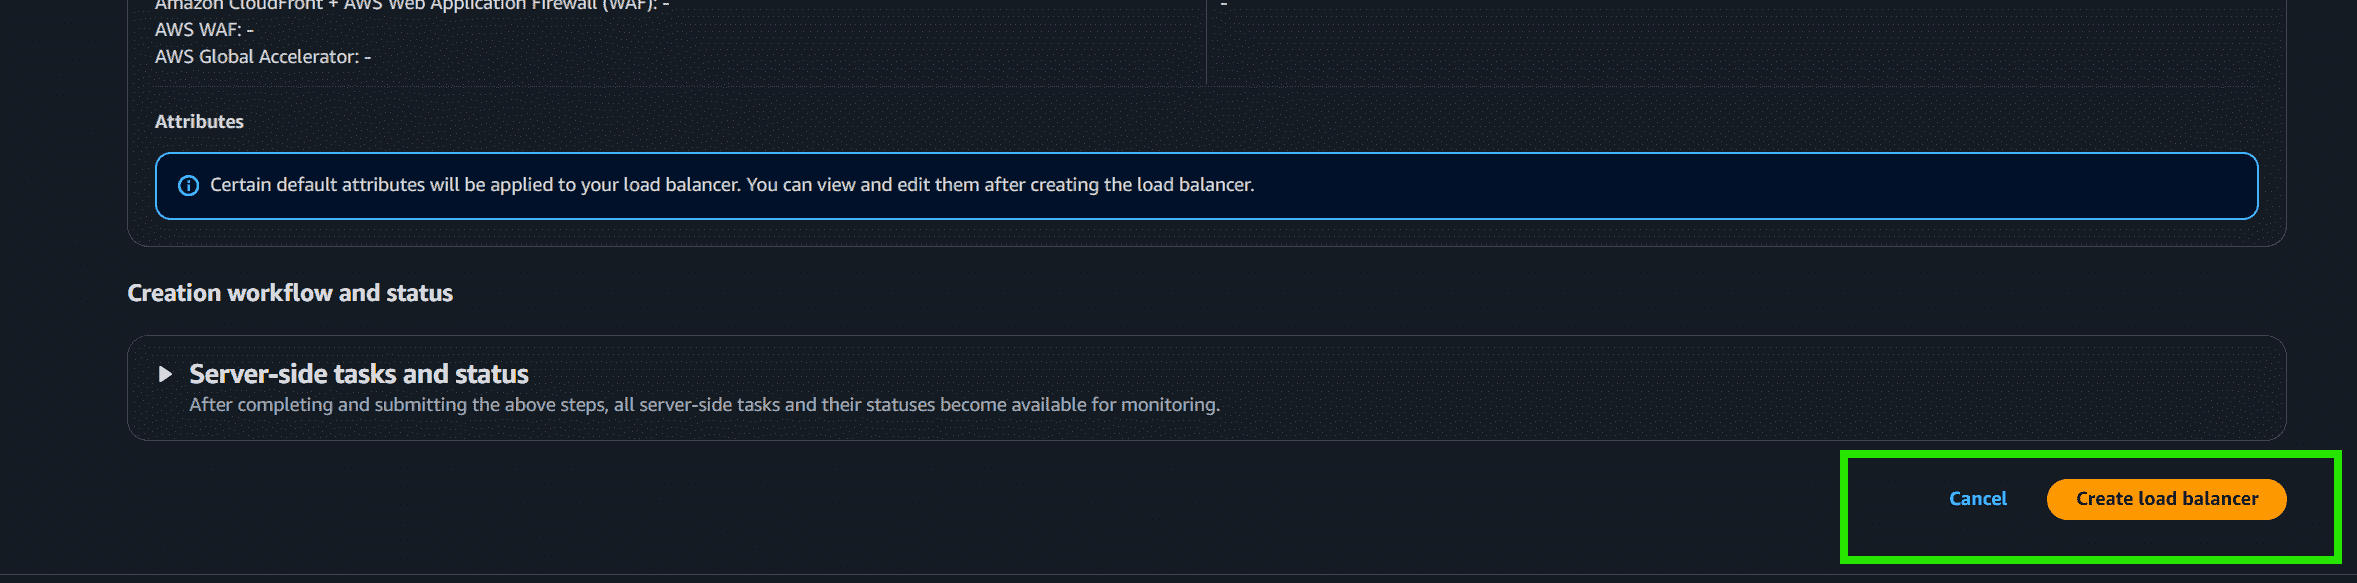
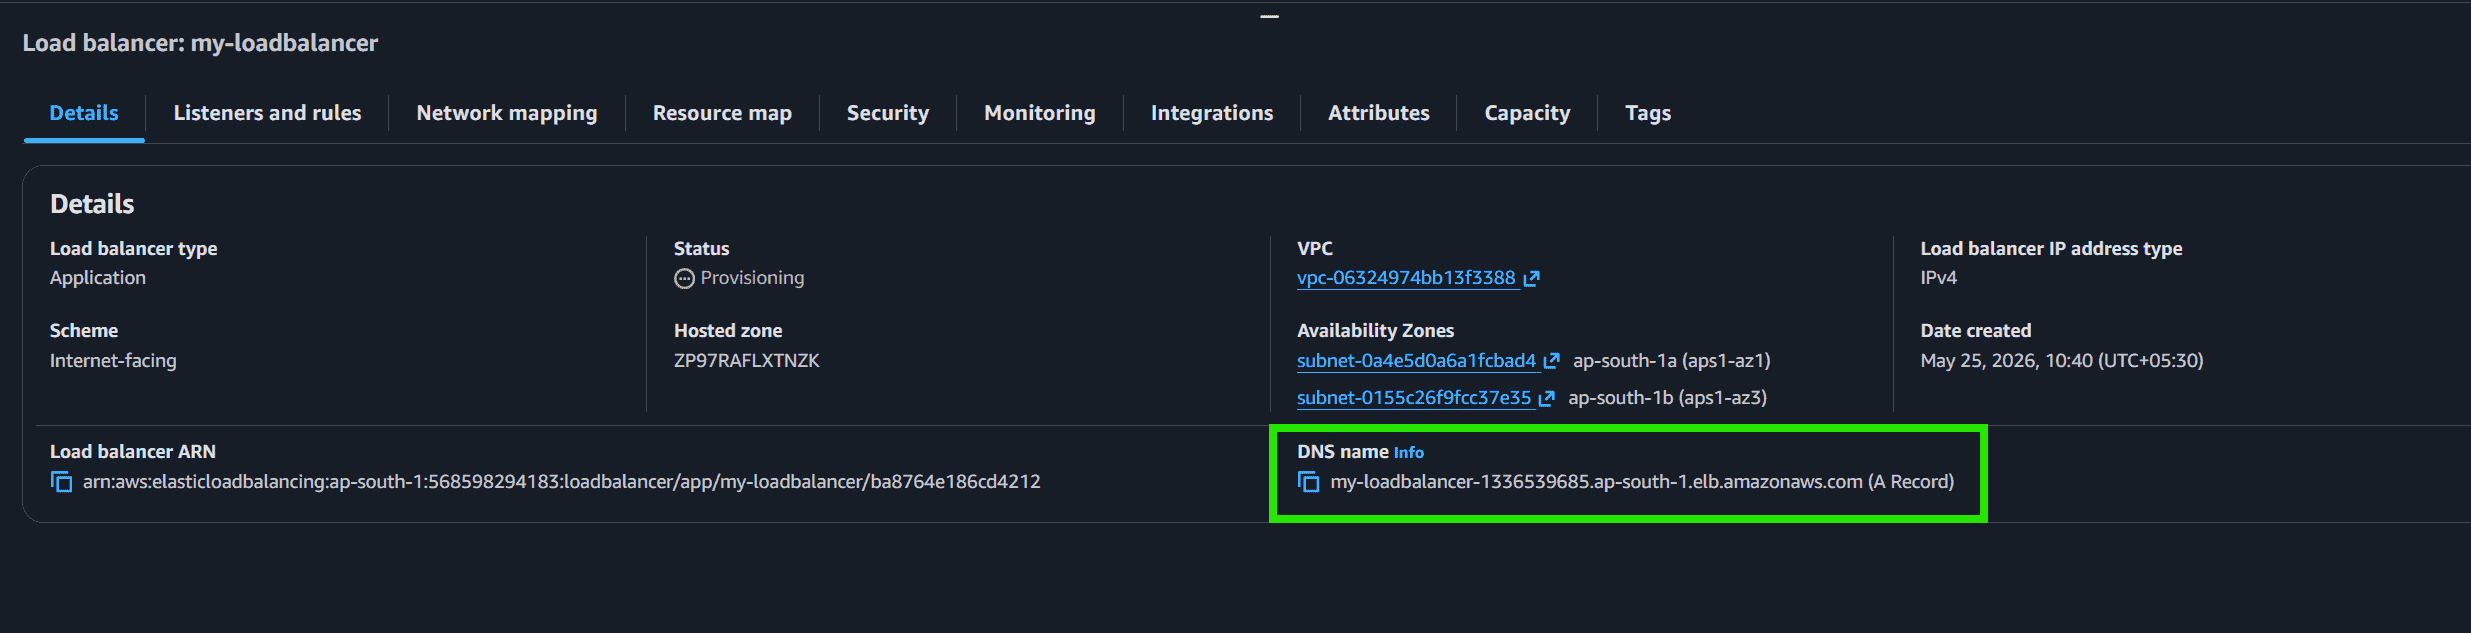
Step 12: Congratulations!! You have successfully created a load balancer.

Step 13: This highlighted part is the DNS name which when copied in the URL will host the application and will distribute the incoming traffic efficiently between the two instances.
Step 14: This is the listener port 80 which listens to all the incoming requests

Step 15: This is the target group that we have created

Step 16: Now we need to delete the Load balancer. Go to Actions -> Click on Delete.

Step 17: Also don't forget to terminate the instances.

When to Use Which?
ALB
- Use for web applications, websites, APIs, and microservices.
- Supports HTTP, HTTPS, and gRPC traffic.
- Best when you need advanced routing based on URL paths, hostnames, or headers.
- Suitable for applications that require Layer 7 (Application Layer) features.
- Does not provide static IP addresses; access is through DNS.
NLB
- Use for gaming, financial applications, IoT systems, and real-time services.
- Supports TCP, UDP, and TLS traffic.
- Best when you need ultra-low latency and high performance.
- Provides static IP addresses for each Availability Zone.
- Suitable for applications that require Layer 4 (Transport Layer) load balancing with simple routing.
Pricing Models
ELB pricing is based on two components: an hourly charge and a usage charge (Capacity Units).
| Load Balancer | Hourly Charge | Usage Metric |
|---|---|---|
| ALB | ~$0.0225 / hour | LCU (Load Balancer Capacity Units) - Based on new connections, active connections, and bandwidth. |
| NLB | ~$0.0225 / hour | NLCU (Network Load Balancer Capacity Units) - Based on bandwidth and connections. |
| GWLB | ~$0.0125 / hour | GLCU (Gateway Load Balancer Capacity Units). |
| CLB | ~$0.025 / hour | Data Transfer (GB). |