Inserting images in Excel helps improve data visualization for dashboards, reports, and catalogs. Images can be aligned with cells to keep the worksheet organized and visually clear.
Note: In Microsoft Excel, images are placed on top of cells by default. To make them behave like they are inside a cell:
Make Image Fit and Move with a Cell
- Insert the image using Insert → Pictures.
- Resize and position the image so it fits within the desired cell.
- Right-click on the image and select Format Picture.
- Go to Size & Properties.
- Under Properties, select Move and size with cells.
Result: The image will move and resize along with the cell.
Steps to Insert a Picture into a Cell
1. Inserting a Picture
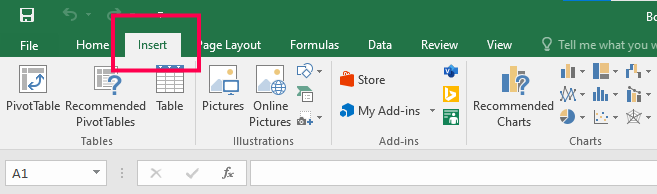
Step 1: On the navigation menu bar, click on the Insert option.
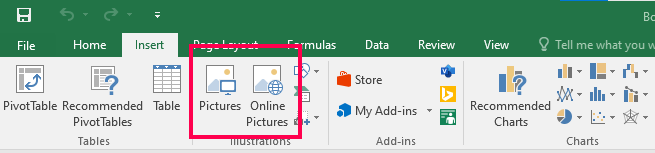
Step 2: Now click on the Picture option as shown in the figure:
Step 3: Then select This Device option from the menu.
Step 4: In the Insert Picture dialog box will be pop up on the screen as shown in the figure:

Step 5: Next select the storage drive from the left menu where we have to save the image file.

Step 6: Now select the image file to insert.

Step 7: Next click on the insert button.

The picture is inserted in the document as shown in the figure:

2. Inserting a Picture From an Online Source
Step 4: Repeat the same steps from 1 to 3.
Step 5: Next click on the Online Picture option from the menu as shown in the figure:

Step 6: A Online Picture dialog box will be pop up on the screen where we can select different online images.

Step 7: Next search the image name in the search bar box.

Step 8: Now select the image file from the menu as shown in the figure:

Step 9: Next click on the Insert option.

Finally, the image is inserted in the document as shown in the figure:

3. Format Added Images using MS Excel
Step 1: Now Adjust the image size by dragging the highlighted button as shown in the figure:

Step 2: On the navigation menu bar click on the Format option.

Step 3: Now select the picture style from the menu as shown in the figure:

Step 4: Next click on the Picture Border option and then select the border color from the color panel.

Finally, the Picture is inserted into the MS Excel sheet.
Supported Image Formats in Excel
Excel supports various image formats for insertion, each suited for different use cases:
| Format | File Extension | Notes |
|---|---|---|
| JPEG / JPG | .jpeg / .jpg | Most widely supported; good for photos and high-compression needs. |
| PNG | .png | Ideal for logos, transparent backgrounds, and crisp graphics. |
| BMP | .bmp | Bitmap image; larger file size but supported. |
| GIF | .gif | Supports basic animations, but Excel will only display the first frame. |
| TIFF | .tif / .tiff | Supported, but not widely used in Excel due to size and format complexity. |
| SVG (Excel 2016 and later) | .svg | Scalable vector graphics; useful for icons and crisp visuals at any size. |
| ICO (Windows only) | .ico | Icon files can be inserted, but not commonly used. |