MFA stands for Multi-Factor Authentication. In AWS, it acts as a second layer of security to protect AWS accounts. Even if someone knows your password, they cannot access your account because they do not have your physical device. This is what it aims to achieve and it is a highly recommended security standard in organizations everywhere. Every account in AWS can have up to 8 security keys. In this article, we will understand how we can implement MFA in an AWS Account.
Setting Up MFA In AWS Account
There are several physical device options to choose from when setting up MFA for your AWS account. These are:
- FIDO Security Keys (Hardware device that provides security codes by third-party companies like Yubico)
- Virtual Authenticator Apps (Virtual Apps like Google/Microsoft Authenticators that can be downloaded for free from Google Play Store)
- Hardware TOTP tokens (Tokens must be purchased from AWS, these are exclusively made for AWS)
In this article, we will look at how we can set up a MFA using Virtual Authenticator Apps.
Steps To Create MFA for Root and IAM Users - Virtual MFA Devices
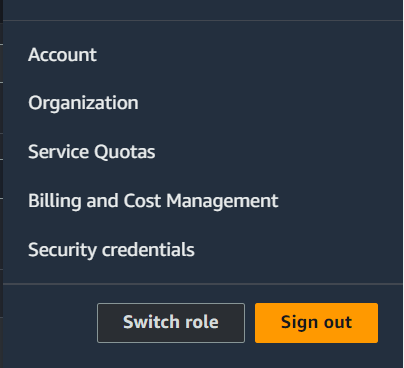
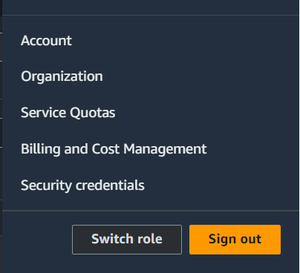
Step 1: Login to the AWS Management console and in the navigation bar on the upper right corner, select the account for which you wish to add the MFA device. From the drop down shown below, choose the option security credentials. This will take you to IAM Global console where you can manage the overall security of your account.
Step 2: Scroll down to the MFA options listed. This allows you to add MFA devices.

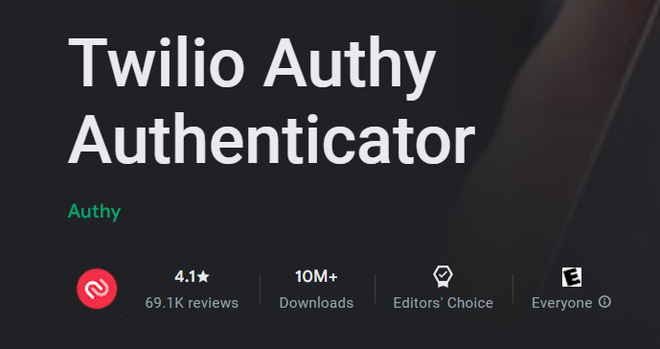
Step 3: Download Authy from Twilio in your smartphone from Google Play Store/Apple App Store
Step 4: After downloading the application of your choice, head over to the MFA section in the IAM console. Click on the assign MFA device option.

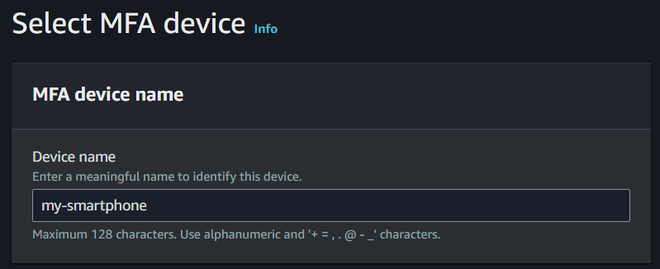
Step 5: After you have clicked next on your Assign MFA Device option, you will be prompted to choose a name for your device. In this example I have considered the name as 'my-smartphone'.
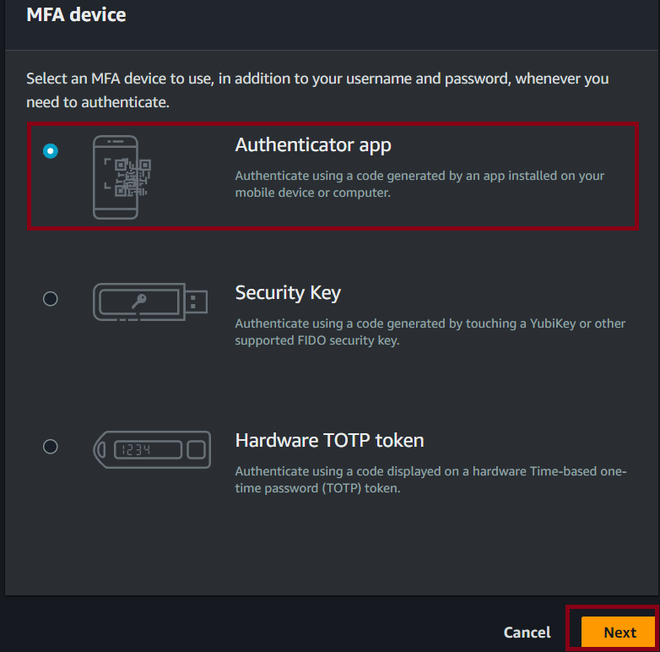
Step 6: After typing in the name, when you scroll down you will see the following choices. Select 'Authenticator App' and click on next.
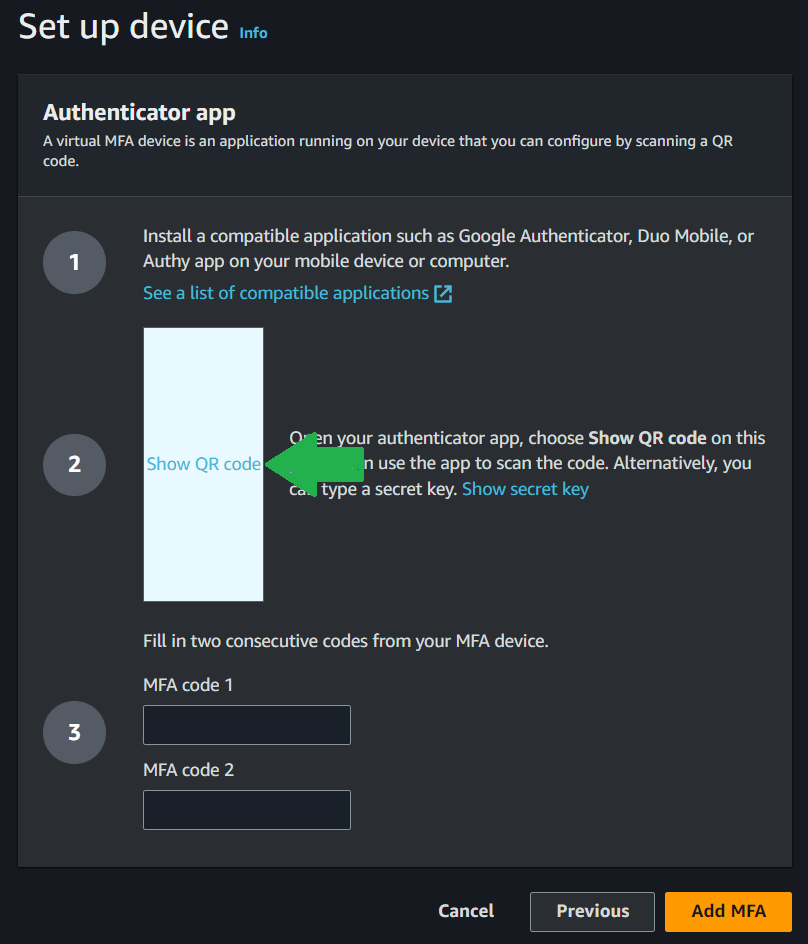
- You will be taken to the next page where you will click on the "Show QR Code" button as shown below.
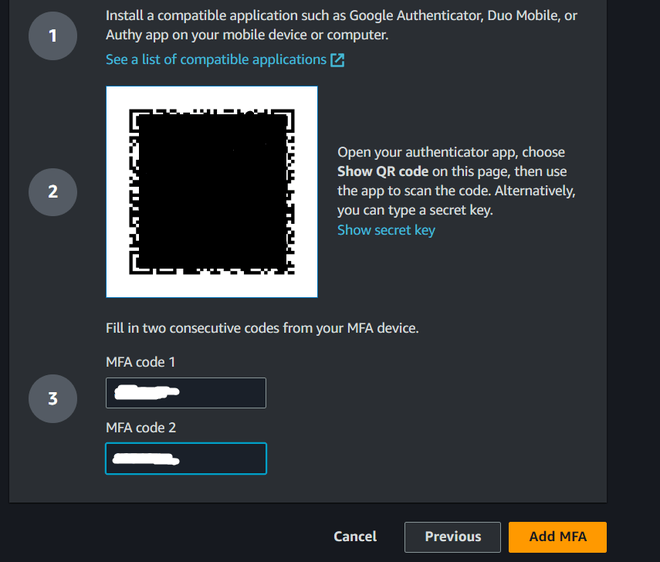
- This reveals the QR code. Now, in you authenticator application, click on add a new device option. Scan the following QR Code. Type in the 6 - digit code you see on your mobile phone app in MFA code.
- When your code refreshes after 60 seconds, a new code will appear. Type this in the the MFA code 2 field and click on Add MFA.
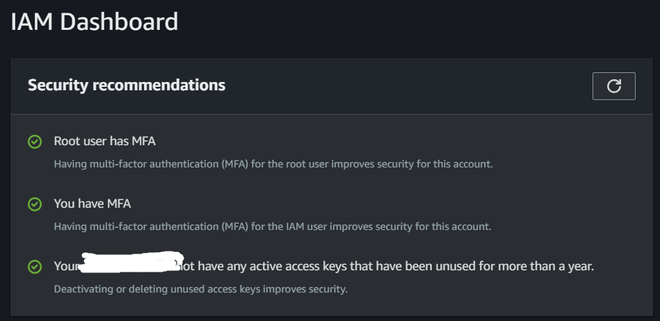
- If you have followed all the steps as stated, you will see that now when you navigate to you IAM dashboard, it displays that you have MFA enabled for your account.
Setting Up MFA Using Hardware Devices
Setting up MFA using one of the hardware device options is similar to that of virtual authentication applications. It involves the following slight changes:
- Get a hardware MFA Device: To enable MFA authentication using one of the hardware devices you must first arrange one of these devices.
- FIDO Security Keys: FIDO certified security keys are can be ordered for free from AWS console for US based customers. Other users can buy keys like Yubico for themselves. Then the process of adding these to their accounts is:
- Login to the AWS Management console and in the Navigation bar on the upper right corner, select your account for which you wish to add the security key
- . From the drop down shown below, choose the option security credentials.
- This will take you to IAM Global console where you can manage the overall security of your account.
- Next, on the AWS iam console, scroll down to see your MFA devices listed. Click on the add Assign MFA Device option.
- Select a suitable name for your device and choose the option Security Keys from the list as shown below. Then click on Next.
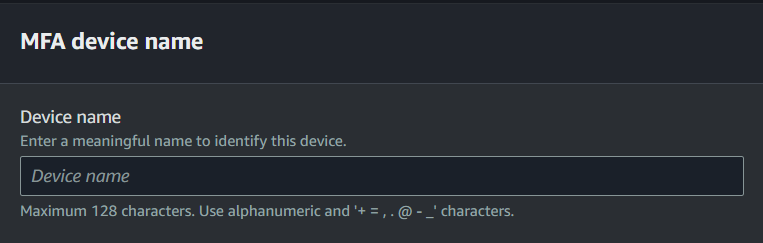
Enter a name 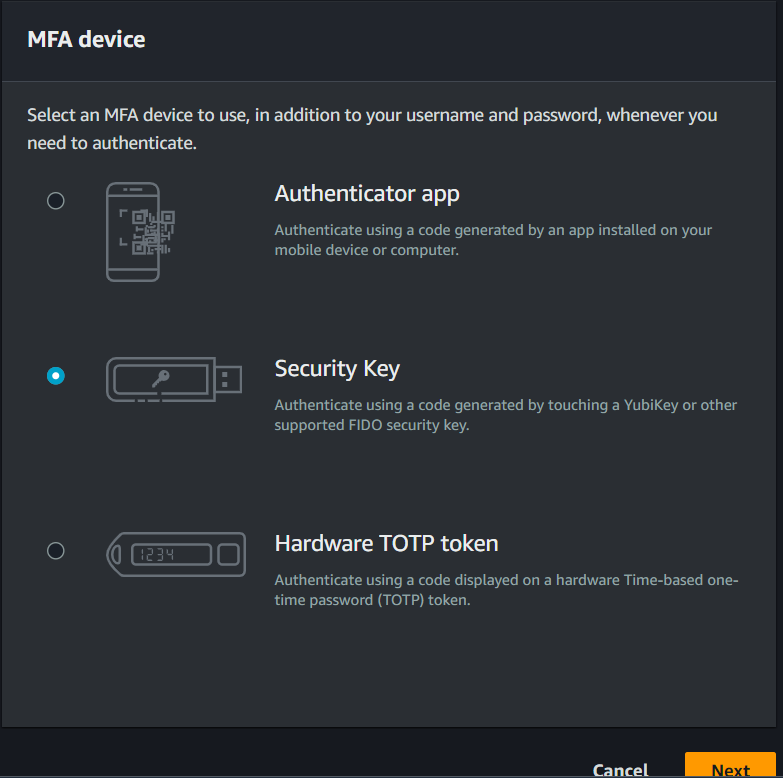
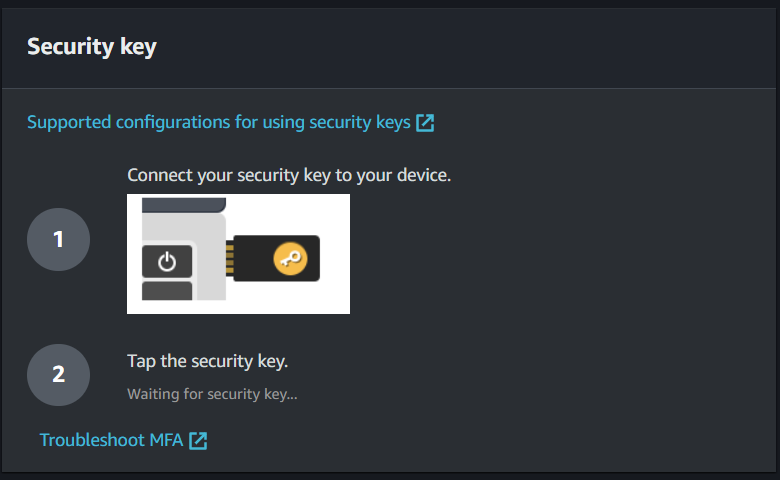
- Next, connect the device to your computer. And tap it. This successfully configures your security key for use with AWS. Next time you login into your AWS account, you will need to use your security keys.
- Hardware TOTP Tokens: To add these devices for MFA follow the following steps:
- Login to the AWS Management console and in the Navigation bar on the upper right corner, select your account for which you wish to add the security key.
- From the drop down shown below, choose the option security credentials.
- This will take you to IAM Global console where you can manage the overall security of your account.
- Next, on the AWS IAM console, scroll down to see your MFA devices listed. Click on the add Assign MFA Device option.
- Select a suitable name for your device and choose the option Security Keys from the list as shown below. Then click on Next.
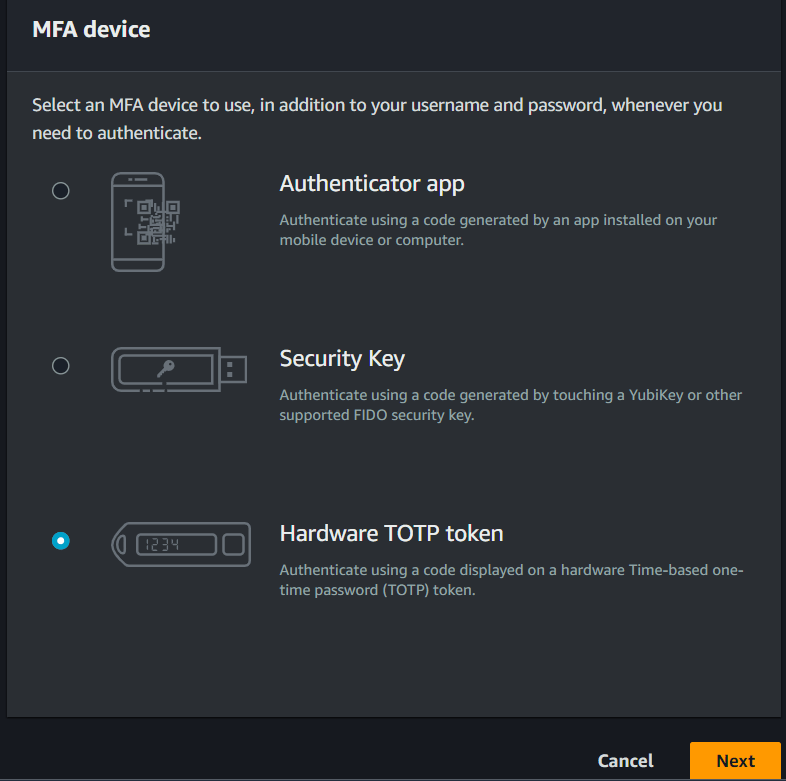
- After clicking on next you will be taken to a new page where you will have to enter the serial number of your hardware device that is located on it's back.
- Fill in this serial number on the designated field. Start the device. You will see a six digit MFA code. Enter it into the first field and wait for 30 seconds.
- A new MFA code will appear. Enter it into the second field and click on Add MFA button.
- This successfully adds the TOTP hardware device to the account. Please refer the screenshot below for your reference.

Managing MFA Devices In AWS
AWS makes it quite simple to manage your MFA Devices. Each account in AWS can have up to 8 MFA devices at any given time. All these options can be managed from the AWS IAM console under the Multi-Authentication Devices section.
- Login to the AWS Management console and in the navigation bar on the upper right corner, select your account for which you wish to add the security key.
- From the drop down shown below, choose the option security credentials. This will take you to IAM Global console where you can manage the overall security of your account.
The above console contains everything needed to work with MFA devices. It allows the addition, removal and resyncing of MFA Devices in AWS.
Best Practice Of MFA Security in AWS
- Always add MFA devices for the root user and the IAM user.
- The physical security of your hardware devices is your responsibility. If you add them to your account and loose them, you will not be able to access your account.
- Consider adding multiple MFAs to secure your account. Incase you loose any one of your device, you will still be able to access your account and remove the device that you lost.
- Keep your MFA devices a secret. Never share the details of the specifics of your credentials with anyone.
- Always buy your MFA devices from authentic sources. Physical MFA devices that are plugged into your computer may have been tampered with.
- If you are the root user, make it a mandatory for your iam users to add MFA to their accounts. This safeguards your organization from many data breach attempts or hacking attempts where an intruder gains access to resources that he should not.
- Regularly resync your device to avoid running into any problems while you log in.
Troubleshooting Issues Of MFA Security In AWS
The issue that may arise with MFA devices is the asynchronous problem where your AWS account and your MFA device fall out of synch in time. This issue can be resolved from the AWS management console itself. To resync your MFA device, follow the following steps.
- Navigate to the MFA option in the IAM console.
- Next, select the MFA device you want to resync and click on the Resync option.
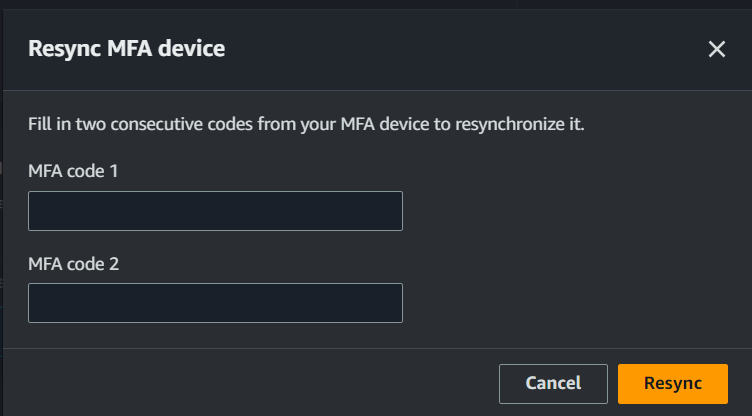
- This opens a new prompt that asks you to enter 2 MFA codes.
- Enter 2 consecutive MFA devices that you see on your device and then click on Resync.
- This successfully resolves all the issues with your MFA device.
Disabling MFA For Root Users And IAM Users
To disable MFA devices, head over to the IAM console and under the MFA section, select the device you wish to remove. Then click on the Remove option.

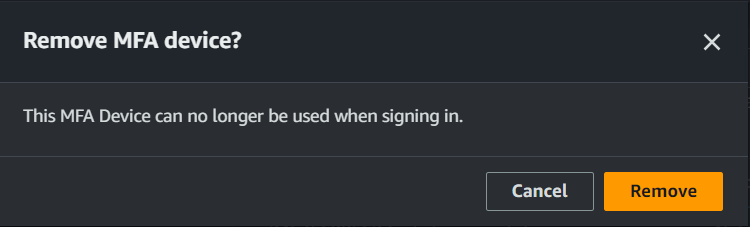
- You will be prompted to confirm your decision.
- Click on Remove. This removes your devices and you can no longer use it to sign into you account.
Hence, in this article, first we saw a brief overview of MFA and why it is needed. Then, we looked at MFA options in AWS. Following which we added MFA to our account in AWS using a Virtual Authenticator Application downloaded from app marketplace. Now, your account has a second layer of security. We have implemented MFA for AWS Account.