The Developer tab is a hidden ribbon in Word that provides access to advanced tools for creating forms, recording macros, and managing document templates. It is designed for users who need to customize Word beyond standard formatting, such as developers, form designers, or advanced users.
Key Features
- Form Controls: Add interactive elements like text boxes, checkboxes, or dropdown lists to create fillable forms.
- Macros: Record and manage macros to automate repetitive tasks (see "Automate Tasks in MS Word" for details).
- Templates and Add-Ins: Create and manage document templates or integrate third-party tools.
- XML and VBA: Customize documents with XML structures or Visual Basic for Applications (VBA) code.
Example: Use the Developer tab to create a fillable survey form with dropdown menus and checkboxes.
Steps to Use Developer Tools
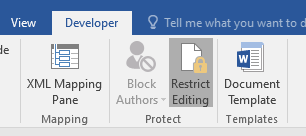
Step 1. Enable the Developer Tab
Show the Developer Tab:
- Go to File > Options (Windows) or Word > Preferences (Mac).

- In the Word Options dialog box, select Customize Ribbon.
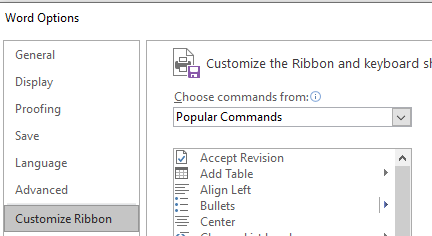
- Under Main Tabs, check the box for Developer and click OK.
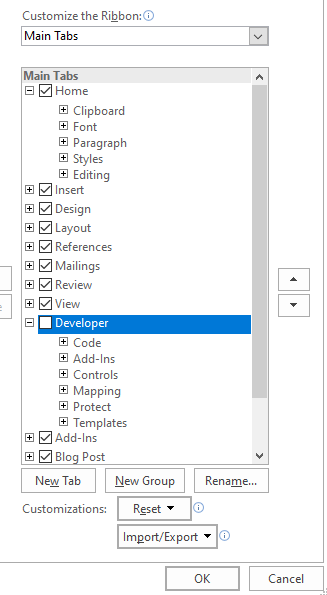
- The Developer tab appears on the ribbon.

Step 2. Create Fillable Forms with Controls
Insert Form Controls:
- Go to the Developer tab > Controls group.
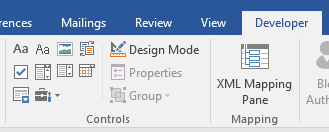
- Choose a control:
- Text Box: For free-text input (e.g., name or comments).
- Check Box: For yes/no or multiple-choice options.
- Drop-Down List: For selecting from predefined options.
- Date Picker: For selecting dates.
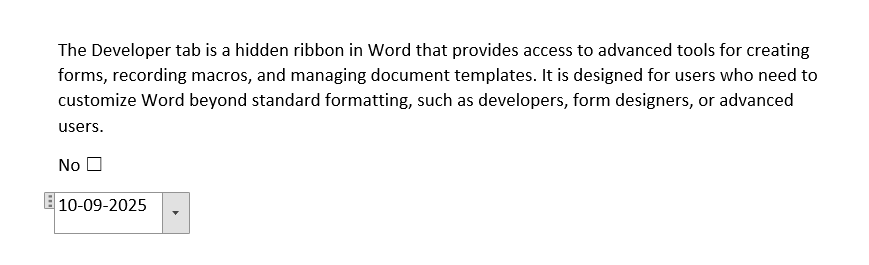
- Click in the document to insert the control, then adjust its size by dragging handles.
- Right-click the control, select Properties, and customize options (e.g., list items for dropdowns).
Protect the Form:
- Go to Developer > Protect > Restrict Editing.
- In the Restrict Editing pane, check Allow only this type of editing > Filling in forms.
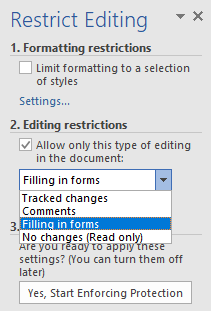
- Click Yes, Start Enforcing Protection, and add a password (optional).
Step 3. Record and Manage Macros
Record a Macro:
- Go to Developer > Code group > Record Macro.
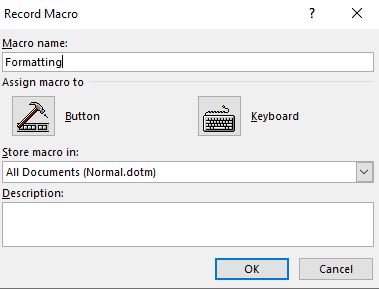
- In the dialog box:
- Enter a Macro name.
- Assign a Keyboard Shortcut or Button (optional).
- Choose where to save (Normal.dotm for all documents or current document).
- Click OK, perform actions (e.g., format text), then click Stop Recording.
Run or Edit a Macro:
- Go to Developer > Macros, select the macro, and click Run or Edit to modify its VBA code.
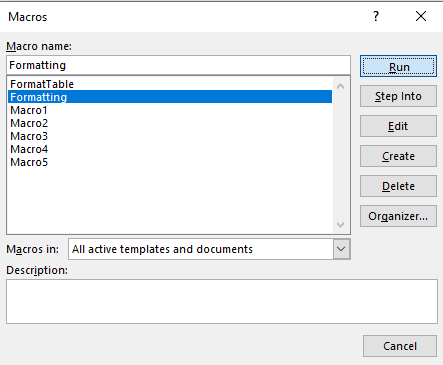
- Use View > Macros for additional management options.
Step 4. Use Templates and Add-Ins
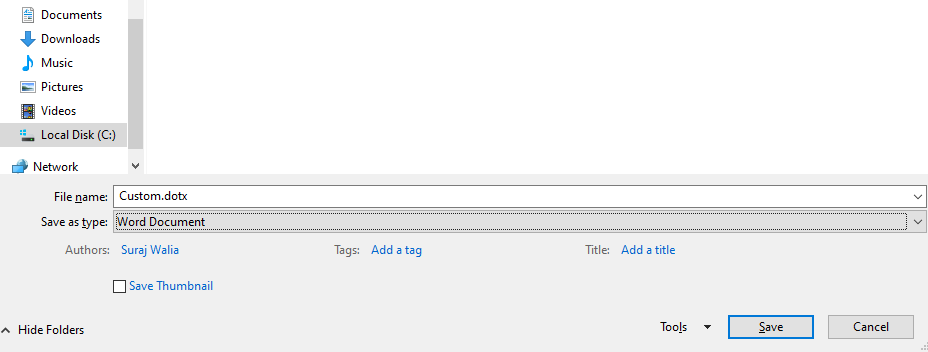
Create a Template:
- Design a document with controls, macros, or formatting.
- Go to File > Save As > Word Template (*.dotx) and save.
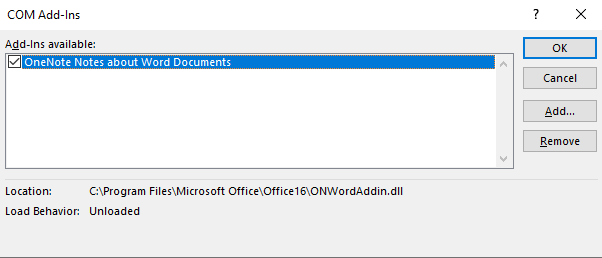
Manage Add-Ins:
- Go to Developer > Add-Ins > Word Add-Ins or COM Add-Ins.
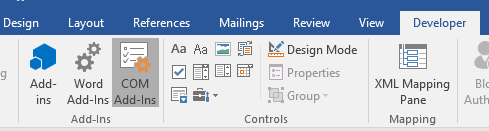
- Install third-party tools or manage existing add-ins for enhanced functionality.
Step 5. Manage Developer Tools
Edit Form Controls:
- Right-click a control, select Properties, and adjust settings like default values or list entries.
Debug Macros:
- Go to Developer > Macros > Edit to open the VBA editor and troubleshoot code.
Save Documents:
- Save as .docx (File > Save As) for forms or .docm for macro-enabled documents.
Example: Adjust a dropdown list’s options in a form to include new choices.