Since installing the beta version on the iPhones as soon as it was made available for the users, beta testers or developers have been playing with the features of iOS 17. With so many new features and internal enhancements, testing out the most recent iOS beta may be thrilling for the system's configuration. Beta versions, however, may be unreliable and result in various types of problems with the device protocol. Internal data loss is possible while downgrading from an iOS beta to a stable version safely in a proper manner.
In this article, we'll explore the initial steps to safely downgrade from iOS Beta to a stable version without any data losses.
How to Downgrade from iOS Beta to a Stable Version Safely
Users can use iTunes or iCloud to fully back up their devices to process many applications. This is essential if the downgrading process encounters an issue to resolve the overall operation. A computer running the most recent or updated version of iTunes is required to configure the system. Here, we'll see the easy steps to safely downgrade from iOS Beta to a stable version.
Step 1: Connect the device to iTunes or Finder system
First, we need to connect our device to iTunes for Windows or Finder for macOS. Let's see the steps to connect -
Step 2: Device Backup process
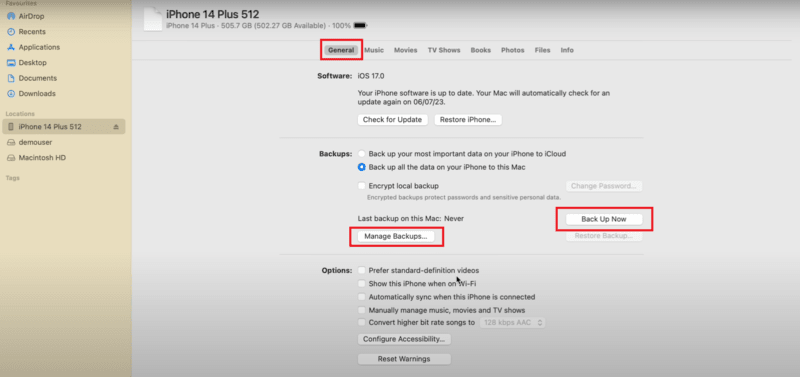
Now, the backup process should be started to implement the further process and backup all the required data efficiently.
- Detect your device in the system > Launch iTunes or Finder
- Select the option to backup all the internal data > Click on the Backup Now user's option.
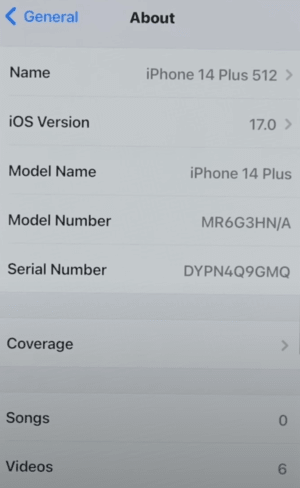
- See the notification "Backup Finished" > Remember the Date and time of your last backup.
Step 3: Turn on the Device Recovery Mode
After the backup process, we need to put our device into recovery mode to implement the downgrade process.
For the iPhone XS or later version
- Press and quickly release the device Volume Up button > Press and quickly release the device Volume Down button > Press and hold the side button to see the recovery mode screen.
For various types of iPad models with Face ID
- Press and quickly release the device Volume Up button > Press and quickly release the device Volume Down button > Press and hold the top button to restart the device > Hold the top button to switch on the recovery mode.
Step 4: Restore and Activate the user's Device
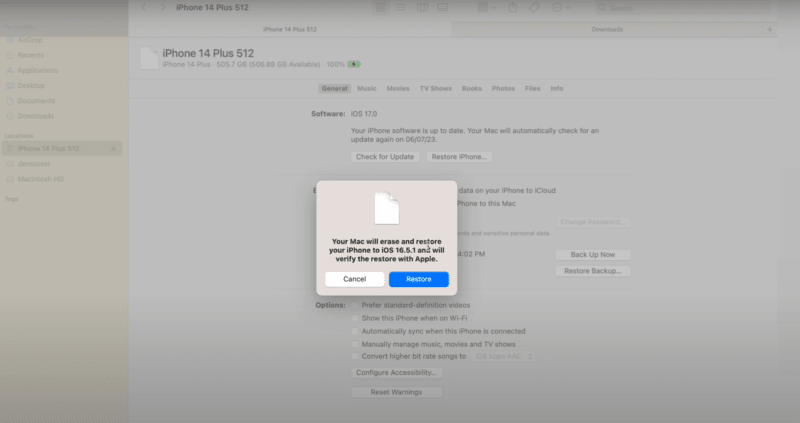
Now, we can restore our device to sign in with the Apple ID and activate the device properly.
- Go to Restore or update your device option > Confirm the factory settings > Choose the Restore option to erase your device via iTunes
- Sign in with the Apple ID from iTunes > Activate your device.

Step 5: Restore the Device to backup in iTunes
We can restore all the device information from the previous backup settings by installing iOS or iPadOS to back up the created data.
- Prompt the iTunes restore option to restore the previous information > Choose the iOS or iPadOS backup option
- Install iOS or iPadOS developer beta > Select Continue option > iTunes restore all the required data.
- Shut down after restoring data > Restart the device > Follow the onscreen instructions from the Setup Assistant process.
Conclusion
If you're having problems, downgrading from an iOS beta to a stable version can save your life. Data loss is possible while downgrading from an iOS beta to a stable version. Making a backup of your device is crucial before continuing. You will not be able to reapply the beta profile to install any more iOS beta versions after you downgrade.
Also Read