Apache Tomcat is a widely used web server and servlet container for running Java web applications. Configuring Tomcat with Eclipse IDE allows developers to develop, deploy, and test servlet and JSP applications directly from the IDE.
- Learn how to add and configure Apache Tomcat Server in Eclipse IDE.
- Understand how to integrate Tomcat for running Java web applications.
- Set up a development environment for servlet and JSP-based projects.
Eclipse IDE
Eclipse is a popular open-source Integrated Development Environment (IDE) widely used for:
- Java SE and Java EE (Jakarta EE) application development
- Web application development
- Android application development
- Developing applications in languages like C/C++, PHP, Python, and Perl using plug-ins
Apache Tomcat
Apache Tomcat is an open-source Java Servlet container developed by the Apache Software Foundation (ASF). It implements key Jakarta EE specifications such as:
- Servlets
- JSP (JavaServer Pages)
- Expression Language (EL)
Prerequisites
Step-by-Step Configuration of Tomcat in Eclipse
Follow these steps to configure a Tomcat server in your Eclipse IDE.
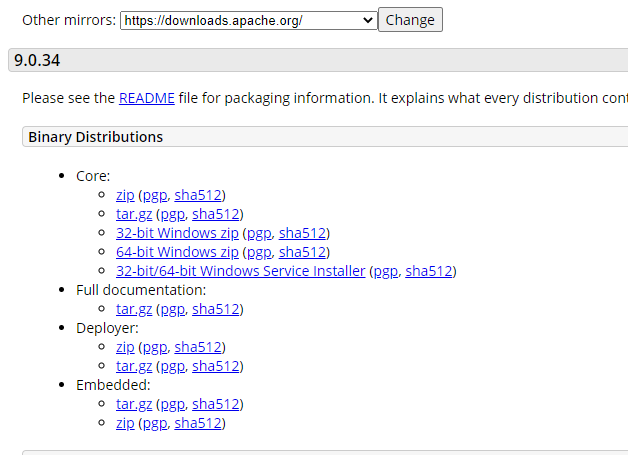
Step 1: Download Apache Tomcat
- Download Apache Tomcat 9.0.34 (or latest available version) according to your OS
- Choose the ZIP version for Windows
Step 2: Extract the Tomcat ZIP File
Extract the files from zip folder. The structure of the folder should look like this: 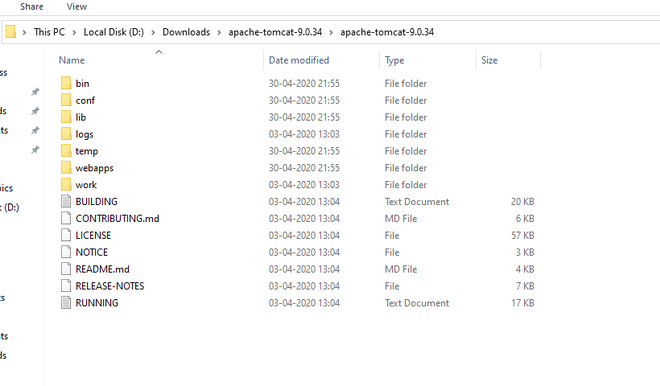
Step 3: Open Eclipse IDE
Open Eclipse Java EE (Enterprise edition ) environment. Click on Servers tab at bottom. Click on No servers are available. Click this to create server.
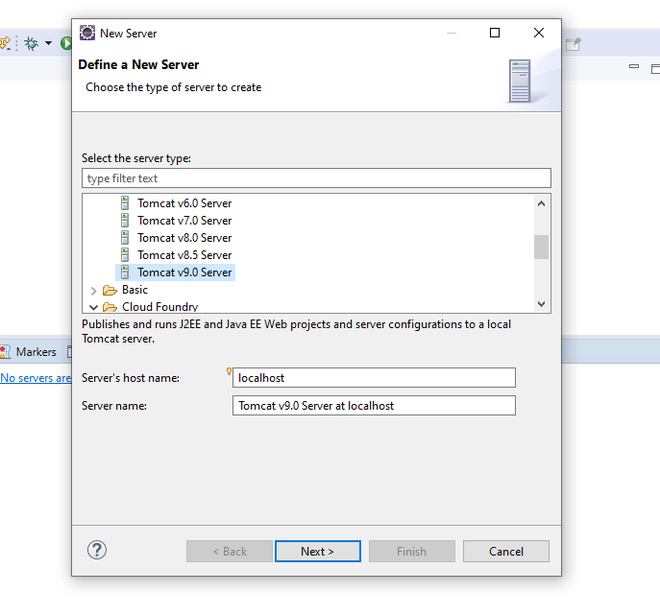
 Step 4: Add a New Tomcat Server
In the dialog box Expand Apache Select Tomcat v9.0 Server and Click Next
Step 5: Configure Tomcat Installation Directory
Browse to Apache Tomcat 9.0 folder select it. Click Finish. 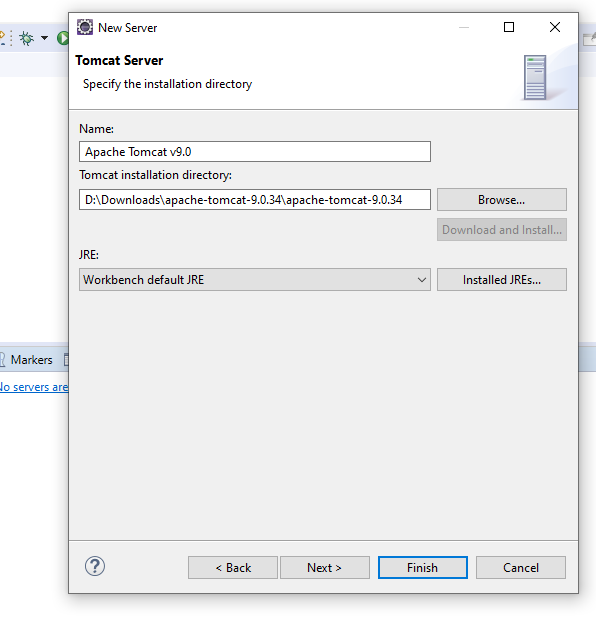
Step 6: Verify Server Configuration and Ports
You should see Tomcat v9.0 Server at localhost [Stopped, Republish ] under Servers tab. Double click on it and verify the HTTP ports. By default HTTP/1.1 port is 8080. If there is any application running on default port 8080 then change it to any other port. 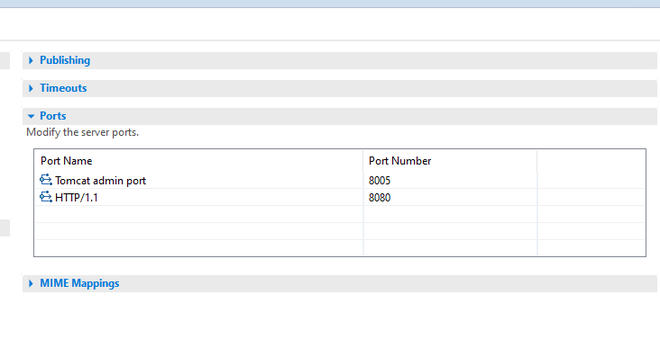
Step 7: Start the Tomcat Server
Now right click on Server and click Start. 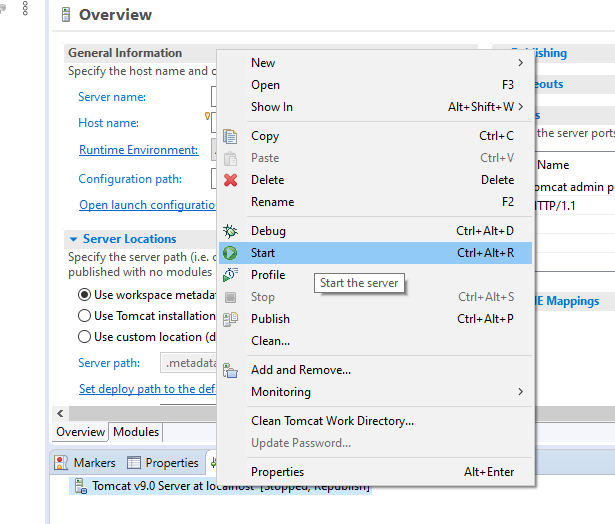
8. Verify Tomcat Installation
The server will be started and shows the following Tomcat v9.0 Server at localhost [ Started, Synchronized ]. 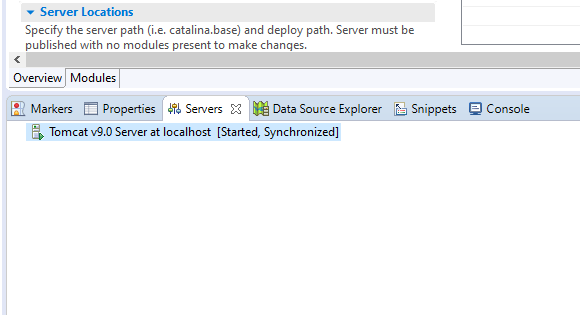
The server is running at port 8080 on localhost and we can visit the webpage using the URL http://localhost:8080/.