Rate limiting is a technique used to control the number of incoming requests to a server within a specified time frame. It helps protect APIs from being overwhelmed by too many requests, whether intentional (DDoS attacks) or accidental (due to bugs or misconfigured clients). One of the popular libraries for rate limiting in Java is Bucket4j. This article will guide you through implementing rate limiting in a Spring Boot API using Bucket4j, ensuring that the application can handle high loads while maintaining performance and stability.
Rate Limiting Using Bucket4j
Rate limiting is a strategy used to control the number of incoming requests a system can handle within a specified period. It helps maintain the stability and availability of the API by preventing overloads caused by excessive requests, whether they are intentional (e.g., DDoS attacks) or unintentional (e.g., poorly configured clients).
Why Use Rate Limiting?
- Protect System Resources: Prevents overconsumption of server resources, ensuring that the application remains responsive and available.
- Enhance Security: Helps mitigate brute-force attacks or abuse by limiting the number of login attempts or data-fetch requests.
- Fair Usage Policy: Ensures that resources are fairly distributed among users, avoiding scenarios where a single user monopolizes the API's capacity.
- Improved Performance: By controlling the flow of incoming requests, the performance of the API is improved, ensuring the server can handle the load efficiently.
What is Bucket4j?
Bucket4j is a Java library that implements the token bucket algorithm for rate limiting. The token bucket algorithm is a simple and efficient way to track and limit the usage of shared resources, such as API requests. In Bucket4j, each user or client is assigned a bucket that holds tokens. Each request consumes a token from the bucket, and if no tokens are available, the request is denied or delayed until the bucket refills with tokens.
How Bucket4j Works
- Token Bucket: The core data structure is the bucket, which contains a specific number of tokens. Each token represents the capacity to handle one request. For example, if the bucket contains five tokens, it can handle five requests.
- Refill Strategy: Tokens are added to the bucket at a defined rate over time. For example, if the refill strategy is set to add five tokens every minute, then every minute, five new tokens will be added to the bucket, up to its maximum capacity.
- Bandwidth Limiting: Bandwidth in Bucket4j defines the rate at which tokens are consumed and refilled. It includes:
- Capacity: The total number of tokens the bucket can hold.
- Refill Period: How frequently tokens are added to the bucket.
- Refill Amount: The number of tokens added per refill period.
- Time Consumption: When a request is made, a token is consumed from the bucket. If a token is available, the request is allowed. If no tokens are available, the request is denied, or the system implements a wait period until tokens are available again.
Implementation of Rate Limiting a Spring API Using Bucket4j
Let's create a simple Spring Boot application that only handles five requests per minute from each user. Using Bucket4j, we'll create a bucket with a capacity of ten tokens and a refill rate of five tokens per minute.
Step 1: Create a New Spring Boot Project
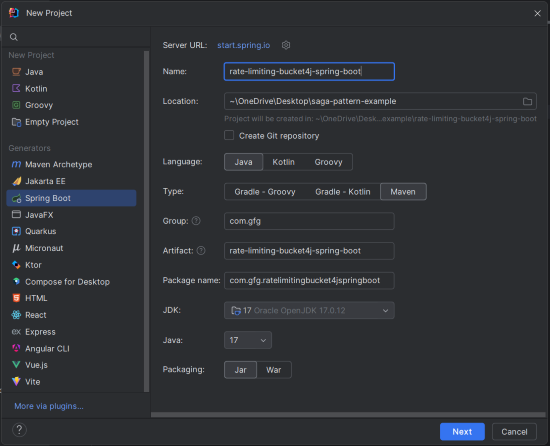
Create a new Spring Boot project using your preferred IDE (e.g., IntelliJ IDEA). Choose the following options:
- Name:
rate-limiting-bucket4j-spring-boot - Language: Java
- Type: Maven
- Packaging: Jar
Click on the Next button.
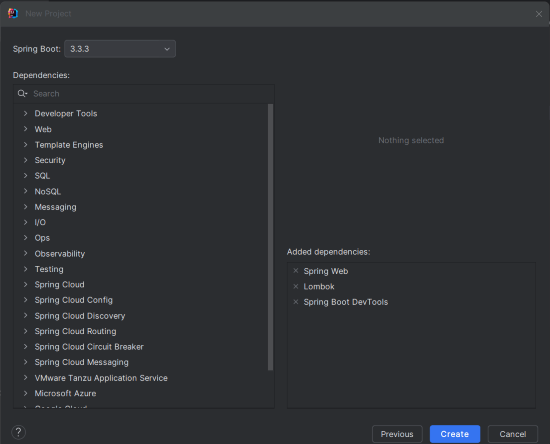
Step 2: Add Dependencies
Add the following dependencies into the Spring Boot project.
Bucket4J Dependency:
<!-- https://mvnrepository.com/artifact/com.github.vladimir-bukhtoyarov/bucket4j-core -->
<dependency>
<groupId>com.github.vladimir-bukhtoyarov</groupId>
<artifactId>bucket4j-core</artifactId>
<version>6.2.0</version>
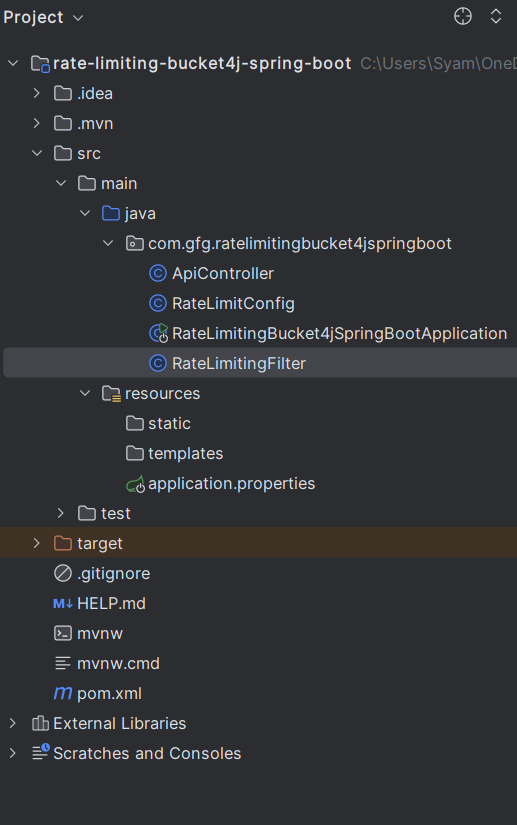
</dependency>Project Structure:
After adding the dependencies, your project structure should look like this:
Step 3: Configure Application Properties
In the application.properties file, set the application name:
spring.application.name=rate-limiting-bucket4j-spring-bootStep 4: Configure Rate Limiting
Create a configuration class to define the rate-limiting rules. In this example, we'll limit requests to five per minute per user.
RateLimitingConfig.java
package com.gfg.ratelimitingbucket4jspringboot;

import io.github.bucket4j.Bucket;
import io.github.bucket4j.Bucket4j;
import io.github.bucket4j.Bandwidth;
import io.github.bucket4j.Refill;
import org.springframework.context.annotation.Bean;
import org.springframework.context.annotation.Configuration;

import java.time.Duration;

@Configuration
public class RateLimitConfig {

    /**
     * Configures a Bucket4j bucket with a capacity of 5 tokens that refills at a rate of 5 tokens per minute.
     * Each token represents the capacity to handle one request.
     */
    @Bean
    public Bucket bucket() {
        // Define the bandwidth with a limit of 5 tokens, refilled every minute
        Bandwidth limit = Bandwidth.classic(5, Refill.greedy(5, Duration.ofMinutes(1)));
        return Bucket4j.builder().addLimit(limit).build();
    }
}
The RateLimitConfig class defines a rate-limiting configuration using Bucket4j. It creates a bucket with a capacity of five tokens, which refills at a rate of five tokens per minute. This configuration will be used to limit the number of API requests per user.
Step 5: Create a Filter to Intercept API Requests
Create a filter to check the bucket before allowing requests to proceed.
RateLimitingFilter.java
package com.gfg.ratelimitingbucket4jspringboot;

import io.github.bucket4j.Bucket;
import jakarta.servlet.*;
import jakarta.servlet.http.HttpServletResponse;
import org.springframework.beans.factory.annotation.Autowired;
import org.springframework.stereotype.Component;

import java.io.IOException;

@Component
public class RateLimitingFilter implements Filter {

    private final Bucket bucket;

    @Autowired
    public RateLimitingFilter(Bucket bucket) {
        this.bucket = bucket;
    }

    /**
     * Intercepts incoming requests and applies rate limiting.
     * If a token is available, the request is processed; otherwise, a 429 status code is returned.
     */
    @Override
    public void doFilter(ServletRequest request, ServletResponse response, FilterChain chain)
            throws IOException, ServletException {
        if (bucket.tryConsume(1)) {
            chain.doFilter(request, response); // Forward the request if rate limiting is not hit
        } else {
            ((HttpServletResponse) response).setStatus(429); // Return 429 if rate limit is exceeded
        }
    }

    @Override
    public void init(FilterConfig filterConfig) throws ServletException {
        // Initialization code if needed
    }

    @Override
    public void destroy() {
        // Cleanup code if needed
    }
}
The RateLimitingFilter class is a servlet filter that intercepts incoming requests. It checks if a token is available in the bucket; if so, the request is processed, otherwise, it returns a 429 Too Many Requests status code. This filter enforces the rate-limiting rules defined in the RateLimitConfig class.
Step 6: Create the ApiController Class
Create a simple REST controller to handle HTTP requests. This controller will have a single endpoint that we will protect with rate limiting.
ApiController.java
package com.gfg.ratelimitingbucket4jspringboot;

import org.springframework.web.bind.annotation.GetMapping;
import org.springframework.web.bind.annotation.RequestMapping;
import org.springframework.web.bind.annotation.RestController;

@RestController
@RequestMapping("/api")
public class ApiController {

    /**
     * Handles GET requests to "/api/data".
     * This endpoint will be rate-limited by the Bucket4j filter.
     * @return A simple string response indicating successful access.
     */
    @GetMapping("/data")
    public String getData() {
        return "Here is the protected data!";
    }
}
The ApiController class defines a REST controller with an endpoint at /api/data. This endpoint returns a simple string message when accessed. The rate-limiting filter will apply to this endpoint, controlling how often it can be accessed.
Step 7: Main class
This is the entry point of the Spring application. No changes are required in the main class.
package com.gfg.ratelimitingbucket4jspringboot;

import org.springframework.boot.SpringApplication;
import org.springframework.boot.autoconfigure.SpringBootApplication;

@SpringBootApplication
public class RateLimitingBucket4jSpringBootApplication {

    public static void main(String[] args) {
        SpringApplication.run(RateLimitingBucket4jSpringBootApplication.class, args);
    }

}
pom.xml:
<?xml version="1.0" encoding="UTF-8"?>
<project xmlns="https://maven.apache.org/POM/4.0.0" xmlns:xsi="https://www.w3.org/2001/XMLSchema-instance"
         xsi:schemaLocation="https://maven.apache.org/POM/4.0.0 https://maven.apache.org/xsd/maven-4.0.0.xsd">
    <modelVersion>4.0.0</modelVersion>
    <parent>
        <groupId>org.springframework.boot</groupId>
        <artifactId>spring-boot-starter-parent</artifactId>
        <version>3.3.3</version>
        <relativePath/> <!-- lookup parent from repository -->
    </parent>
    <groupId>com.gfg</groupId>
    <artifactId>rate-limiting-bucket4j-spring-boot</artifactId>
    <version>0.0.1-SNAPSHOT</version>
    <name>rate-limiting-bucket4j-spring-boot</name>
    <description>rate-limiting-bucket4j-spring-boot</description>
    <url/>
    <licenses>
        <license/>
    </licenses>
    <developers>
        <developer/>
    </developers>
    <scm>
        <connection/>
        <developerConnection/>
        <tag/>
        <url/>
    </scm>
    <properties>
        <java.version>17</java.version>
    </properties>
    <dependencies>
        <dependency>
            <groupId>org.springframework.boot</groupId>
            <artifactId>spring-boot-starter-web</artifactId>
        </dependency>

        <!-- https://mvnrepository.com/artifact/com.github.vladimir-bukhtoyarov/bucket4j-core -->
        <dependency>
            <groupId>com.github.vladimir-bukhtoyarov</groupId>
            <artifactId>bucket4j-core</artifactId>
            <version>6.2.0</version>
        </dependency>


        <dependency>
            <groupId>org.springframework.boot</groupId>
            <artifactId>spring-boot-devtools</artifactId>
            <scope>runtime</scope>
            <optional>true</optional>
        </dependency>
        <dependency>
            <groupId>org.projectlombok</groupId>
            <artifactId>lombok</artifactId>
            <optional>true</optional>
        </dependency>
        <dependency>
            <groupId>org.springframework.boot</groupId>
            <artifactId>spring-boot-starter-test</artifactId>
            <scope>test</scope>
        </dependency>
    </dependencies>

    <build>
        <plugins>
            <plugin>
                <groupId>org.springframework.boot</groupId>
                <artifactId>spring-boot-maven-plugin</artifactId>
                <configuration>
                    <excludes>
                        <exclude>
                            <groupId>org.projectlombok</groupId>
                            <artifactId>lombok</artifactId>
                        </exclude>
                    </excludes>
                </configuration>
            </plugin>
        </plugins>
    </build>

</project>
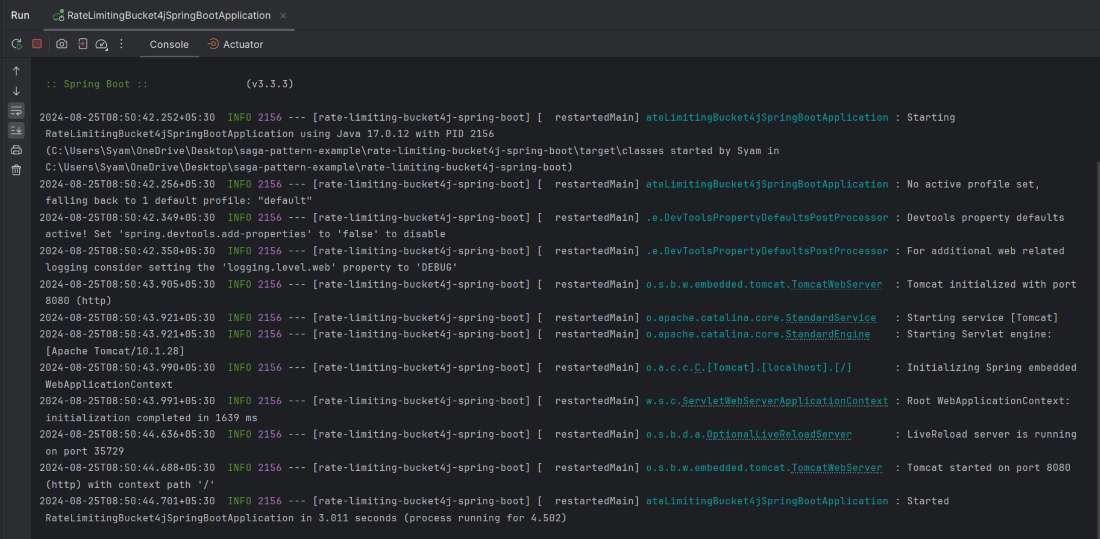
Step 8: Run the Application
Now that the implementation is complete, we can run the Spring Boot application and it will start at port 8080.
Step 9: Testing the Application
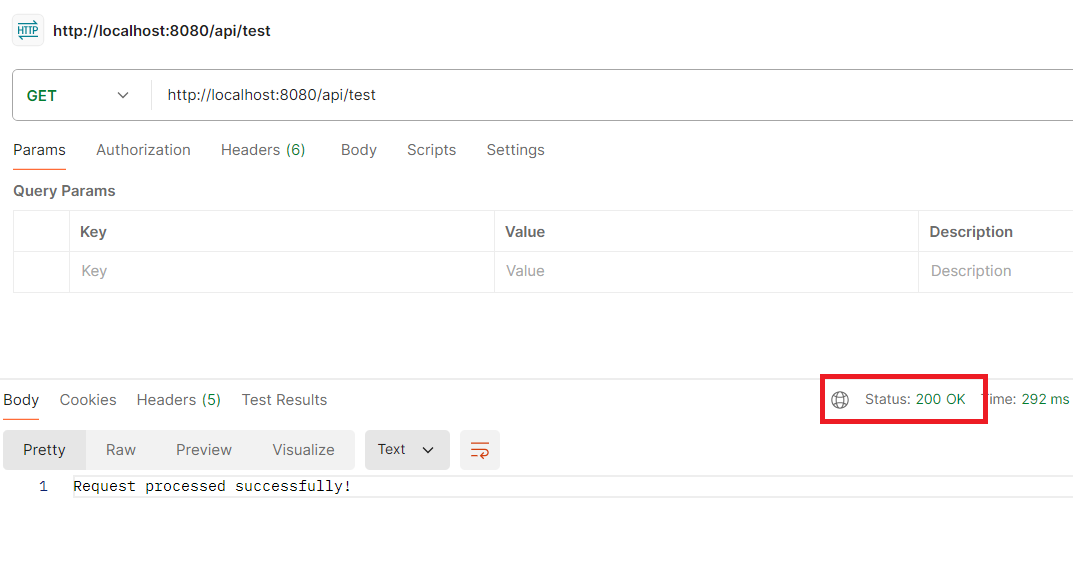
We will use the postman tool to send the requests to the below endpoint.
GET http://localhost:8080/api/testThe first five requests should succeed with the response "Request processed successfully!".
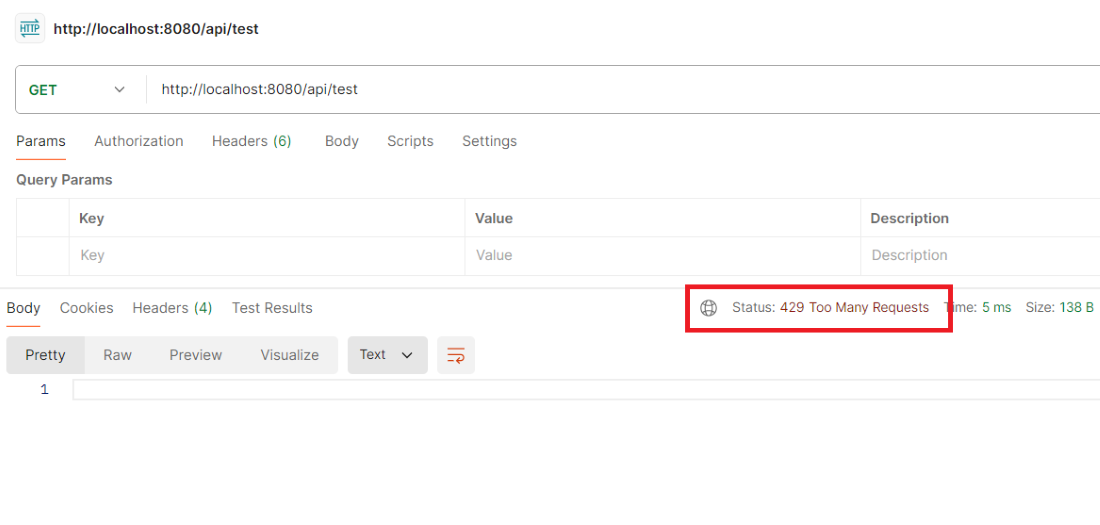
Output:
After the fifth request, additional requests within the same minute should be denied with the 429 status code and the message saying "Too many requests - try again later."
This example project demonstrates how to use the Bucket4j for the rate limiting in the Spring Boot application. By implementing the filter that leverages Bucket4j, we can easily control the number of the requests handle by the application.