How to Make a Timeline in PowerPoint: Quick Steps
- Open PowerPoint and create a new slide.
- Go to Insert > SmartArt > Process and select a timeline style.
- Add text >> Customize colors and styles using the SmartArt Design tab.
- Resize and position the timeline >> Save and preview your slide.
Creating a timeline on PowerPoint is a powerful way to visually display a sequence of events or milestones, whether for a business presentation, project planning, academic presentation, or historical overview. PowerPoint offers a variety of tools and templates to help you make professional-looking timelines that effectively communicate the progression of events or deadlines.
In this article, we’ll walk you through the process of creating a timeline in PowerPoint, including how to use built-in tools, customize your timeline, and apply animations to make it more engaging. By the end of this guide, you’ll have the skills to create a visually appealing and clear timeline for any purpose.
Table of Content
Why Use a Timeline in PowerPoint
Timelines are an effective tool for presenting information in a chronological order. Here’s why you might want to create one in PowerPoint:
- Clear Visualization: Timelines visually show the progression of events or tasks, making it easier for your audience to follow and understand.
- Engagement: A timeline brings clarity and structure to your presentation, keeping the audience engaged.
- Time Management: Great for project management and planning, as it can highlight deadlines and project milestones.
- Versatility: Perfect for both business and academic presentations, as well as personal use.
How to Create a Timeline in PowerPoint
PowerPoint offers two main ways to create timelines: using built-in templates or designing your own timeline from scratch. Below, we explain both methods.
Method 1: Using PowerPoint's Built-in Timeline Templates
PowerPoint has pre-designed timeline templates that are quick and easy to use.
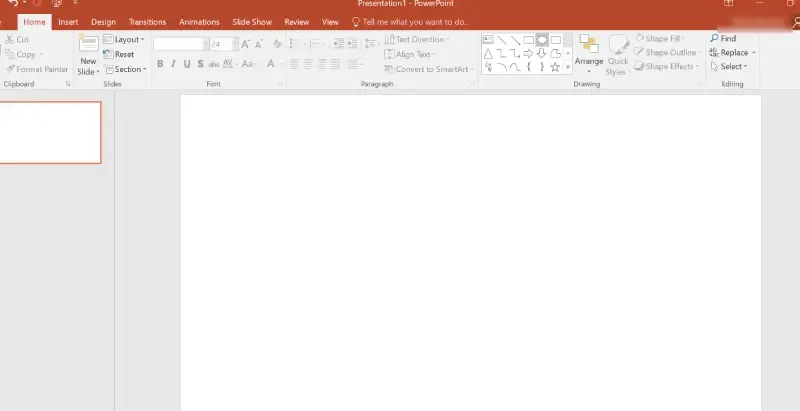
Step 1: Open PowerPoint
Open Microsoft PowerPoint on your computer and create a new presentation or select an existing one.
Step 2: Access the Timeline Template
- Go to the Insert tab on the ribbon.
- Click on SmartArt.
- In the SmartArt gallery, scroll down and select Process.
- From the Process category, choose a timeline layout, like Basic Timeline or Accent Process.
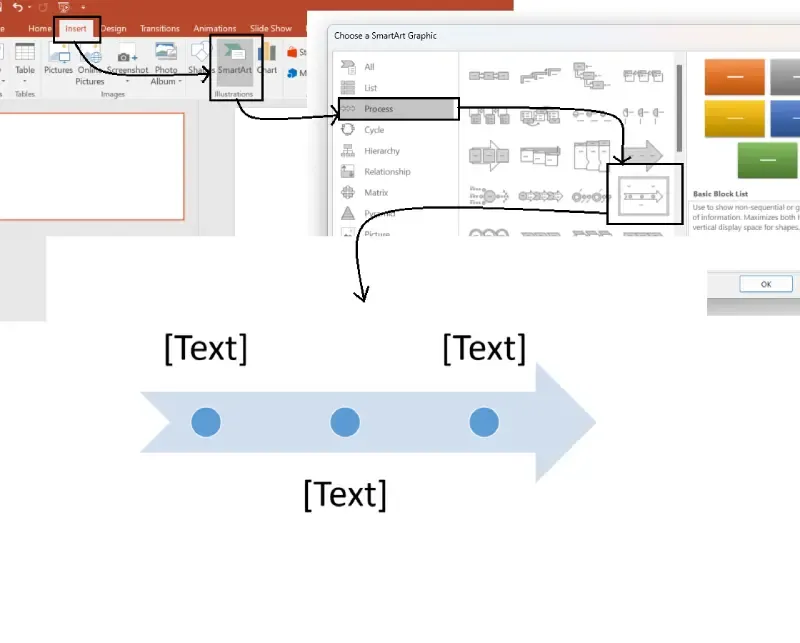
Step 3: Add Information to the Timeline
Once the timeline is inserted, you’ll see text placeholders in each shape. Click on a shape and add your event name, date, or task information. Each shape represents a different point in time.
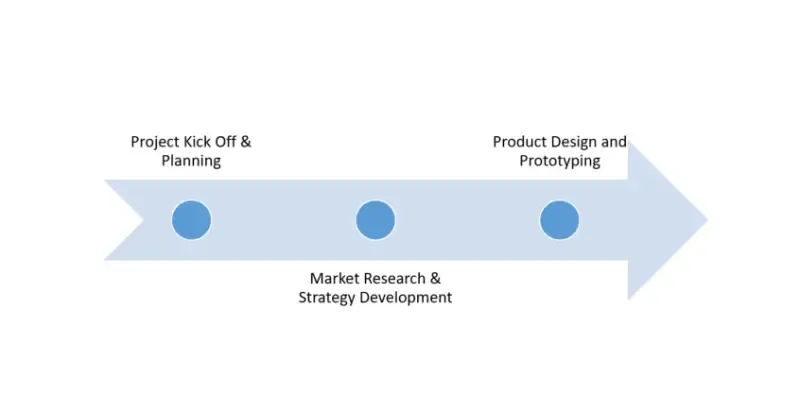
Step 4: Customize the Timeline
- To add more points, click on the Add Shape button in the SmartArt Tools section.
- To remove any unnecessary shapes, select them and press the Delete key.
- You can change the layout or color by selecting Change Colors or SmartArt Styles in the Design tab.
Step 5: Final Touches
Make sure to adjust the text size and font style as needed to ensure readability. You can also apply animations to the timeline under the Animations tab for more engagement.
Method 2: Creating a Timeline Manually
If you want to create a custom timeline from scratch, PowerPoint provides plenty of design tools to help.
Step 1: Insert a Shape or Line
- Go to the Insert tab.
- Select Shapes and choose a line or arrow.
- Draw the line horizontally to represent the timeline.
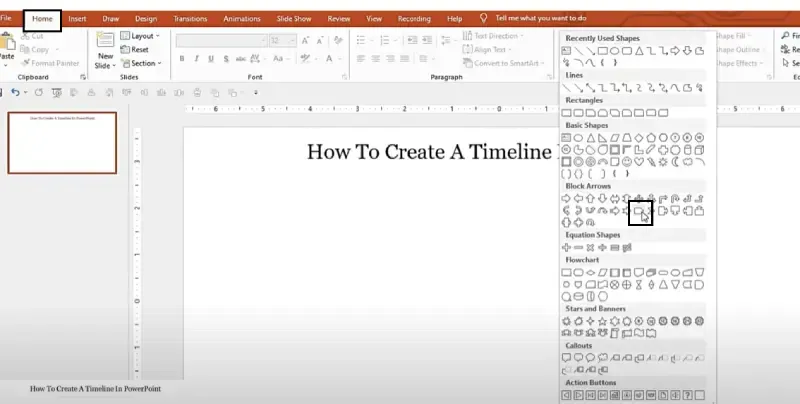
Step 2: Add Milestones or Events
- Go back to Insert and choose Shapes to insert circles or rectangles where each milestone or event will go on the timeline.
- Place the shapes along the line to indicate key events or points in time.
- Use text boxes to add titles and descriptions for each event or milestone.
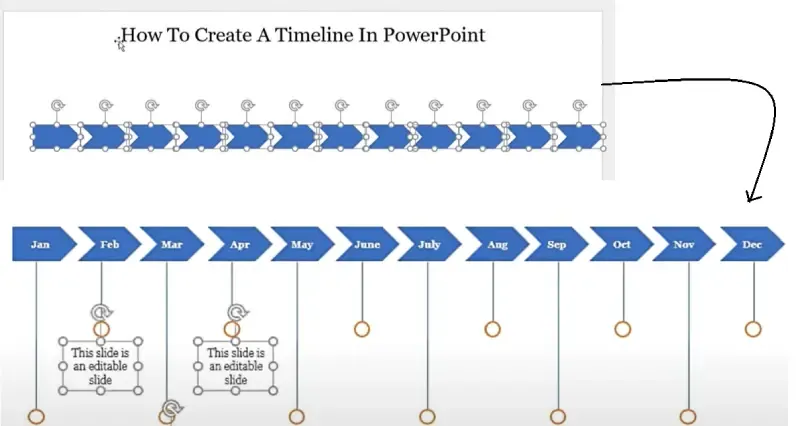
Step 3: Add Dates and Details
Click on each shape to add a date, time, or description. Be sure to keep your text concise to ensure clarity.
Step 4: Customize Your Timeline
- Change Shape Color: Select the shape, go to the Format tab, and select a color for your shapes.
- Change Line Style: Select the line, go to the Format tab, and adjust the line style (solid, dotted, dashed).
- Add Arrows or Icons: Add arrows to represent direction or use icons to symbolize the events.

Step 5: Add Animations (Optional)
For dynamic presentations, consider applying animations to your timeline.
- Select the timeline elements (shapes or text).
- Go to the Animations tab and choose a suitable animation, like Appear or Fly In.
- Set the timing to make the timeline appear sequentially or all at once.
Best Practices for Creating a Timeline in PowerPoint
- Keep It Simple: Don’t overload your timeline with too much information. Focus on key events or milestones.
- Use Clear and Concise Text: Make sure the text is readable and to the point.
- Choose Contrasting Colors: Use contrasting colors for the timeline line, shapes, and text to enhance visibility.
- Maintain Consistency: Stick to one style and format throughout the timeline for a professional look.
- Use Animations Sparingly: While animations can add interest, don’t overdo it. Too many animations can be distracting.
Conclusion
Creating a timeline in PowerPoint is an effective way to present information in a visually engaging and structured manner. Whether you're working on a project plan, business report, or academic research, timelines can help you communicate complex information with ease. By using PowerPoint’s built-in templates or creating a custom timeline, you can ensure your audience understands the chronological flow of events, helping them engage more effectively with your content.
With these steps, you now have the tools to create a professional and engaging timeline for any presentation. So, go ahead and add that timeline to your PowerPoint presentation, and bring your ideas to life!