JetBrains developed IntelliJ IDEA, used for Java and Kotlin development. It provides smart code completion, debugging tools, version control support, and many advanced features that make application development faster and easier.
- Supports Java, Kotlin, Spring Boot, Maven, Gradle, and many other technologies
- Provides intelligent code suggestions and error detection
- Includes built-in debugging, testing, and version control tools
- Available in both Community Edition and Ultimate Edition
System Requirements to Install IntelliJ IDEA on Windows
But first of all, let us see the system requirements for installing it.
| RAM | 2 GB | 8 GB of Free RAM |
|---|---|---|
| Requirements | Minimum | Recommended |
| CPU | Modern CPU | Multi-core CPU (Quad-core or greater) |
| Monitor Resolution | 1024×768 | 1920×1080 |
| OS | Microsoft Windows Server 2019 and Windows 10 or later | Latest 64-bit Windows versions |
| Disk Space | 3.5 GB Free Space | At least 5 GB of Free Space |
Steps to Install IntelliJ IDEA on Windows
Follow these steps to install the IntelliJ IDEA to run our Application.
Step 1: Go to the IntelliJ IDEA Official Website
To Download and Install IntelliJ IDEA, First Go to the official website of IntelliJ IDEA or download it from here.
Step 2: Download IntelliJ IDEA
Click on the Windows .exe download button to start downloading the IntelliJ IDEA setup file.
Step 3: Verify the Downloaded File
Open the Downloads folder and check whether the IntelliJ IDEA setup file has been downloaded successfully.
Step 4: Run the Installer
Double-click the downloaded .exe file. The IntelliJ IDEA Setup Wizard will appear on the screen. Click on Next to continue.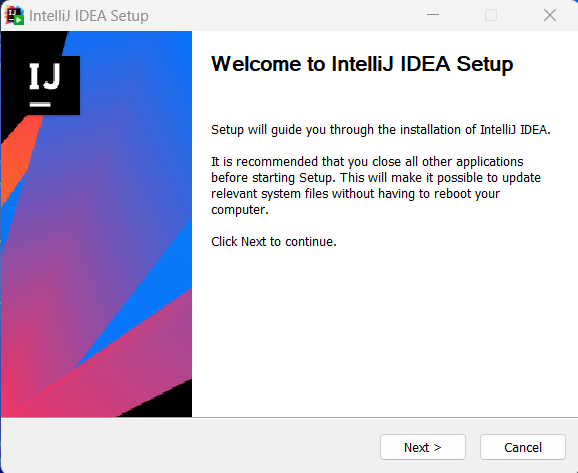
Step 5: Choose Installation Location
Select the folder where you want to install IntelliJ IDEA. You can keep the default location or click on Browse to change it. Then click on Next.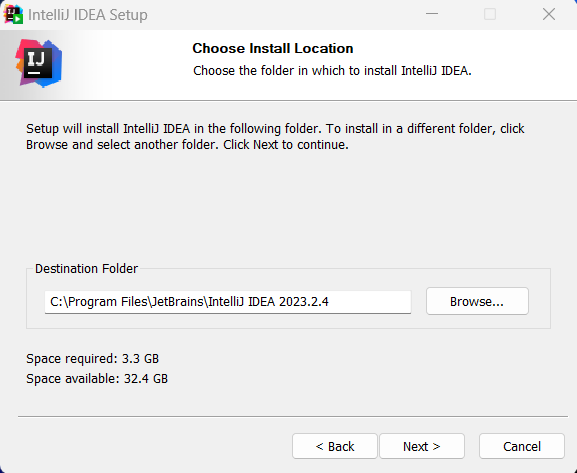
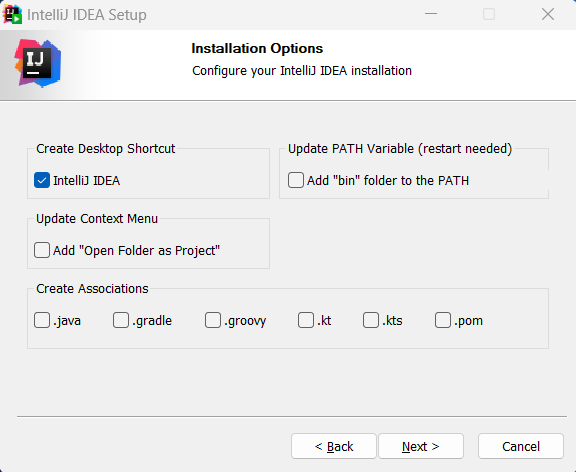
Step 6: Select Additional Options
Choose additional options such as creating a desktop shortcut, adding PATH variable support, or associating Java files with IntelliJ IDEA. After selecting the required options, click on Next.
Step 7: Start the Installation
Click on next, and then IntelliJ will start to install, The below screen will appear: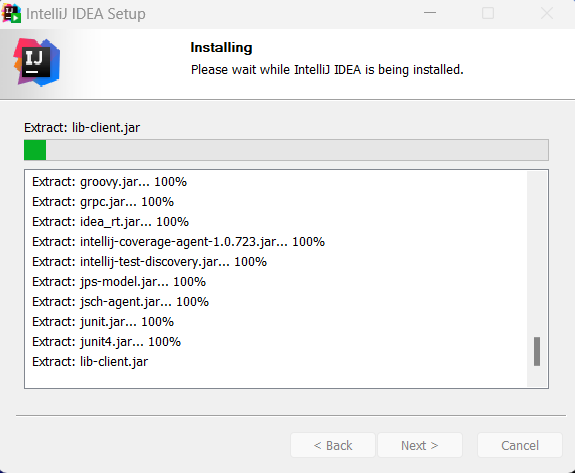
Step 8: Complete the Installation
After the installation process finishes successfully, click on Run IntelliJ IDEA and then click Finish.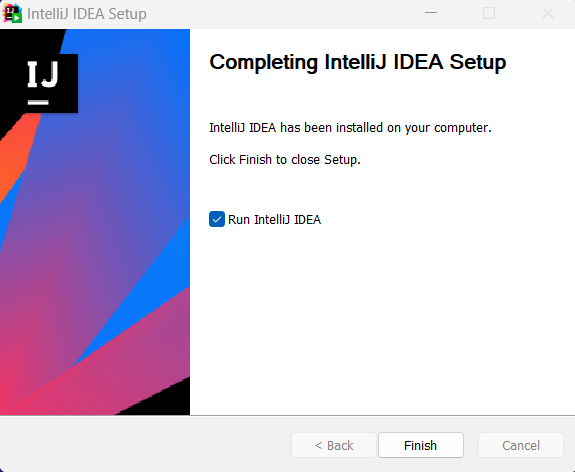
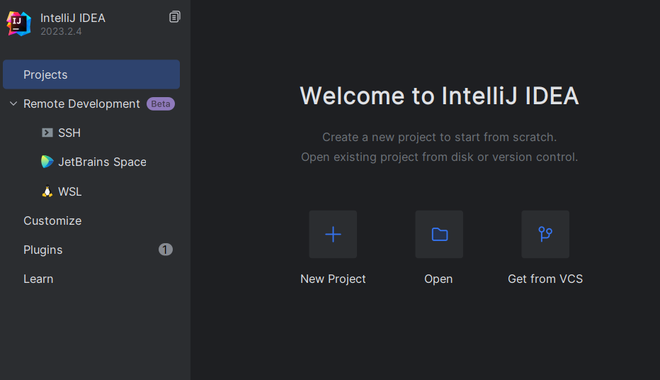
Step 9: Launch IntelliJ IDEA
Running IntelliJ IDEA, You will see the splash screen of IntelliJ IDEA.
Step 10: Accept the User Agreement
Read the terms and conditions carefully and click on Confirm to continue using IntelliJ IDEA.

Activation of IntelliJ IDEA
The activation of IntelliJ can be done in 3 ways. Which are listed below.
- Free Trial License
- Premium License
- Educational Subscription for students(Free Renew).
Steps for activating Free Trial
Follow these steps to set up our free activation plan to use Intellij IDEA.
Step 1: Open the Activation Window
After step 10, the below screen will pop out in front of you. There will be two options Activate IntelliJ IDEA and Start Trial. The start trial provides 30 days of free usage of IntelliJ IDE.
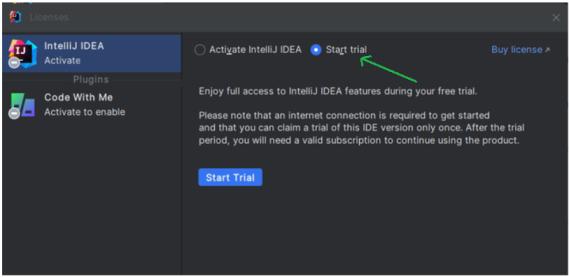
Step 2: Click To Start the Free Trial
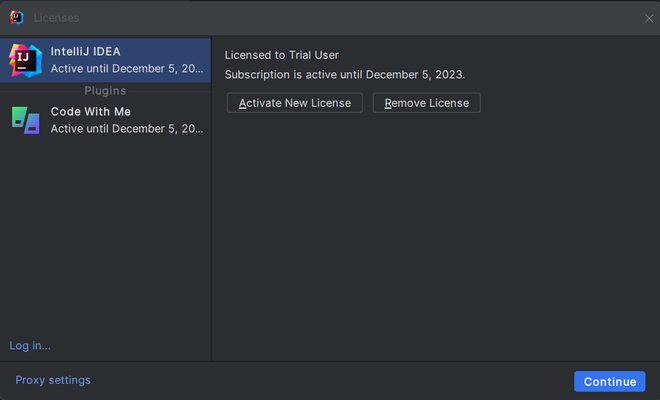
After that the trial period will be activated.
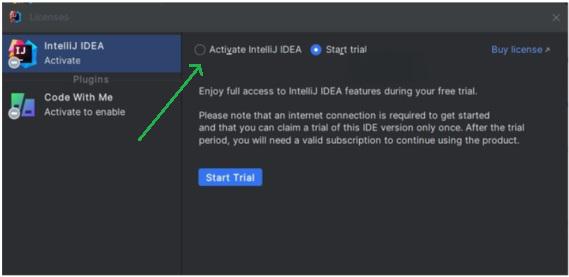
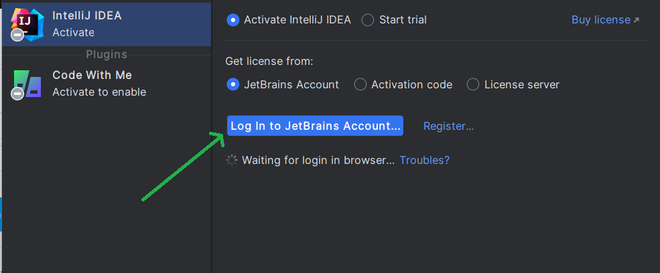
Step 3: Click On Activate IntelliJ IDEA
Click on Activate IntelliJ IDEA and select New Registration if you do not already have a JetBrains account.
Step 4: Fill the Registration Page
You will be redirected to the JetBrains login and registration page where you can sign in or create a new account.

Step 5: Now Login to Your Account
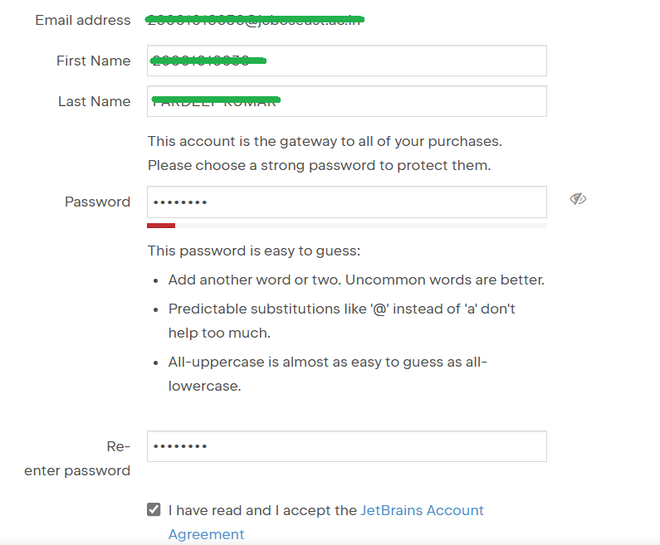
Sign in using Google, GitHub, or another available method. You can also create a new account by entering your details such as name, email, and password.
Step 6: View Premium Plans
After logging in, you will be able to see the available premium subscription plans and choose one according to your needs.

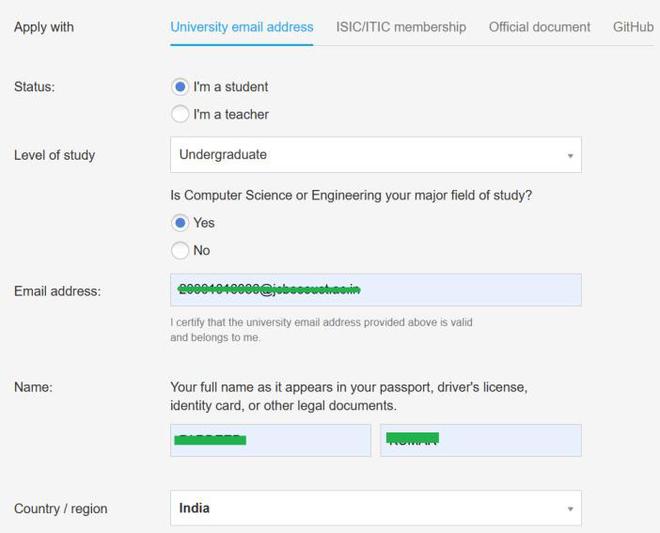
Configuration for Activating a Student Educational Subscription
Student Email Authentication License
- First create an account by following the above steps for Free trial Activation.
- Then go Educational Subscription and fill in the details as shown below.
NOTE: The email must be provided by the college or an institution
After that a confirmation mail will come at registered mail, Click on the link provided in the mail and accept the terms and conditions.

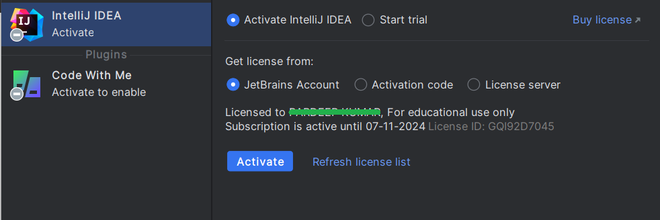
After accepting the terms and conditions, the student license will be activated successfully on your account.

Now, just as usual login from the same webpage with student credentials, where you create an account.
When you successfully log into account, IntelliJ will automatically detect it in the background, If you log in from the same student credentials. Now, just click on Accept to start the Student License
Now start using IntelliJ at you convenience.
Note: Free renew available using Educational Subscription again after expiry.
Benefits of using Intellij IDEA on Windows/Mac
- Powerful Editor: Provides smart code completion, error detection, and refactoring support.
- Multi-Language Support: Supports Java, Python, JavaScript, React, Angular, and many other technologies.
- Clean UI: Offers a modern and customizable user interface with multiple themes.
- Built-in Tools: Includes debugger, terminal, version control, and database support.
- Framework Support: Works well with Spring Boot, Maven, Gradle, and Hibernate.
- Cross-Platform: Runs smoothly on Windows, macOS, and Linux systems.
Limitations of IntelliJ on Windows
- Requires high system memory and may run slowly on low-end PCs.
- Ultimate Edition is paid and requires a subscription.
- Initial startup time can sometimes be slow.
- Large projects may consume more CPU and RAM.
- Some advanced features are available only in the Ultimate version.