APA format in Google Docs means setting up your document according to American Psychological Association guidelines. It ensures a consistent, professional look and makes your paper easier to read and understand.
This includes things like:
- Font and Spacing: Using Times New Roman 12-point font with double spacing.
- Margins: Having 1-inch margins on all sides of the page.
- Headings: Create clear and organized headings throughout your paper.
- Citations: Formatting in-text citations and your reference list according to APA style.
Steps to Use the APA Template in Google Docs
Google Docs offers many templates that automatically format your documents. To set up the APA template in Google Docs,
Step 1: Open Google Docs
Open a new document and select File > New > From template.
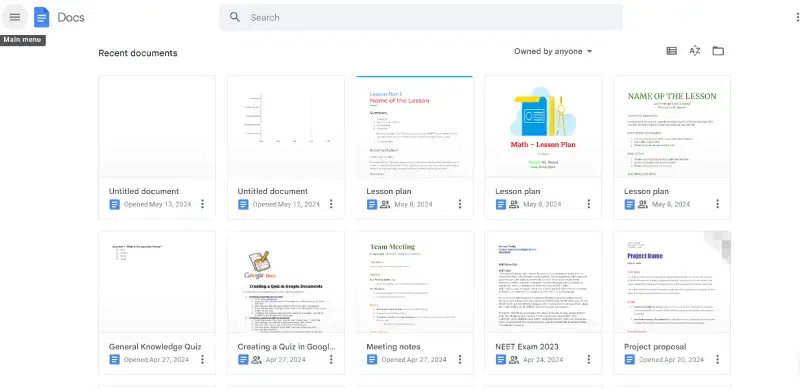
Step 2: Select Report APA in the Education section
The template gallery will open in a separate browser tab. Scroll down to the Education section and select Report APA.
-768.webp)
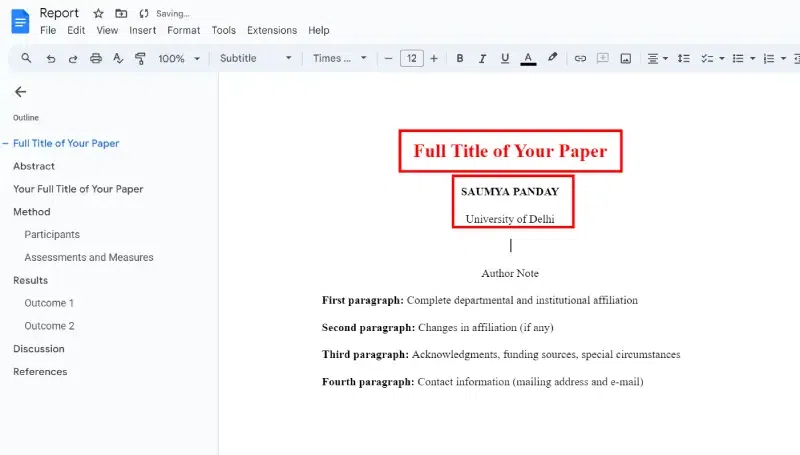
Step 3: Make Changes to the Template
A new document will open containing dummy text in APA format. With the proper formatting already in place, you need to change the words. If there are sections you don't need, delete them.
Steps to do APA Citation in Google Docs
This template can be a little confusing, you should understand how to set up the APA style in Google Docs step-by-step. Once you format your paper, you can save it to use as your template for the future. here's how you can do the same,
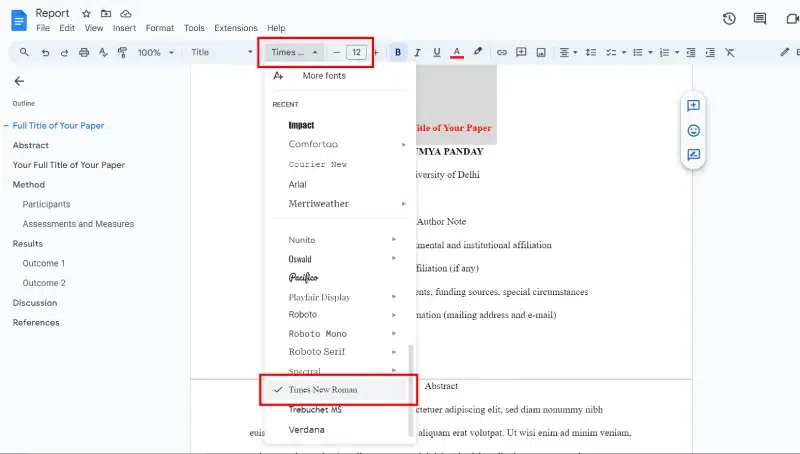
Step 1: Change the font to Times New Roman and the font size to 12
Google Docs uses 1-inch margins all around by default, so you don't need to change the margins.
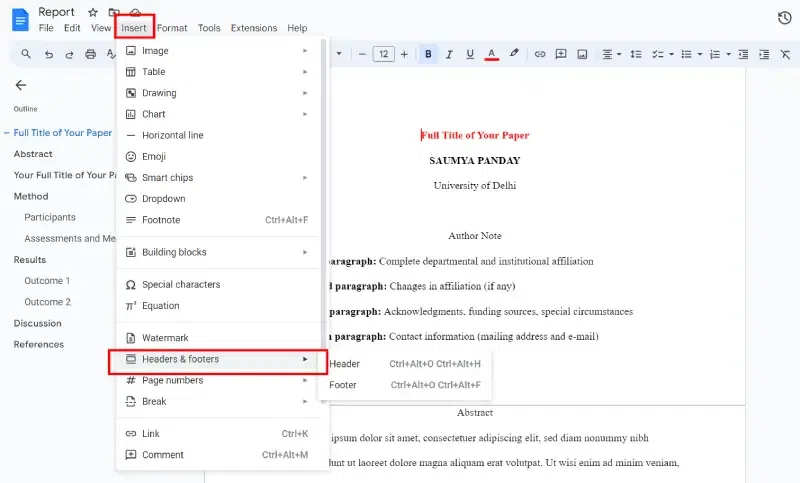
Step 2: Go to Insert Tab, Select Headers & Footers and Click Header
The Google Docs Insert menu shows how to add a header. You can easily change and remove headers on Google Docs at any time.
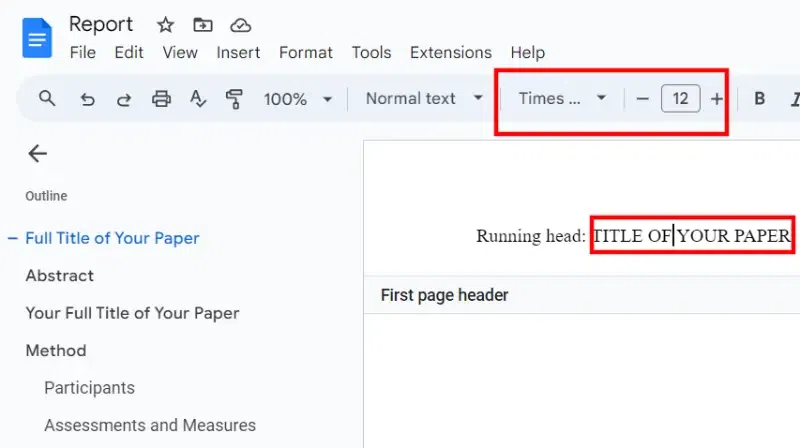
Step 3: Change the Font to 12-point
The font for the header will revert to the default, so change it to 12-point Times New Roman and type the title of your paper in all caps.
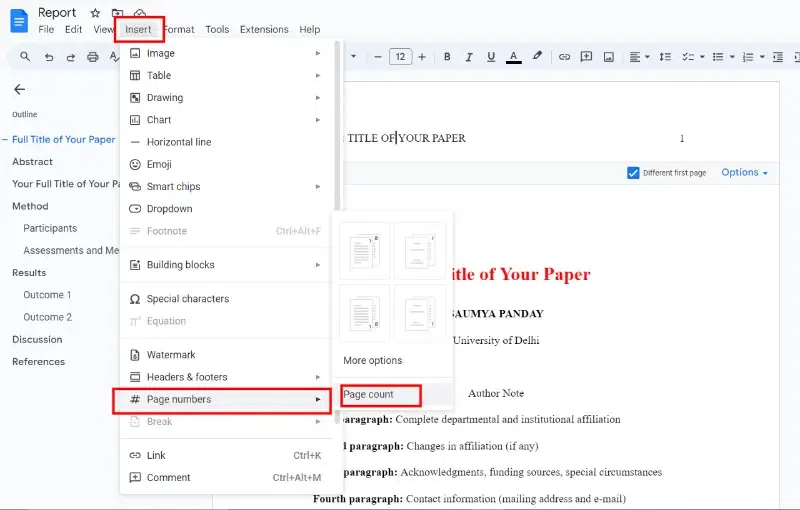
Step 4: Go to Insert Menu, Click on Page numbers and Select Page count
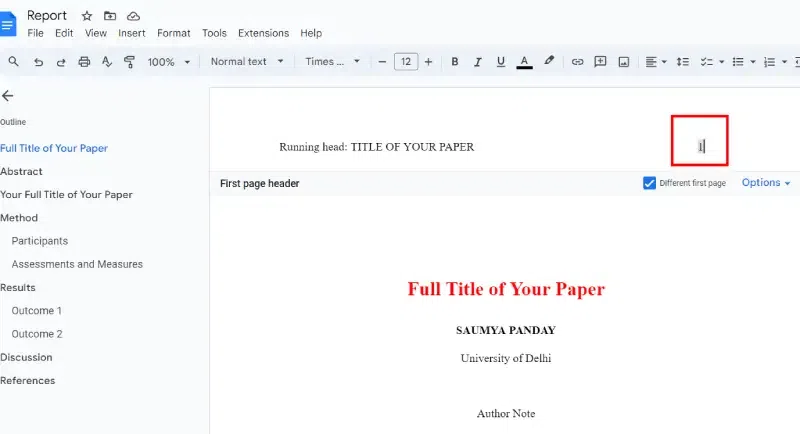
Step 5: Press the spacebar and tab key
Move the text cursor to the left side of the page number and press the spacebar or tab key until it is aligned with the top-right margin, then check the box under Different first page.
Step 6: Type as per your need
The text you entered will disappear from the first page, but it will appear on subsequent pages. Type anything: followed by a space, then type your title in all caps.
Step 7: Put Page Numbers
Please type the number 1, then move the text cursor to the left side of the page number and press the spacebar or tab key until it is aligned with the top-right margin.
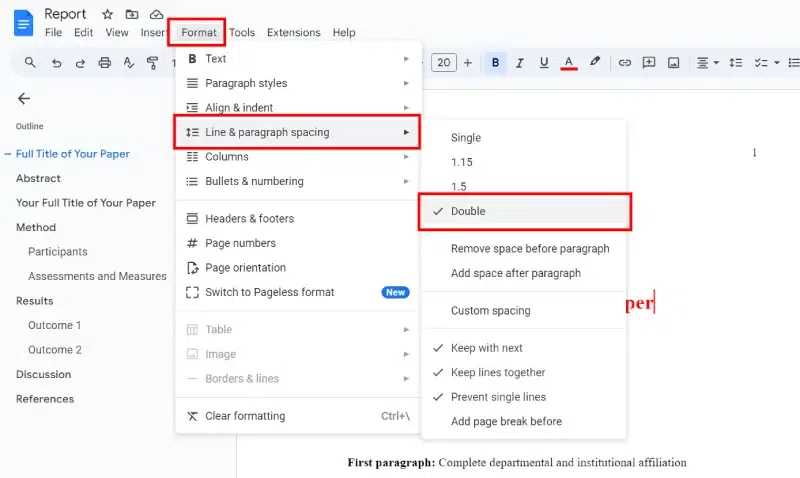
Step 8: Go to Format Tab, Click on Line Spacing and Select Double
Click or tap anywhere below the header, then select Format > Line Spacing > Double.
Step 9: Press Enter
Press the Enter key until the text cursor is about mid-way down the page and select Center Align.
Step 10: Type the Name and Title
Type the paper’s full title, full name, and school’s name on separate lines.

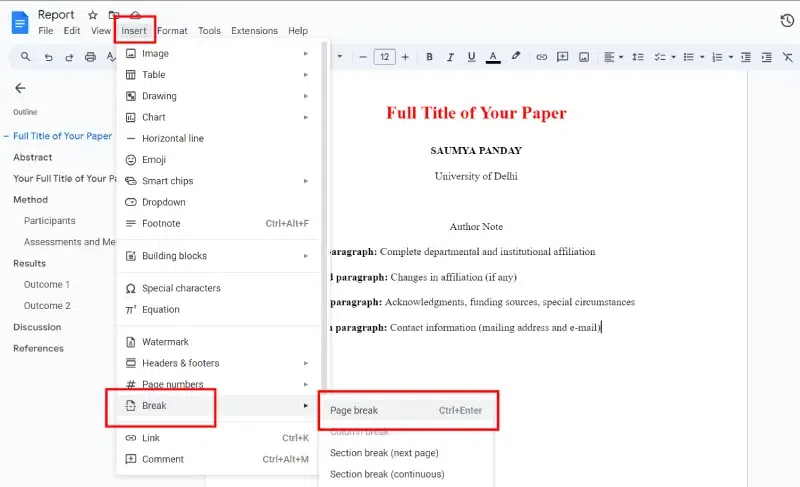
Step 11: Go to Insert Tab, Choose Break and Click on Page Break to start a new page.
Step 12: Select Center Align and type Abstract
Press Enter, and select Left Align. Then, Select Tab to indent, then type your abstract.

Step 13: Select Insert, Click on Break and Choose Page Break
Select Page Break to start a new page, then press the Tab key and begin typing the body of your paper. Begin each new paragraph with an indent.
Step 14: Go to Insert Tab, Click on Break and Choose Page Break
When you're finished with the body of your paper, select the same again to create a new page for your references.