Creating a concept map in Google Drawings helps you organize ideas, relationships, and key concepts in a clear way. It offers simple tools like shapes, lines, and text, making it easy to design and edit concept maps directly within Google Docs.
Steps to Make a Concept Map with Google Drawings
Step 1: Open Google Document
Open a new Google Doc or any existing one from your Google Drive.
Step 2: Go to Insert Tab and Select Drawing
Navigate to the top menu, click on “Insert”, then choose “Drawing” from the dropdown menu. Next, select “New”.
.webp)
A Drawing Pane will open.
.webp)
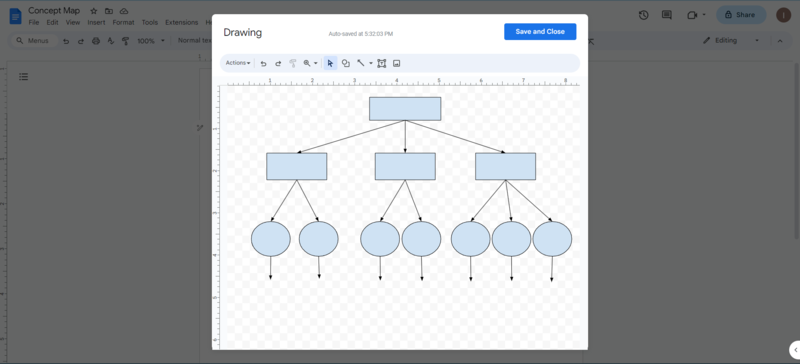
Step 3: Draw the Concept Map
Draw the Concept Map using the Shape icon to add shapes and the Lines icon to connect them.
Shape Icon:

Line Icon:
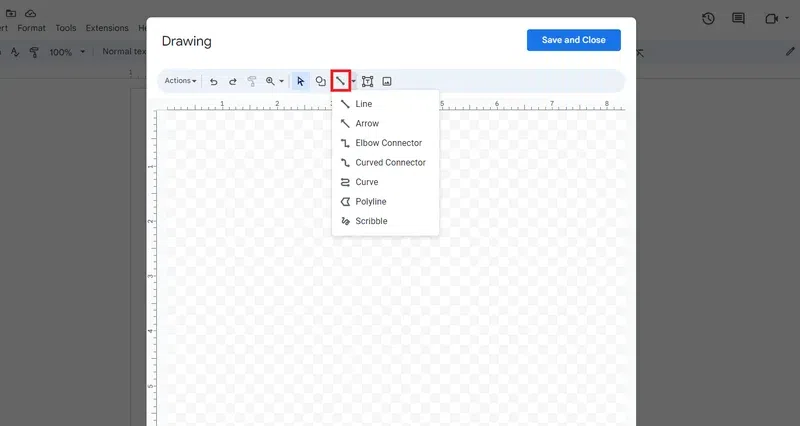
Draw the concept map by following the hierarchy: Main Concept -> Sub Concept -> Idea.
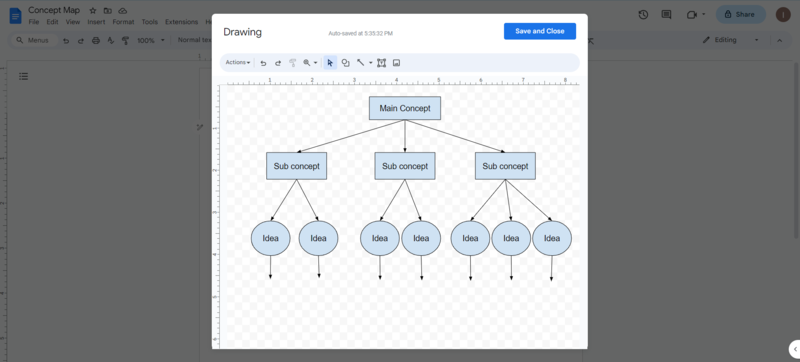
Step 4: Add text to shapes
Double-click on the shapes to add text to them.
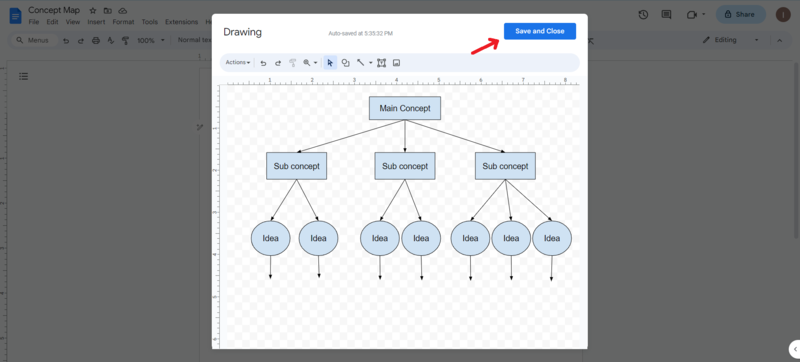
Step 5: Click on Save and Close
Click on Save and Close once you have completed drawing your concept map.
The concept map will be inserted into your Doc.
.webp)
Making changes to the Concept Map
Double-click on the concept map if you want to make any changes, then click Save and Close.