Creating a Google Doc is a simple process that allows you to quickly start writing, editing, and collaborating online. With just a Google account, you can access Google Docs from any browser and begin working instantly. It eliminates the need for manual saving and enables real-time sharing with others.
Steps to Create a New Document in Google Docs
Looking to Make a Google Doc? Below are the steps to Create your first document in Google Docs:
Step 1: Open Your Web Browser
- Launch your preferred browser (Chrome, Firefox, Edge, or Safari).
- Ensure your browser is updated for better compatibility and performance.
- Open Google Chrome and navigate to the upper-right corner. Click on the nine dots icon, then choose "Google Docs" from the menu.
Step 2: Navigate to Google Docs
The Google Docs homepage is your starting point for creating and managing documents.
- Type docs.google.com in the address bar and press Enter.
- If you're logged into your Google account, you'll be directed to the Google Docs dashboard.
Step 3: Sign In to Your Google Account
A Google account is required to use Google Docs.
- If prompted, log in with your Google account credentials.
- If you don’t have an account, click Create account and follow the steps.
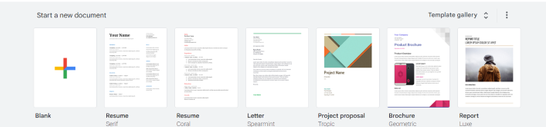
Step 4: Create or Access Documents
Once you log in, the Google Docs homepage will appear, featuring a selection of pre-made templates provided by Google Docs. Additionally, you have the option to start a new document by selecting the "Blank" template denoted by a plus sign (+).
- Click + Blank to create a new document.
- Explore the Template Gallery for pre-designed templates like resumes or reports.
- Use the Search bar to quickly locate existing documents stored in your Google Drive.
Step 5: Edit the Document
Now after creating a blank document, you can use and edit your Google document. Google docs provide users with lots of tools and services.
- Simply click on the text and start typing
Shortcuts:
Ctrl + K(Windows) orCmd + K(Mac): Add hyperlinks.Ctrl + Shift + C(Windows) orCmd + Shift + C(Mac): Word count.

Step 6: Save and Collaborate
After completing your document on Google Docs, you can share and collaborate with other people and could also track changes if required to see what other people has made changes in your shared document.
- Click Share in the top-right corner, enter email addresses, and assign permissions (Viewer, Commenter, Editor).
- Use the Version History (File > Version History) to see and restore previous edits.
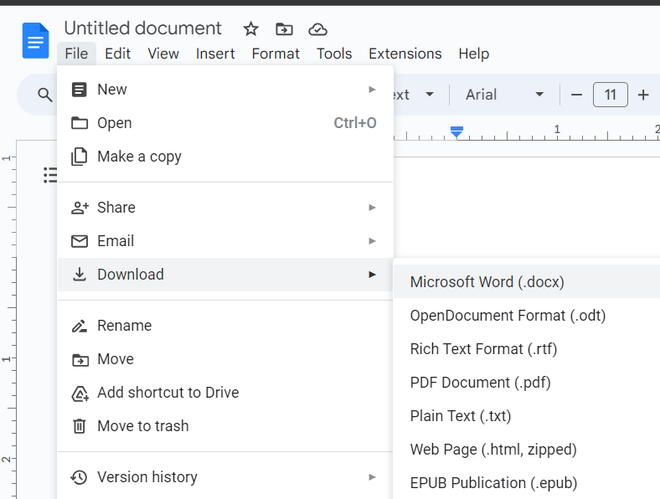
Step 7: Save and Export
Google Docs automatically saves your work, but you can also export it in various formats.
- Go to File > Download.
- Choose a format: .docx, .pdf, .odt, or others.
- Save the file to your device.
Note: To use Google Docs, you need a Google account. If you don’t have one, simply visit the Instruction give below and follow the on-screen instructions to create an account.
Steps to Create a Google Account and Gmail
If you don’t have a Google account, follow these steps:
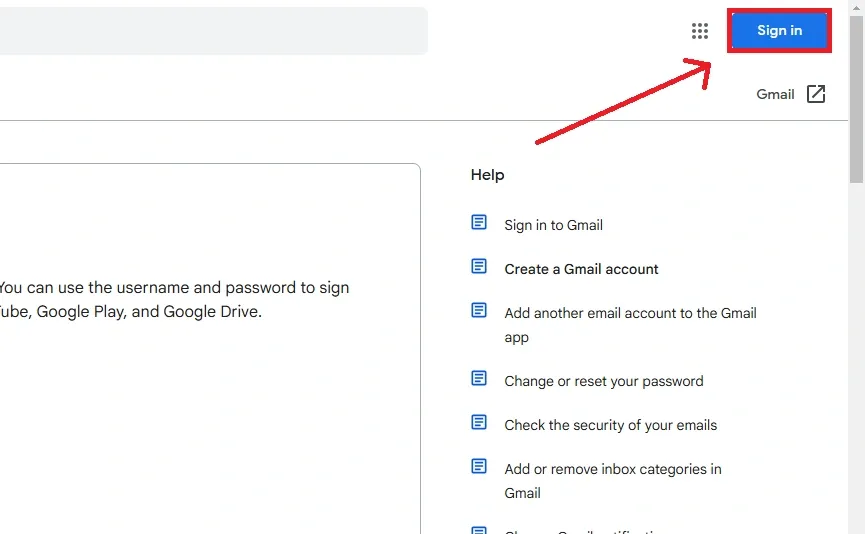
Step 1: Open Google Sign-Up Page
- Go to www.google.com
- Click on Sign in → Create account
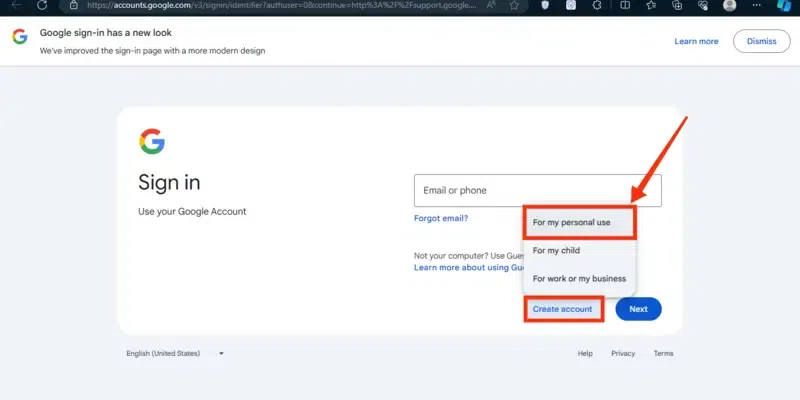
Step 2: Click on "Create Account" Choose "For Myself"
You will be prompted to select the type of account you want to create. Options include:
- Personal use
- For my child
- Work or business
Step 3: Enter your First Name and Last Name
Fill in your first and last name, and choose a unique username that will serve as your new Gmail address.
.webp)
Step 4: Enter Personal Details
Now fill in some basic information such as your Date of Birth and your Gender to have a profile according to your needs. Click on the "Next" button to move to the next page.

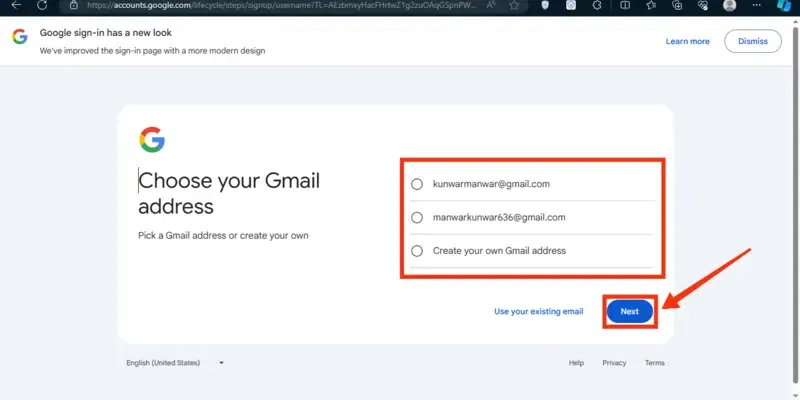
Step 5: Select Gmail Address or Make Custom Gmail ID
Now Gmail will share you 2 Suggestion based on your First and Last which are available in Google Database but if you want to make a custom gmail address then you can simply Select "Create your own Gmail Address" and then type the gmail, if it will be available then Google will confirm otherwise you will get a warning message that the username is already existing.
Additional Tip: To create a google account with an existing email > Click on the "Use your existing Email" button and create a google account.
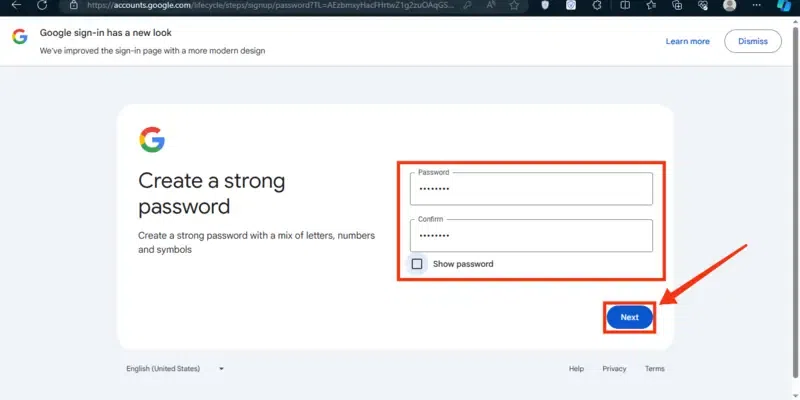
Step 6: Set Password
Create a strong password and confirm it by entering it again. Google will provide guidelines to help you choose a secure password.
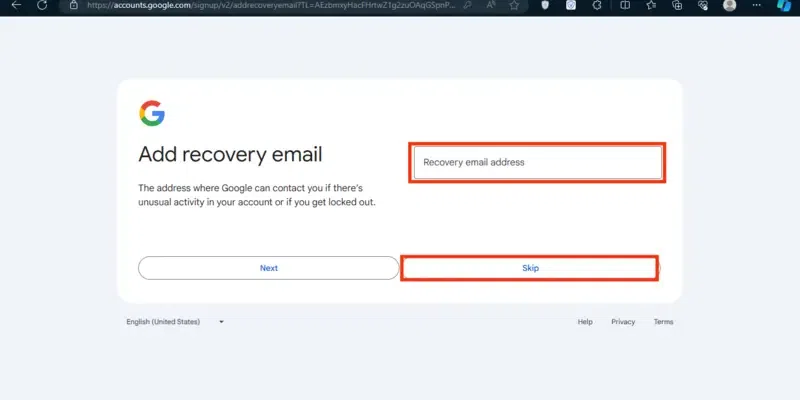
Step 7: Add a Recovery Address (Optional)
A Recovery address is an address through which you can recover your Gmail in easy steps. So you can also add a recovery Gmail address or you can also skip it.
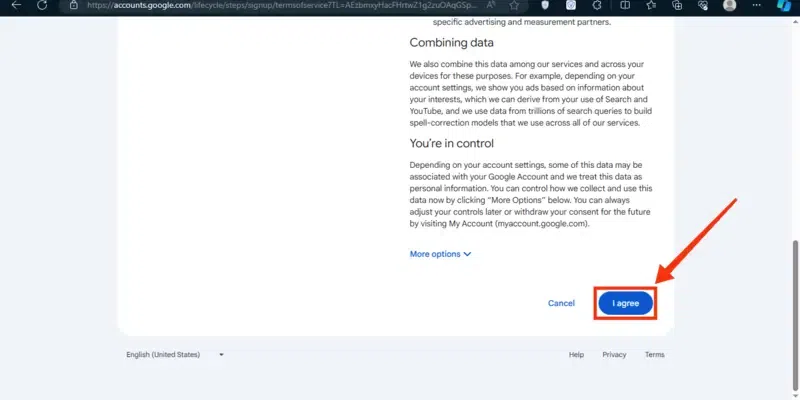
Step 8: Click on "I Agree"
- Read through Google’s Privacy and Terms statement. If you agree, scroll down and click on the I agree button.
- After agreeing to the terms, your account will be created. You may receive a brief tutorial about using Google services like Gmail, Google Drive, and more.
Verify Your Phone Number: If you provided a phone number, Google will send you a verification code via SMS. Enter this code to verify your phone number.
Steps to Create a Google Doc from a Template
Using templates in Google Docs saves time and gives your documents a professional look. Whether it’s a resume, proposal, letter, or report, templates offer ready-made layouts, fonts, and formatting that you can easily customize. You can access them directly from the Google Docs homepage or Google Drive.
Step 1: Open Google Docs
Navigate to the Google Docs homepage where you can access the Template Gallery.
- Open a browser and go to docs.google.com.
- Log in with your Google account credentials if you’re not already signed in.
Step 2: Access the Template Gallery in Google Docs
The Template Gallery contains templates for resumes, letters, project proposals, and more.
- On the Google Docs dashboard, click on Template Gallery at the top right of the page.
- Browse the available templates organized into categories like Education, Business, and Personal.
.png)
Step 3: Select a Template > Customize the Template
Choose a template that best fits your needs.
- Click on the desired template.
- A new document will open with the pre-designed template ready for customization.
Example: If you’re applying for a job, select a Resume template. It will include placeholders for your name, contact details, work history, and skills.
Personalize the template with your content and adjust formatting as needed.
- Replace placeholder text with your own information.
- Change fonts, colors, and layouts using the toolbar options.
- Insert additional elements like images, charts, or tables.
.png)
Step 4: Save and Share
Save or share your customized document directly from the app.Tap the Share icon to invite collaborators or choose Save as PDF to download a copy to your device.