A checkbox in Google Docs is a visual element that allows users to select or deselect options easily. It’s commonly used in to-do lists, grocery lists, and task trackers. When you interact with a checkbox, clicking it signifies a task's completion, helping you keep track of your progress effectively.
- Ticked
- Not ticked
Checkboxes in Google Docs let users make one or more selections from a list. They’re commonly used in to-do lists, recipes, grocery lists, task trackers, and reminders.
For example: In a grocery list, checked boxes indicate purchased items, while unchecked ones show items yet to be bought.
Steps to Insert a Check box in Google Docs using the Checkbox Menu in Toolbar
Utilizing the toolbar is an easy approach to add checkboxes to a list of items quickly. Here are the steps on how to insert a checkbox in Google Docs using the Toolbar:
Step 1: Open Google Docs on your Desktop
Open Google Docs and open the document to add a checkbox to it.
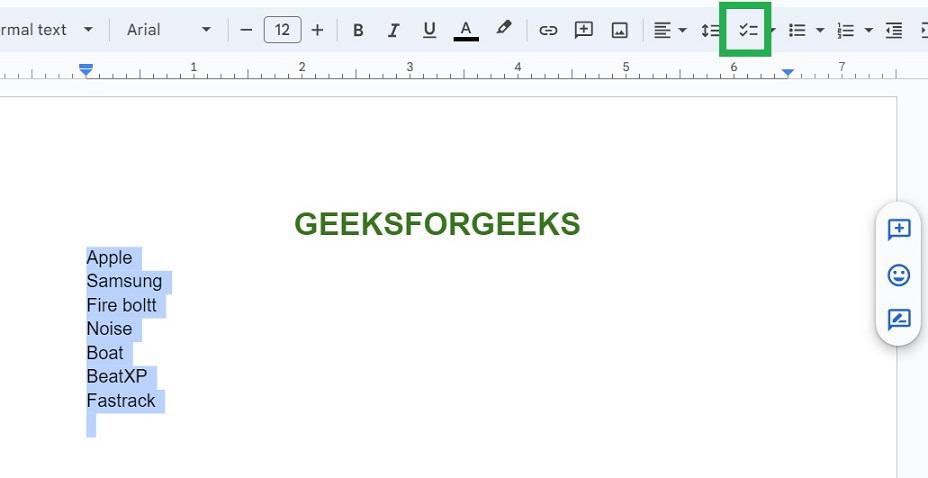
Step 2: Select the Data
Select the list of information in different lines by selecting them all.
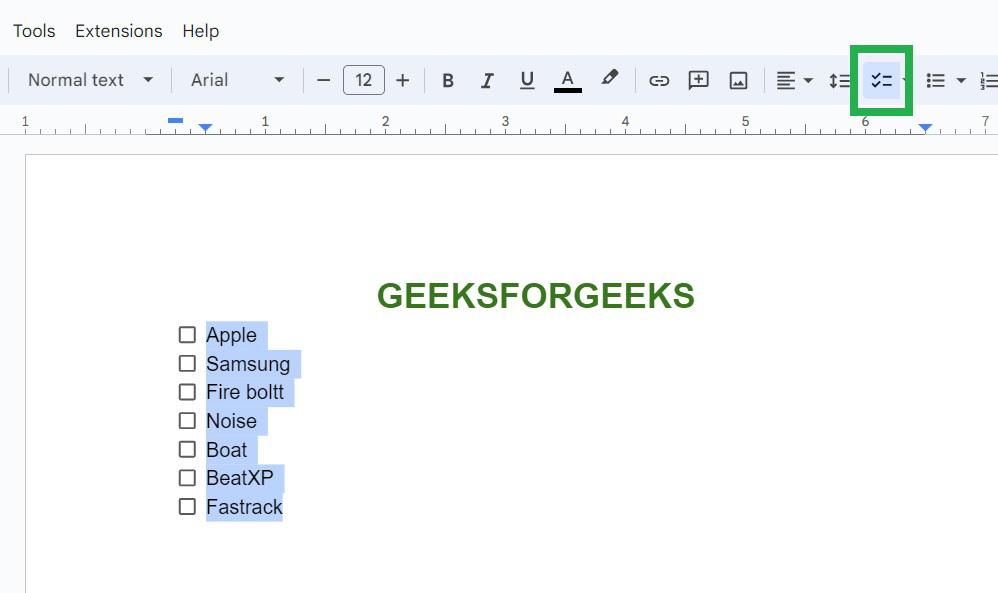
Step 3: Select the Checklist option from the Toolbar
Go to the toolbar of Google Docs, click the "Checklist" button.
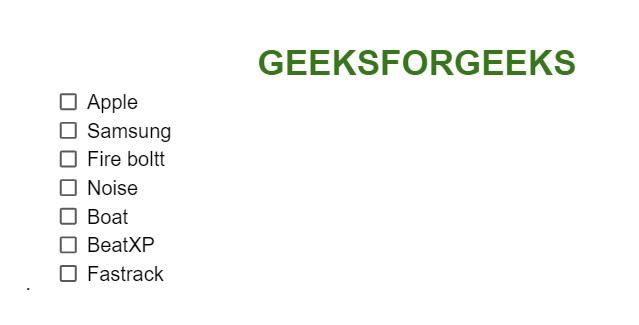
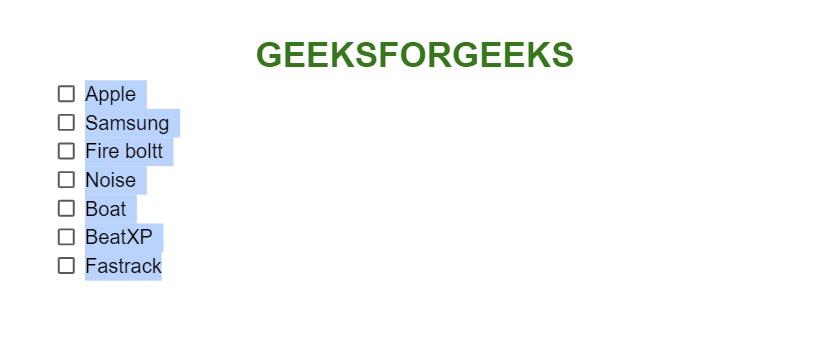
Step 4: Preview the Added Checkboxes in Google Docs
Now checkboxes have been added to the selected lines of text in the document successfully.
Steps to Insert Checkboxes in Google Docs Using Format Tab
This method involves using the format options to insert Google document checkbox, providing more customization for your list.
Step 1: Open Google Docs on your Desktop
Open Google Docs and open the document to add checkbox in it.
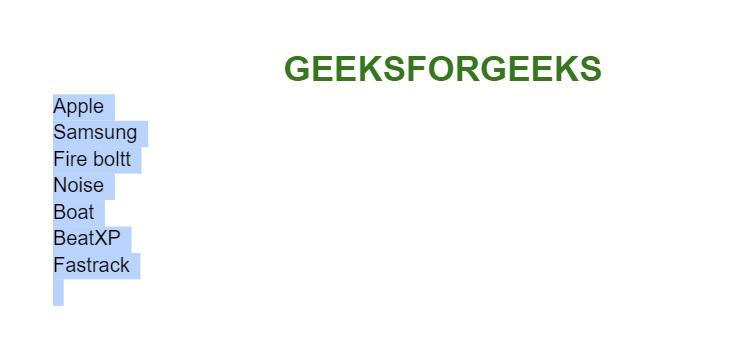
Step 2: Select the Content
Select the list of information in different lines by selecting them all that you want to be in checklist.
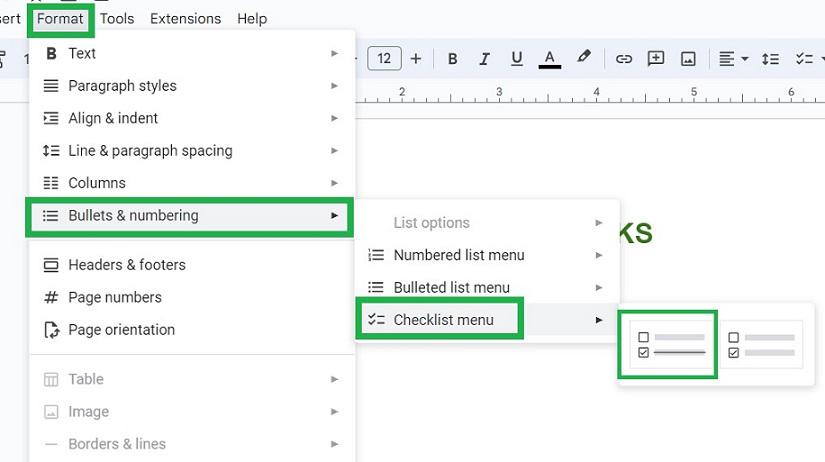
Step 3: Go to Format Tab and click on Bullets and Numbering
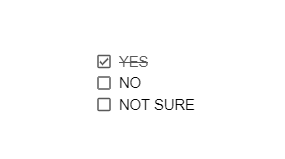
In the menu bar, select "Format", a dropdown appears. Select "Bullets & Numbering". Another sub dropdown appears. Select "Checklist menu". Another dropdown with two options appear: striking checkbox, non striking checkbox. Select any one option among them.
In the below Image we are choosing the first option in it, the striking checkbox.
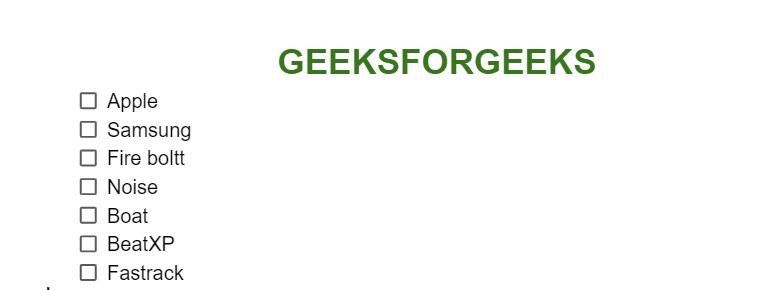
Step 4: Preview Added Checkboxes
Now checkboxes have been added to the selected lines of text in the document successfully. This is how Google Docs add checkbox works.
How to Insert a Checkbox in Google Docs using Keyboard Shortcut
It is possible to insert checkboxes within a second in desktop versions of Windows and Mac by only highlighting the texts in a document in Google Docs. Here are google docs checkbox shortcut to add checkboxes in Google Docs
For Windows:
Press ‘Ctrl’ + ‘Shift’ + ‘9’
For Mac:
Press “CMD + Shift + 9”
Steps to Add Multiple Checkboxes in Google Docs
To add multiple checkboxes in Google Docs, follow these steps:
Step 1: Highlight the List: Select the items or lines where you want checkboxes.
Step 2: Insert Checkboxes: Go to Insert > Checkbox from the menu. This will add checkboxes next to each selected line.
Step 3: Add More Checkboxes: For additional checkboxes, press Enter after each checkbox item to create a new line with a checkbox.
Steps to Remove a Checkbox in Google Docs
In the case you want to remove the checkboxes in Google Docs then you can follow the steps given below:
Step 1: Open Google Document
Open the document with checkboxes in Google Docs.
Step 2: Select the Content in Checkbox
After opening the document select the content on which you want to apply the checkboxes.
Step 3: Click on Checkbox Icon in Toolbar
After selecting the content click on the "Checkbox" icon located at the top right side of the interface.
Step 4: Checkboxes will be Removed
Checkboxes are removed successfully from the document in Google Docs.